I recently started a new project, an 1860s civilian pleated-front shirt, both for myself and for teaching those members on Historical Tailoring Masterclasses. And as always, things started off with drafting a pattern and making a muslin toile for fitting purposes.
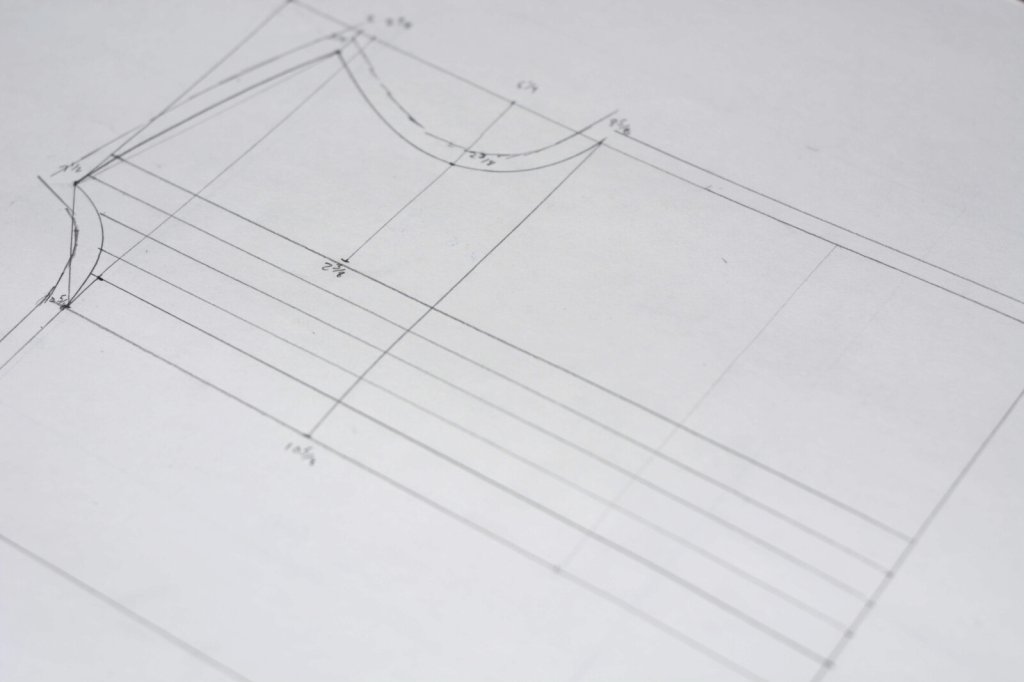
Here's the shirt front pattern, where I've determined the number of pleats and their width, and showing also the neck, shoulder, and armscye. 1/2" seam allowances were added all around.
The pattern is cut along the pleated front lines to make certain areas of layout easier and more accurate.
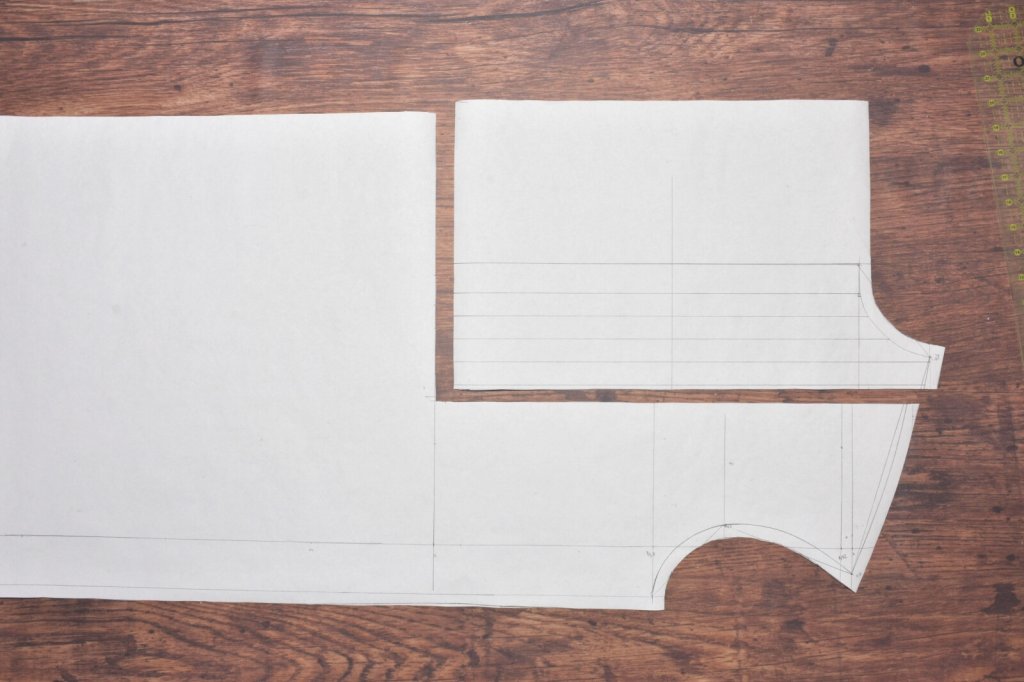
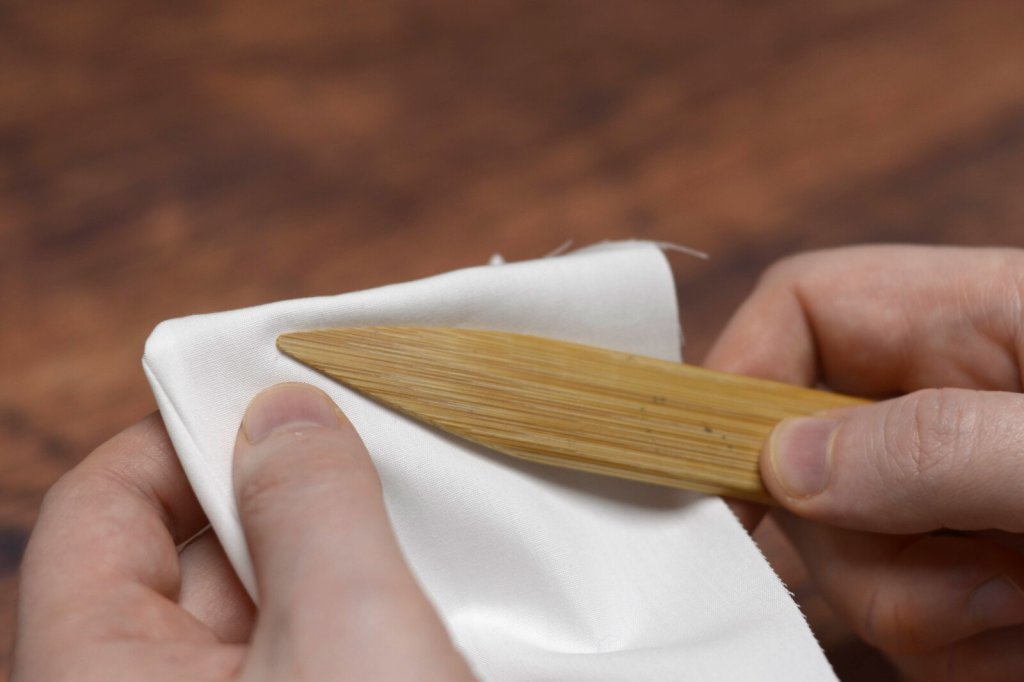
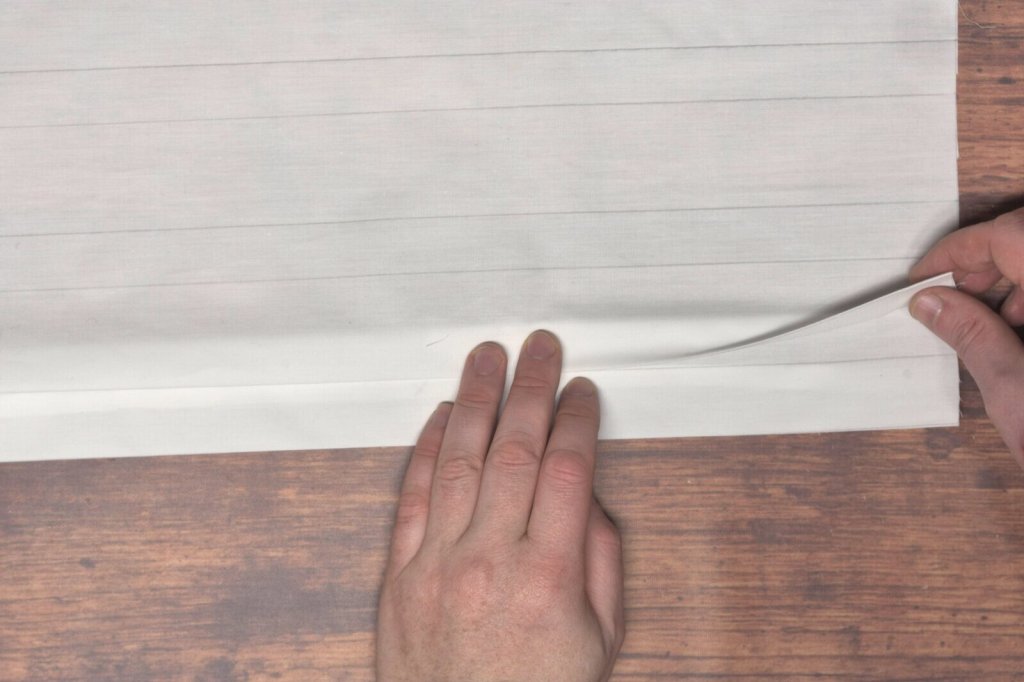
The first area to work on was the pleated front. The lines are carefully laid out and folded and pressed into the center front placket and the various pleats. The pleats can vary in width from 1" to 1/4" or even less, depending on the desired look and your amount of patience.
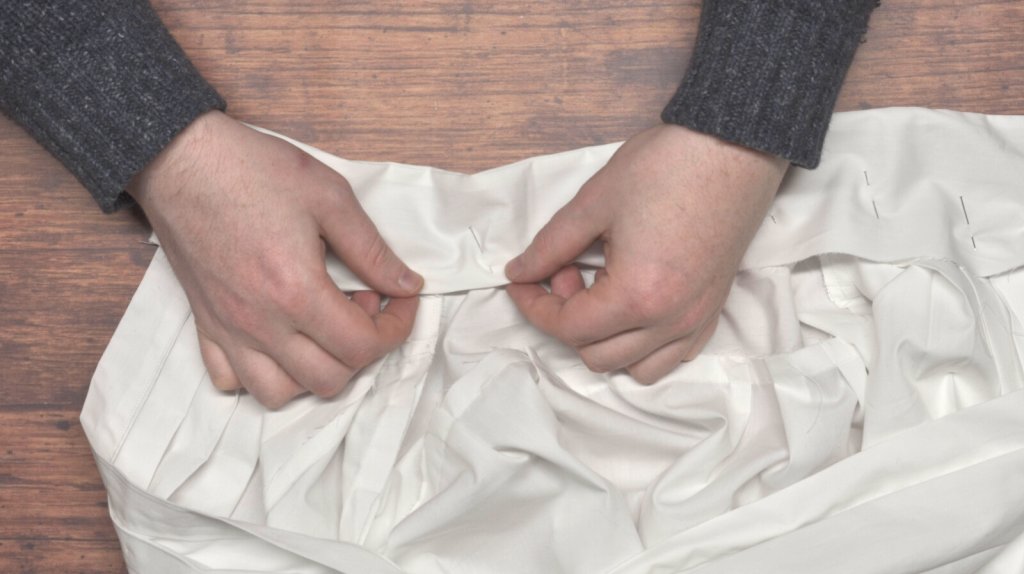
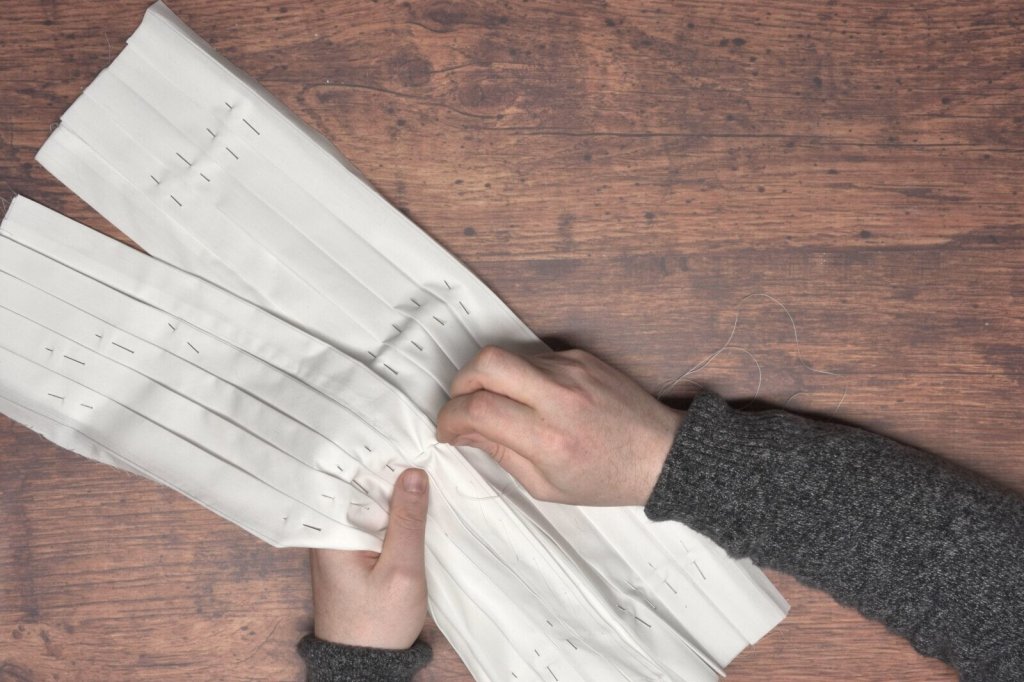
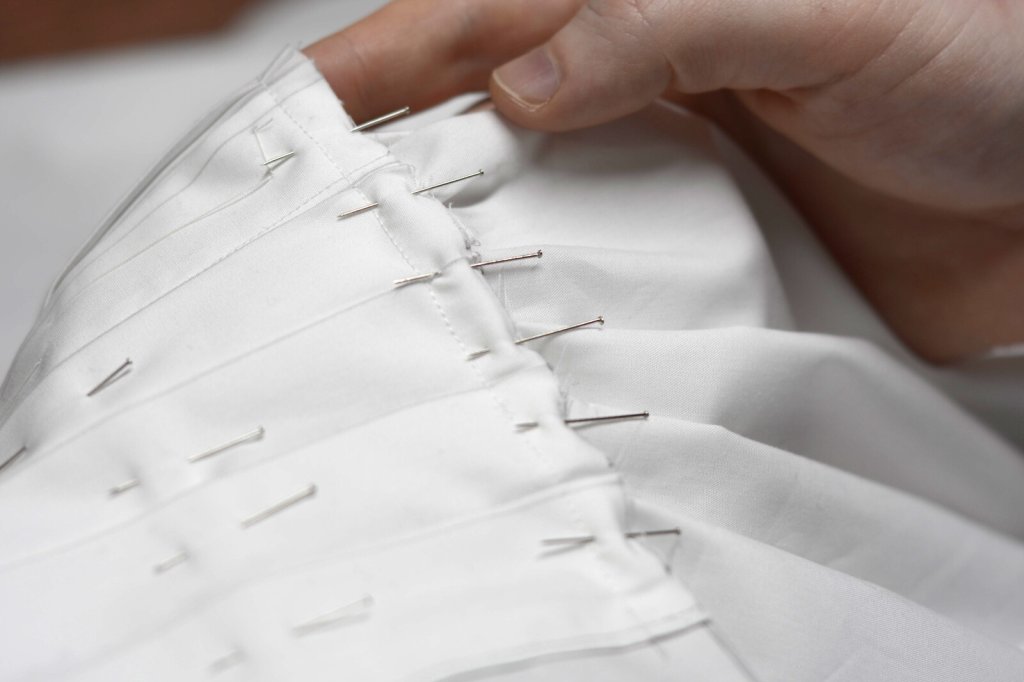
The pleats are all pinned securely closed, and then the two pleated halves are attached down the middle, being sure that the left overlaps the right if you want the shirt to button correctly!
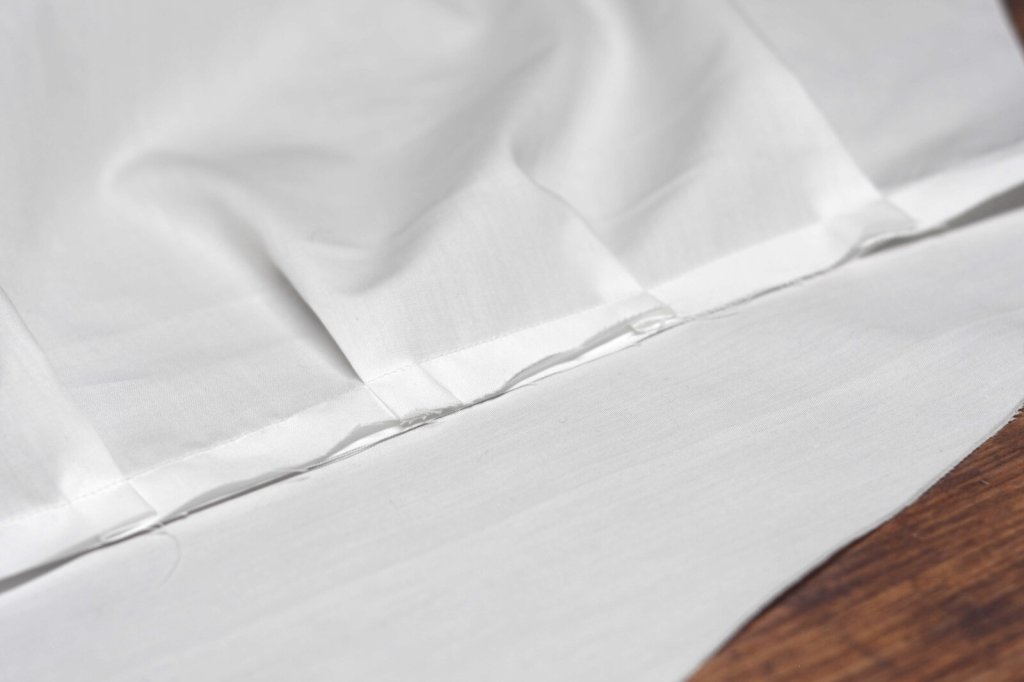
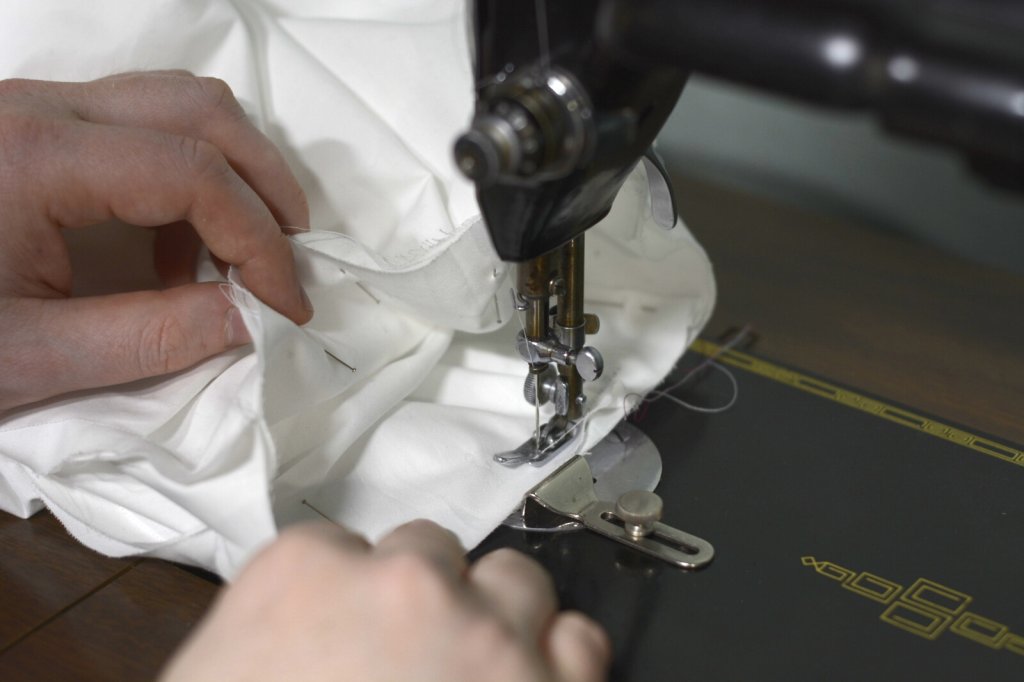
The pleated front is then attached to the shirt front, gathering the bottom edge as necessary. I simply pinned and closed it all off with a machine stitch here for the toile, but the process is a bit more involved for the actual shirt. For those who have been following my work for a while, you probably know that I hate using pins, opting for basting stitches instead, but for working with this lightweight cotton, I do make a very rare exception.
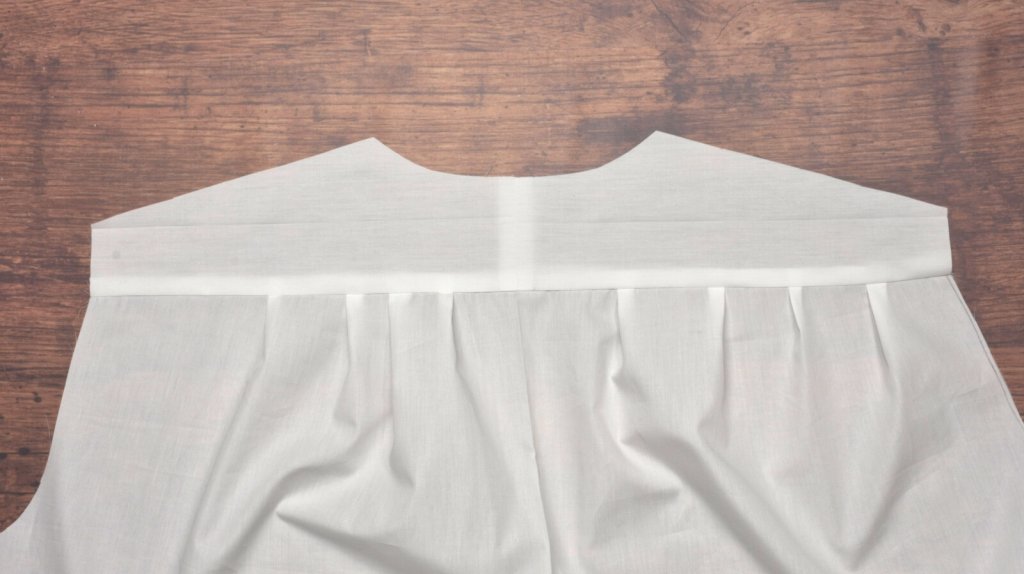
The back is next gathered into the yoke, giving room for the shoulder blades. Probably could have been a little neater with my pleats but meh, it's just a toile.