A reader asked me a question the other day on collar construction and I thought it was suitable for a more in-depth article rather than trying to explain with words only.
Regarding attaching a collar to confederate enlisted garments. I’ve attached them before using the method of sewing the whole collar to the outside of the garment and pressing the seam into the body. Which gives you the folded over look. I’m looking for away to attach it for the press seam look.
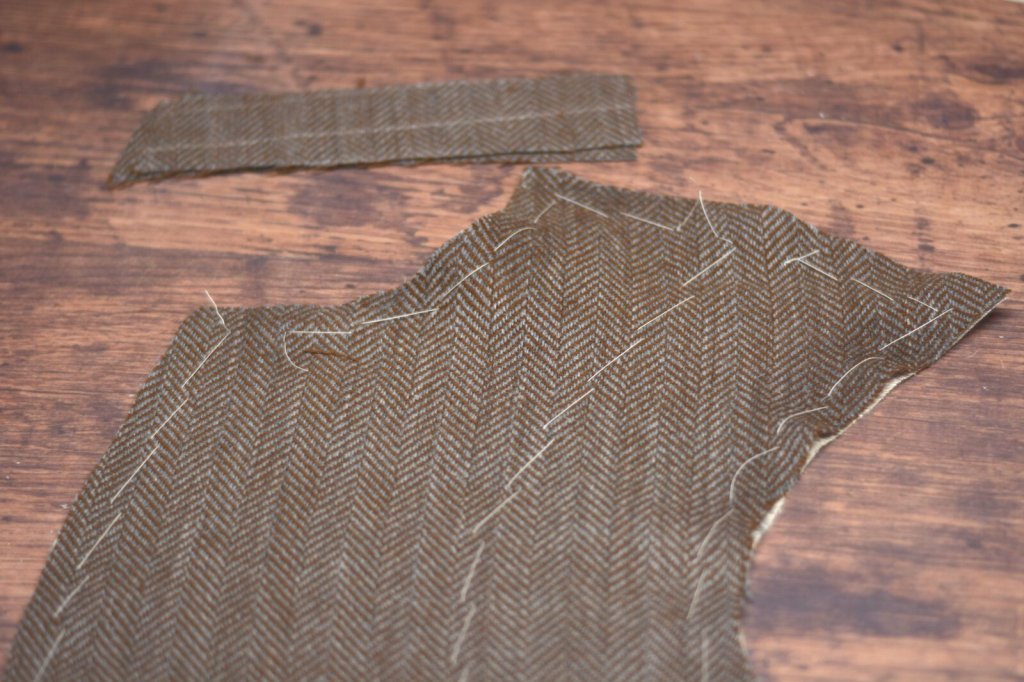
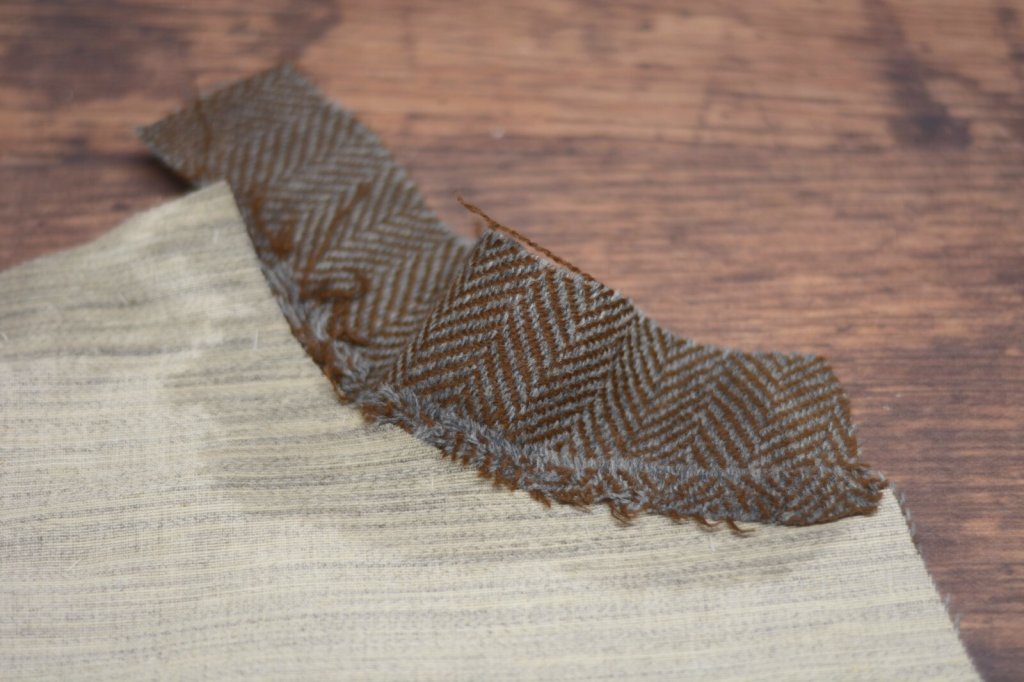
To begin, I've got a sample of a coat front with the center front, neck, and shoulder. The canvas has been basted in place already. In an actual coat project, you'd have also sewn the body of the coat together already, including the shoulder and back seams before attaching the collar. I've also got two pieces cut for the collar, as well as the collar canvas (not pictured).
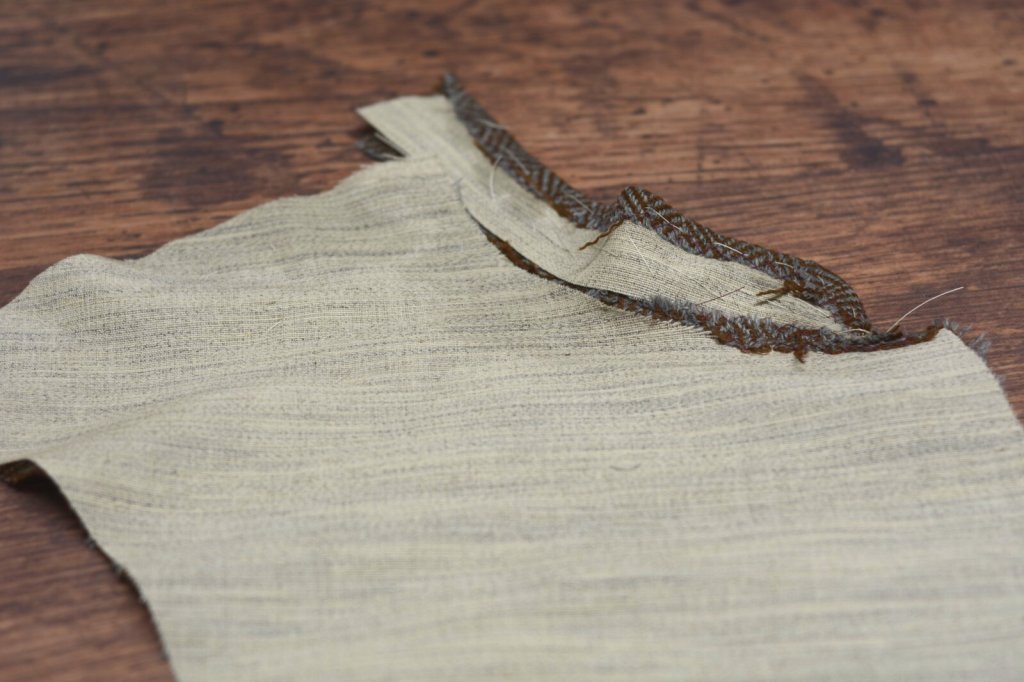
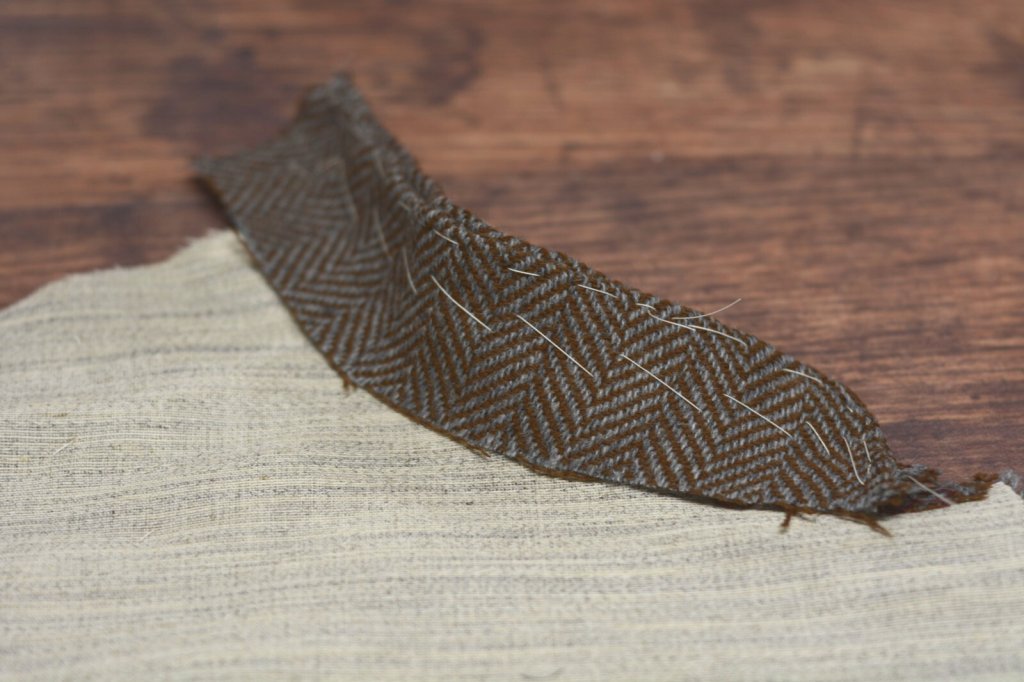
The forepart and collar pieces cut.
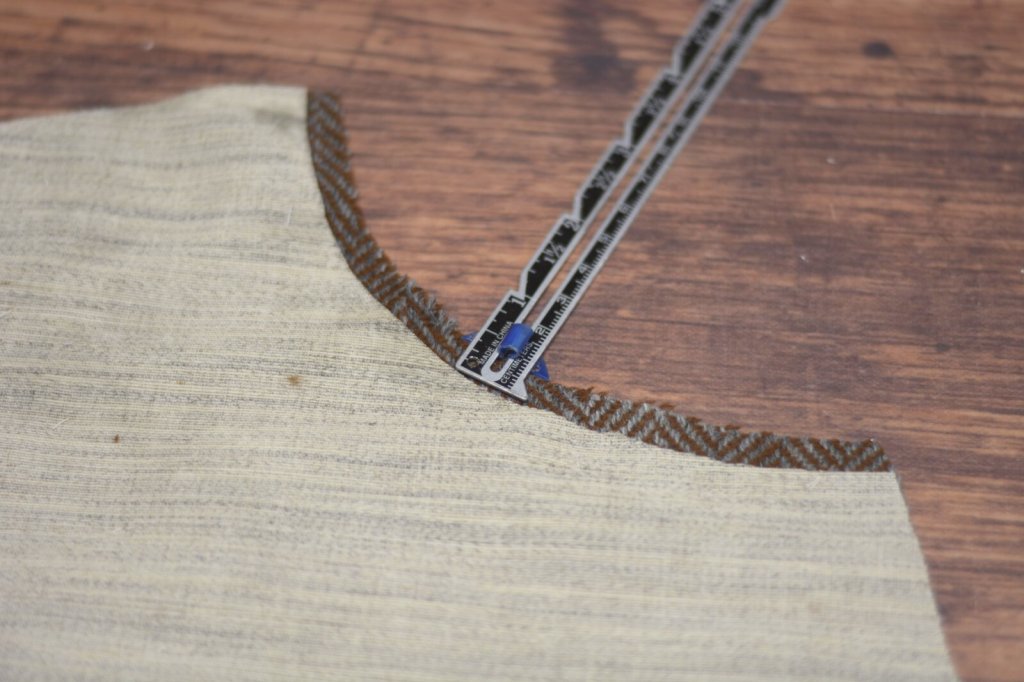
Trim away the canvas seam allowance at the neck. This should be to a depth of just past the seam allowance. In my example I used a 1/4" seam allowance, so trimmed the canvas back about 3/16". As it turned out, I probably should have used a 3/8" seam allowance (7/16" for the canvas) as the fabric frayed badly just by looking at it.
Mark and cut the seam allowance at the neck.
Baste the collar to the neck and sew from the neck point to the shoulder.
Baste and sew the collar to the forepart.
Press the collar / neck seam open. Here's where a 3/8" seam allowance would have come in handy, it basically unraveled as I was pressing.
Press open the seam.
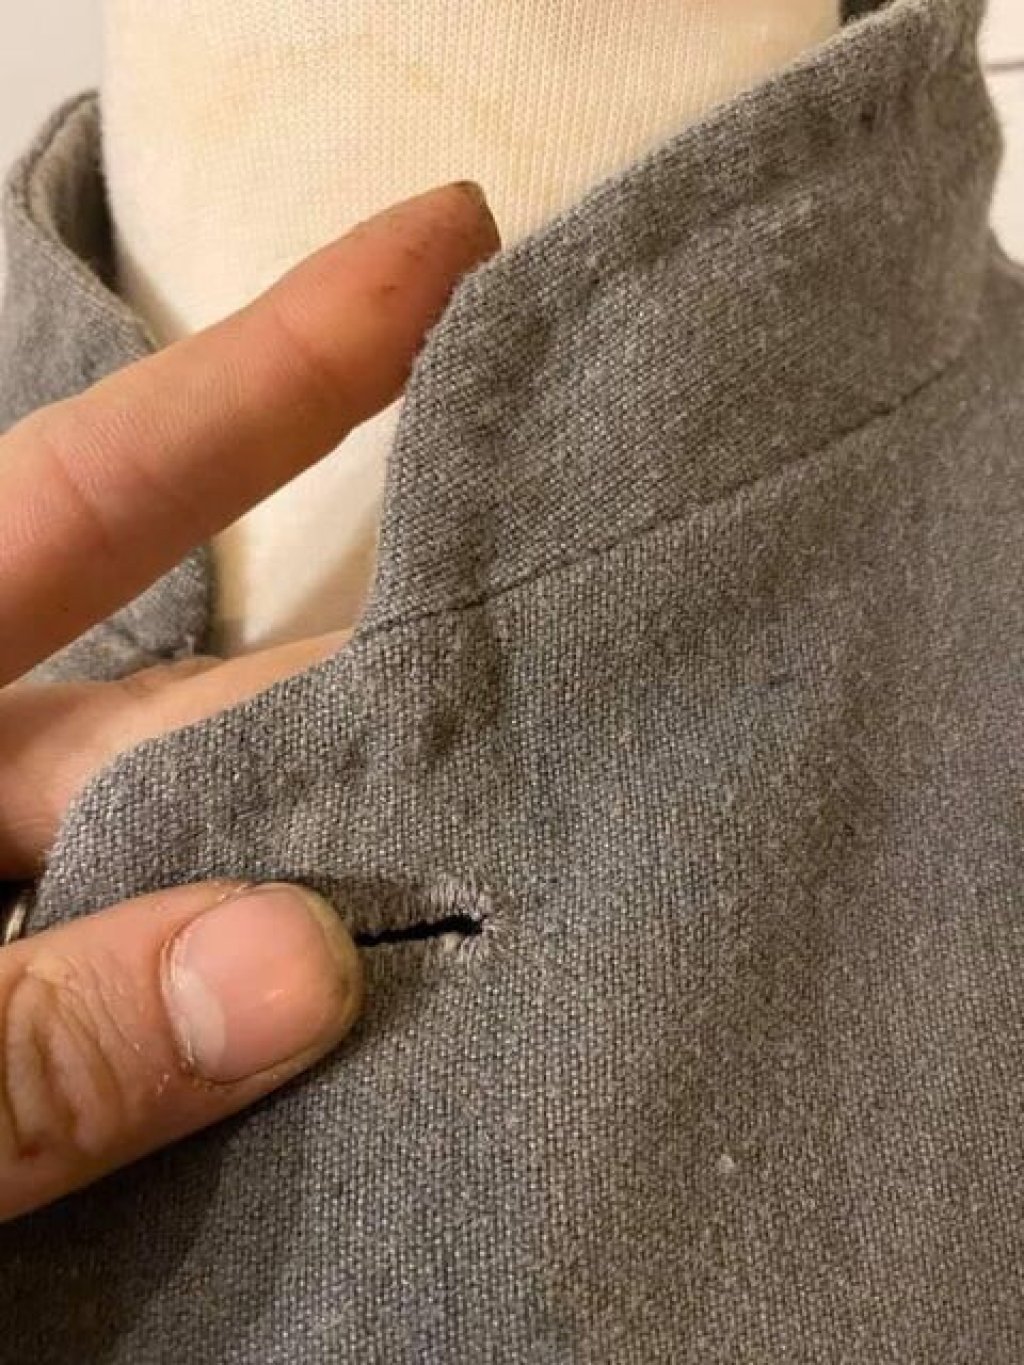
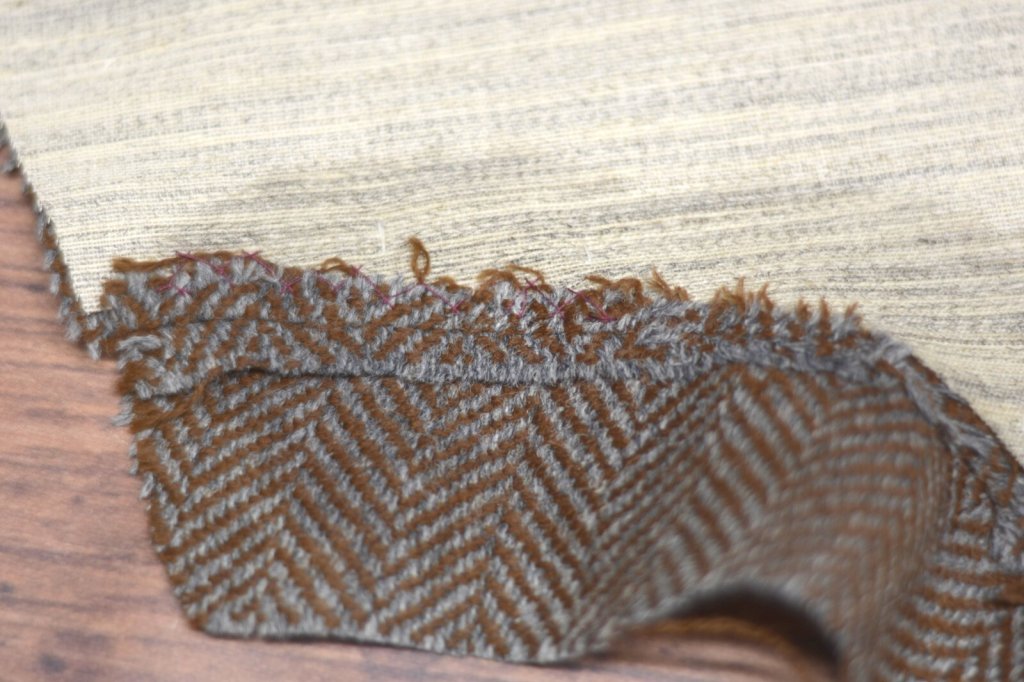
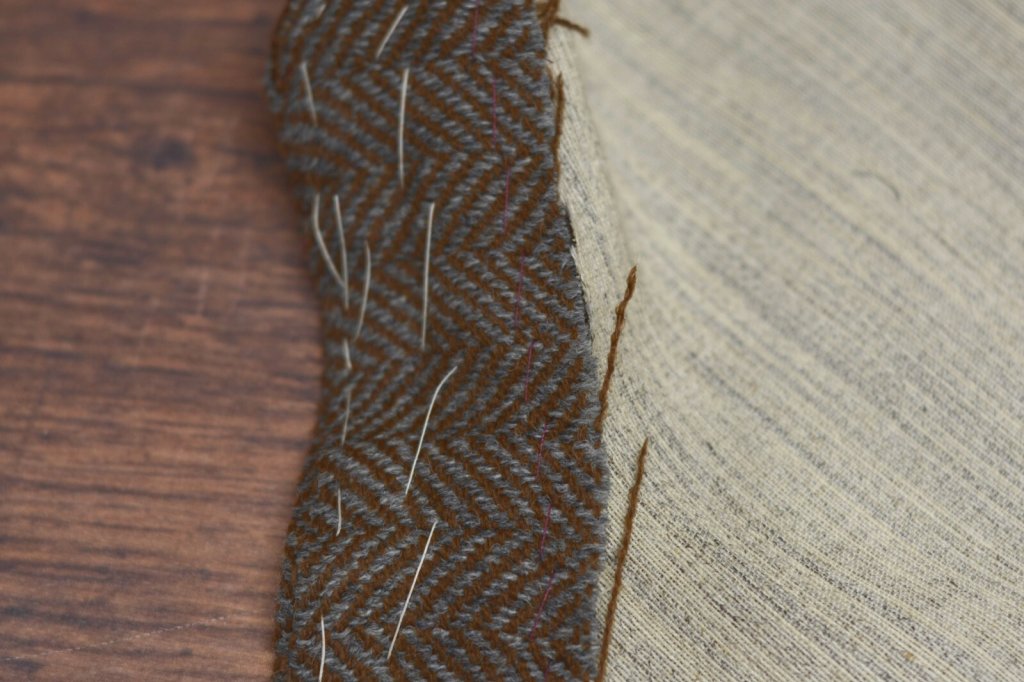
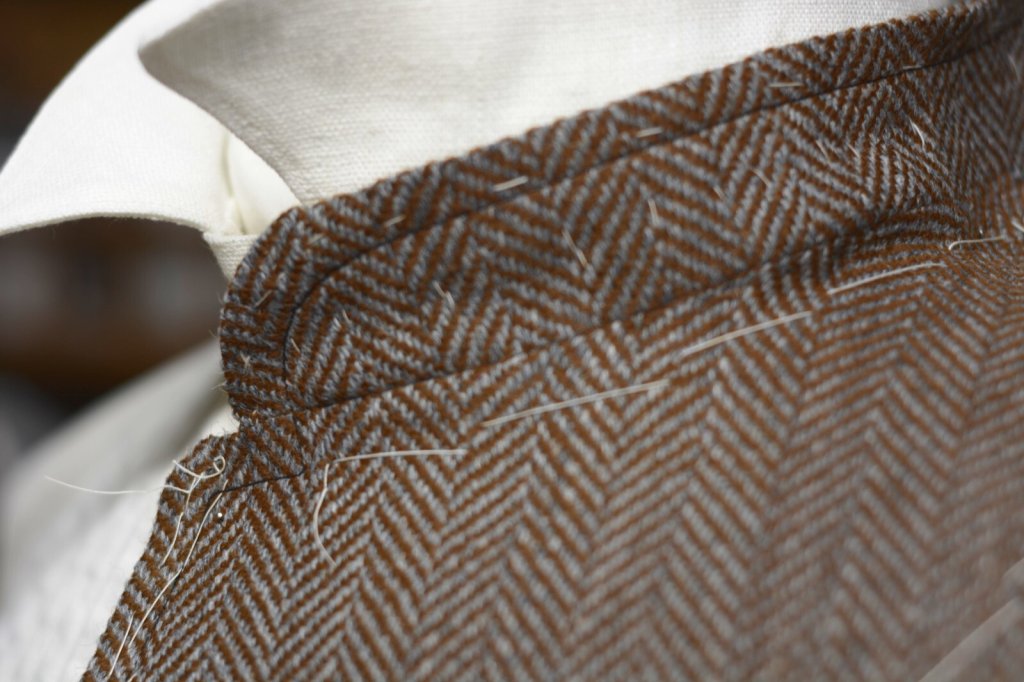
From the outside you can already see the definitive pressed seam look the reader was going for.
The right side of the seam after pressing.
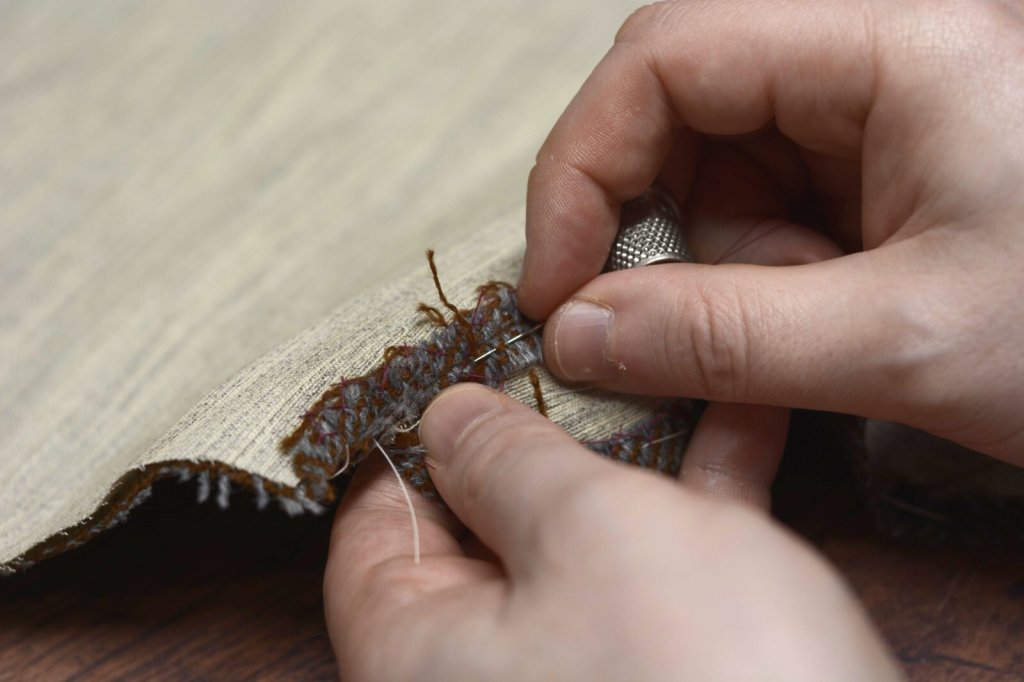
Now cross stitch the neck seam allowance to the canvas beneath it, trying not to catch the outer fabric with your stitches.
Cross stitch the seam allowance to the canvas.
Baste the collar canvas to the wrong side of the collar, aligning the neck edge. Trim back the canvas seam allowance to the finished collar size.
I forgot to photograph the next step. Fold over the seam allowances of the collar's top and front edges and baste them in place.
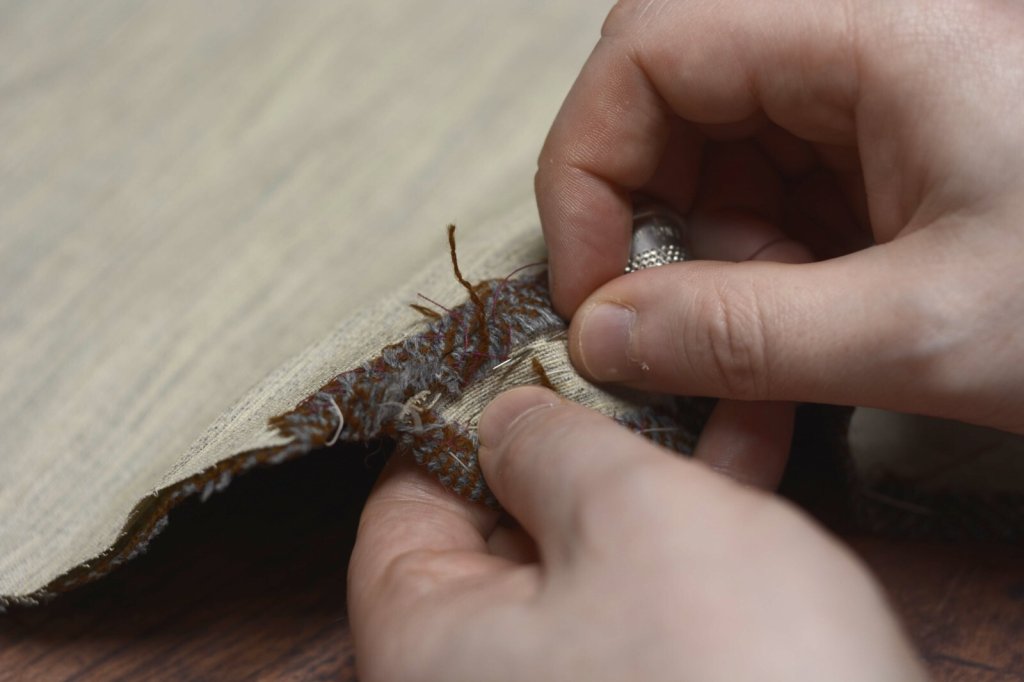
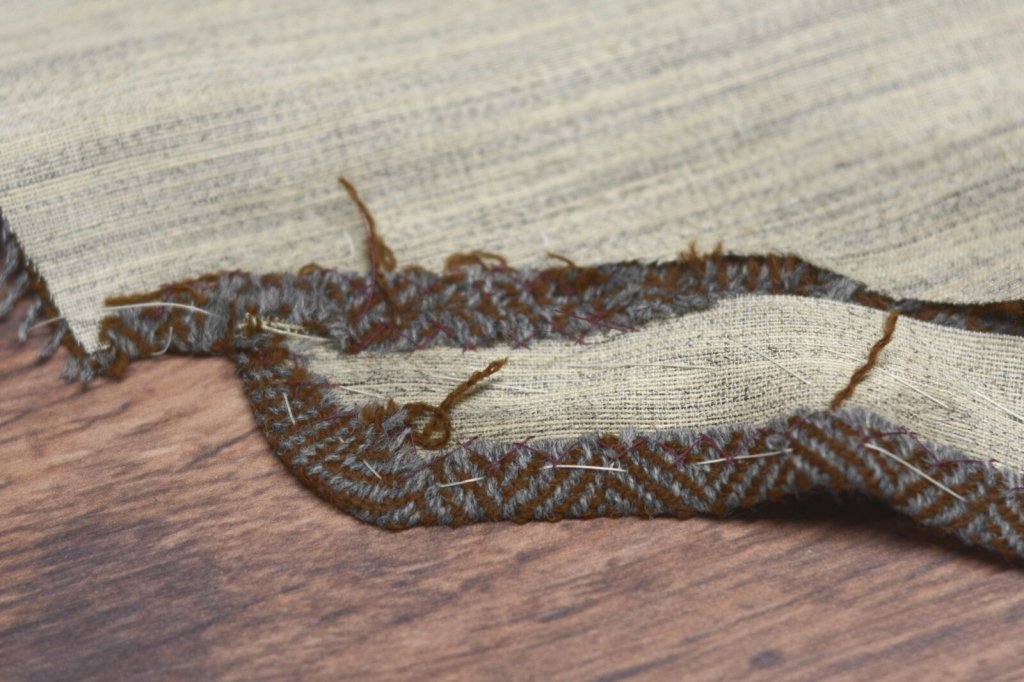
Next, cross stitch the collar seam allowance to the canvas all the way around.
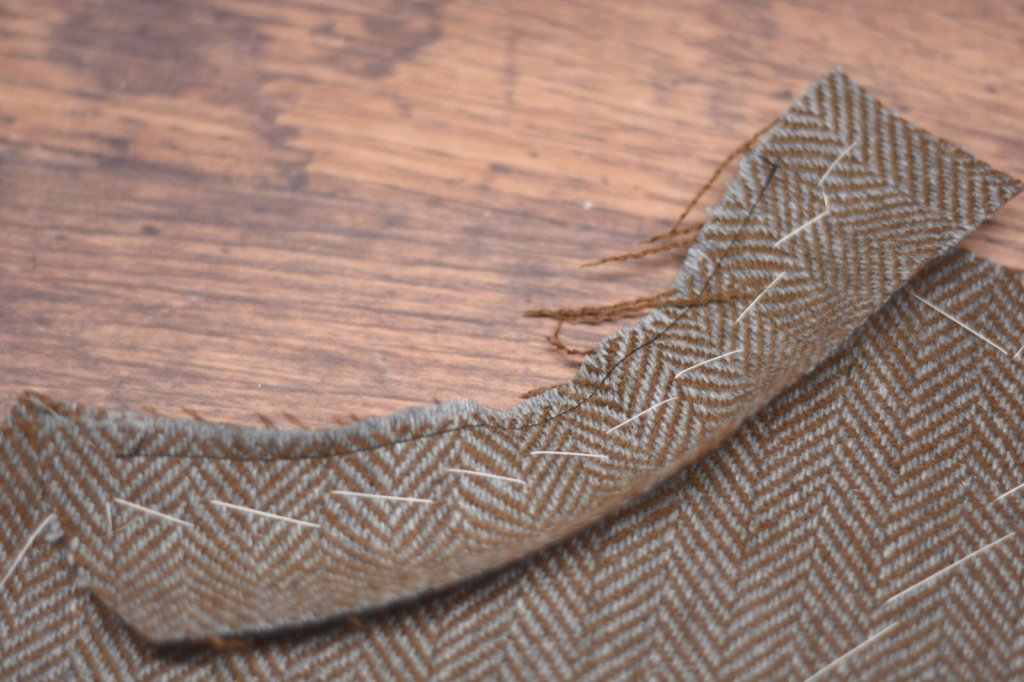
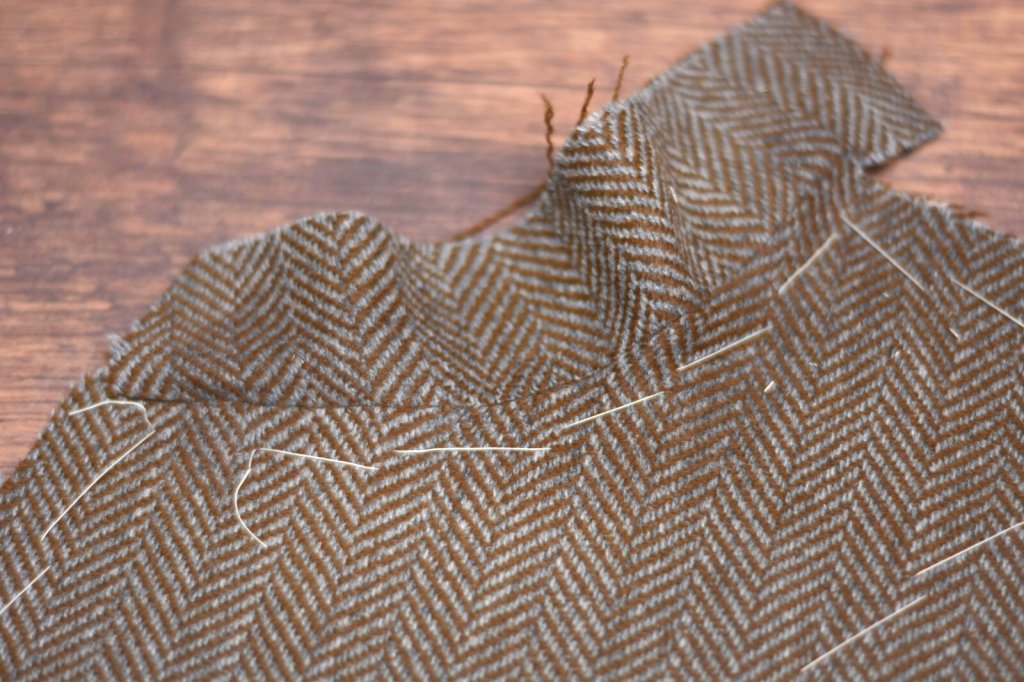
I ran out of seam allowance in the neck due to the fraying, I should have cross stitched that as well.
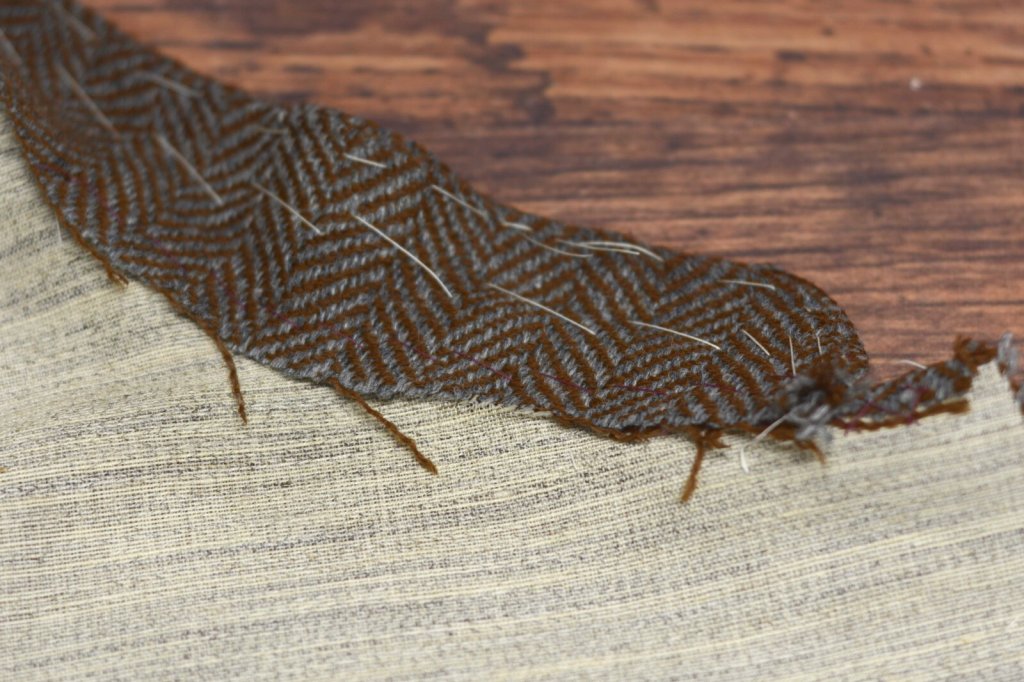
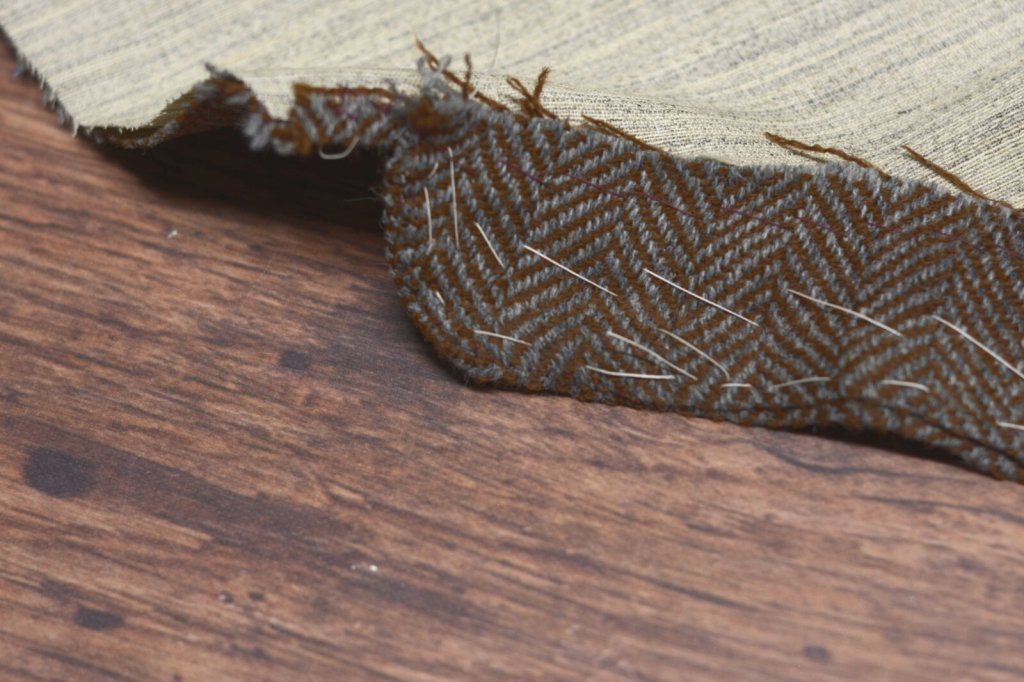
Fraying seam allowances!
Now baste the inner collar in place along the center. At the top edge, fold in the seam allowance, setting it back about 1/16" - 1/8", and baste that in place as well. Pay particular attention to the front of the collar where it meets the neck. It's easy for the fabric to slip out at this point and leave you with a slopping looking collar.
Install the inner collar.
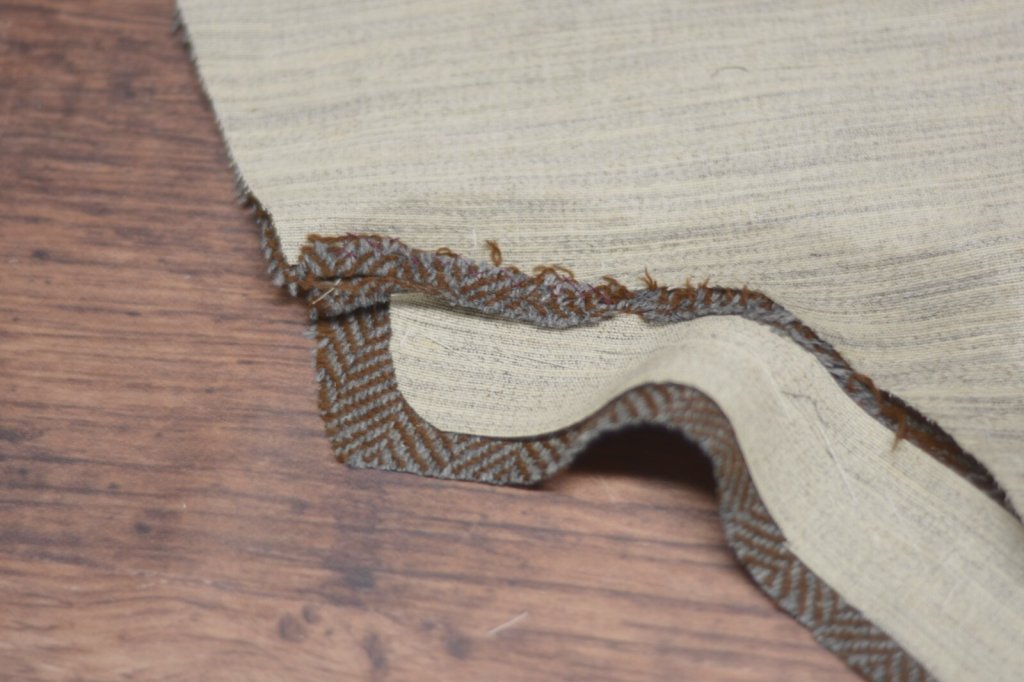
Along the bottom edge of the collar / neck, the edge is left raw and eventually hidden by the lining. Stitch the lower edge of the collar to the neck using a diagonal basting stitch (permanent in this case), catching only the seam allowance below.
Fell the outer edge of the collar. You can see the setback of the inner collar here.
Fell the outer edge of the collar.
Around this point, the facing would be installed (or could have been done earlier). When ready, top stitch the front edge of the coat and collar, in this case it looked like about 3/8" from the edge. Use a back stitch or side stitch by hand, or a machine stitch.
Top stitch the collar and forepart.
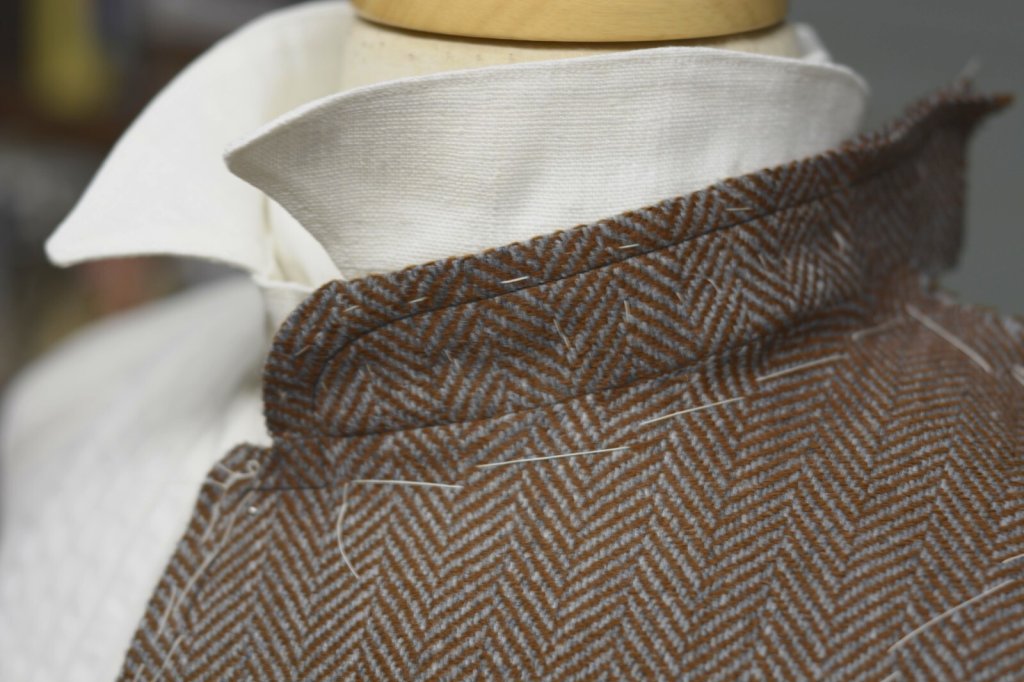
And here's the final result as it'd look being worn. The fancy linen collar is out of place but oh well. I hope this helps you with your own projects.