We’ve all experienced a loose button or two in the past, or even lost a button completely. In this tutorial, learn how to attach buttons using traditional methods that will keep your buttons in place for years to come.
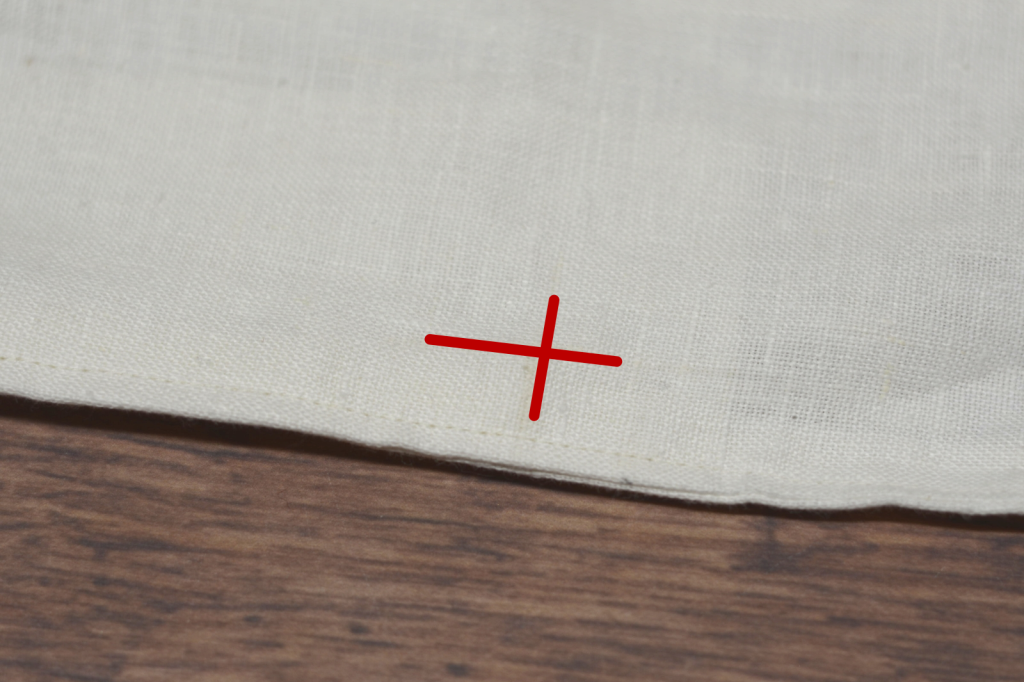
Begin by marking out the button position based on your pattern, or transferring from the buttonhole side, 1/2″ away from the edge.
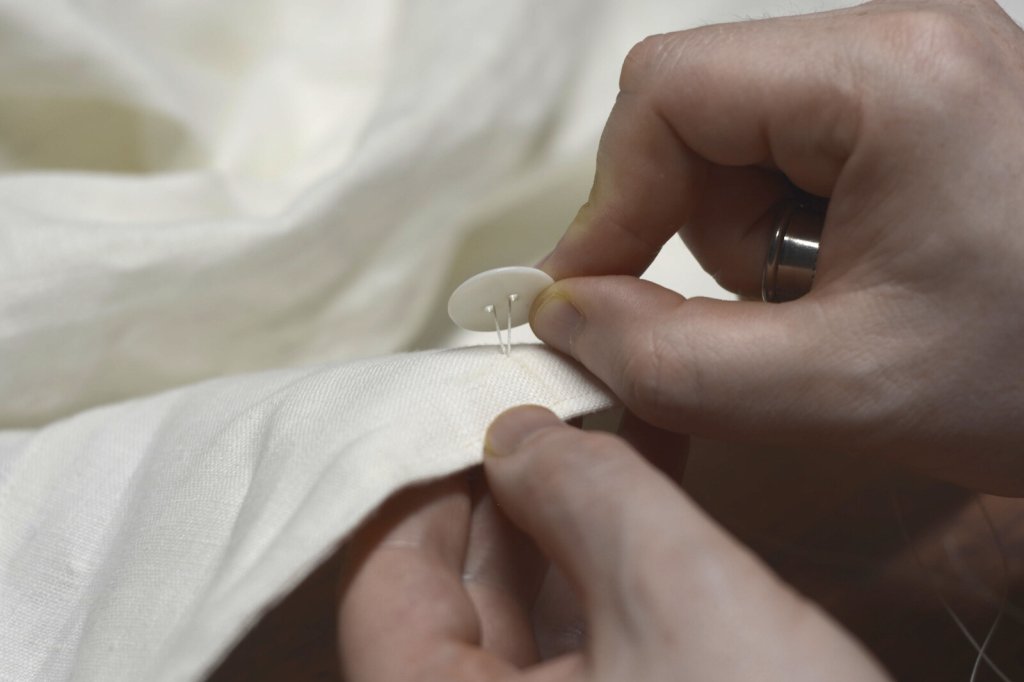
Mark the button position.
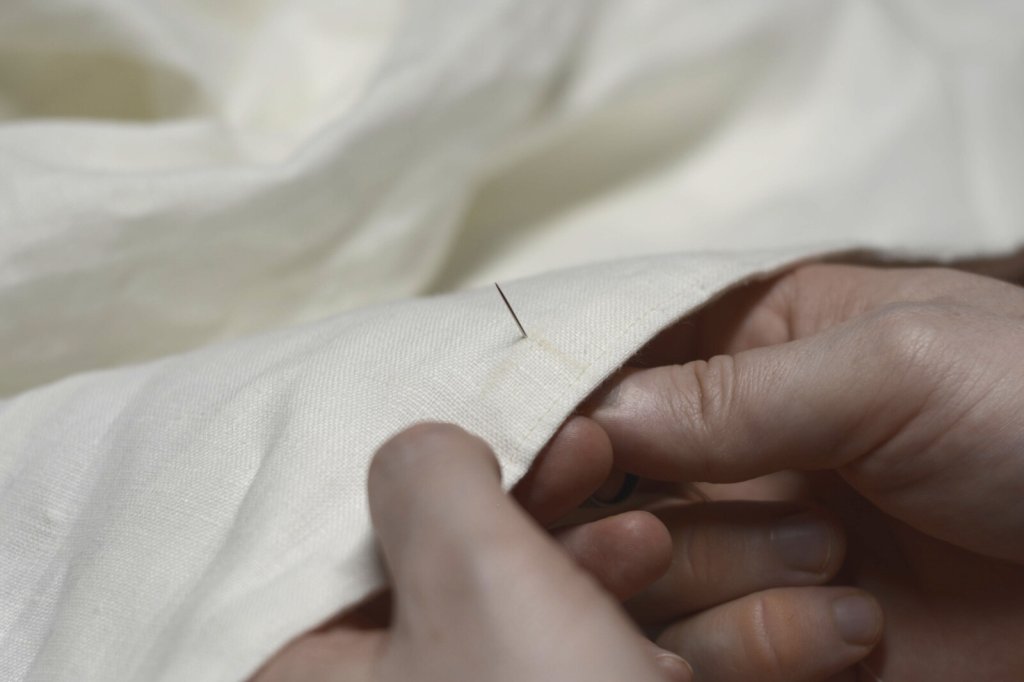
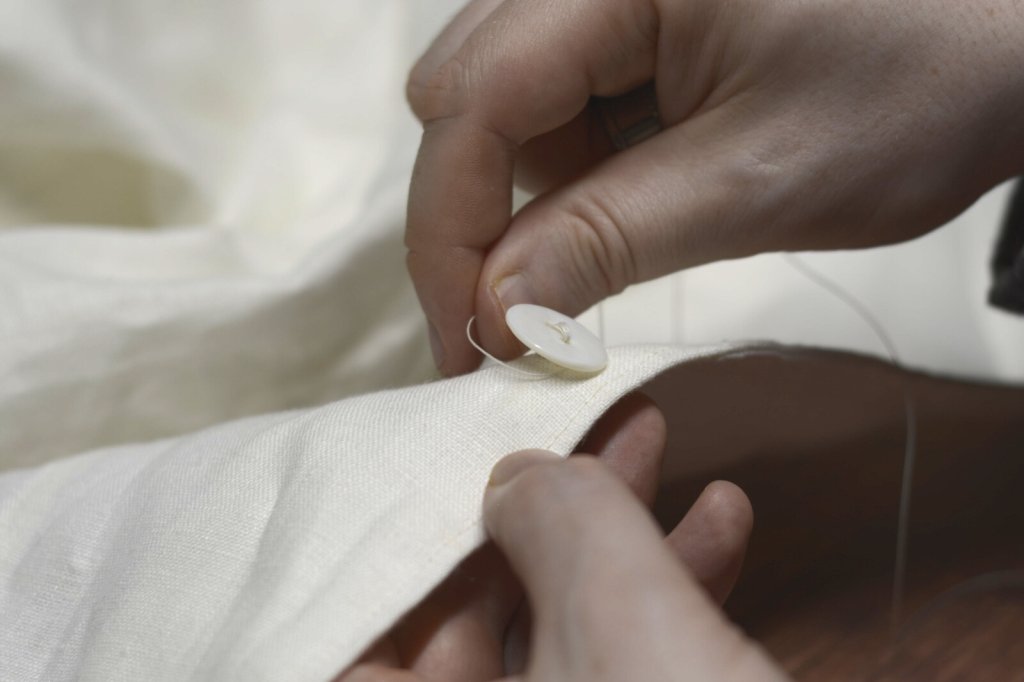
Insert the needle from the wrong side using a knotted piece of silk buttonhole twist.
Insert the needle from the wrong side.
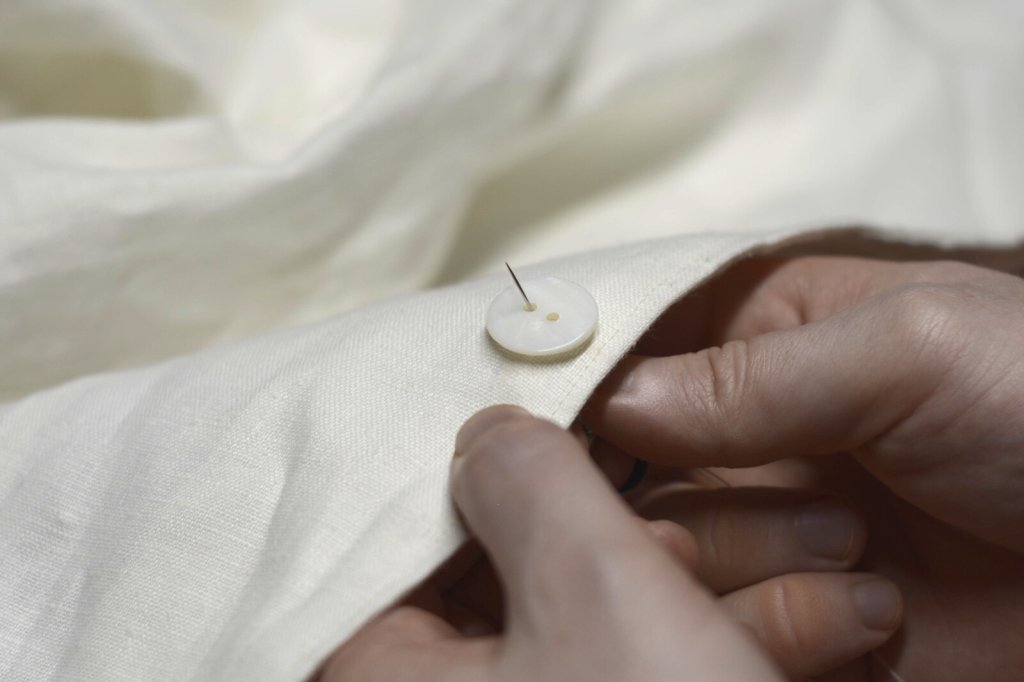
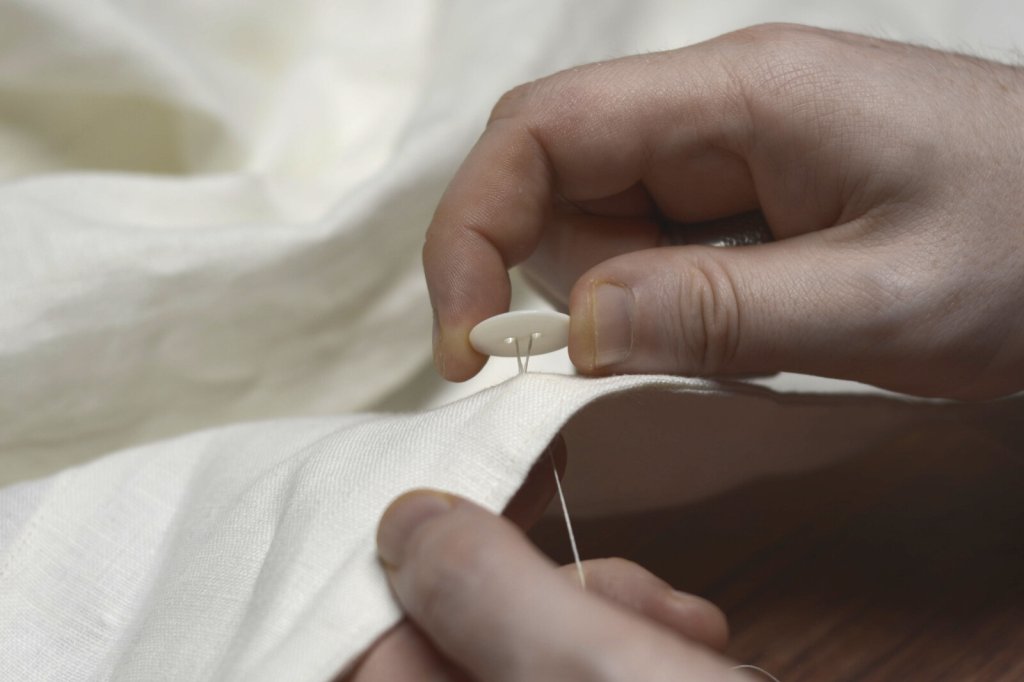
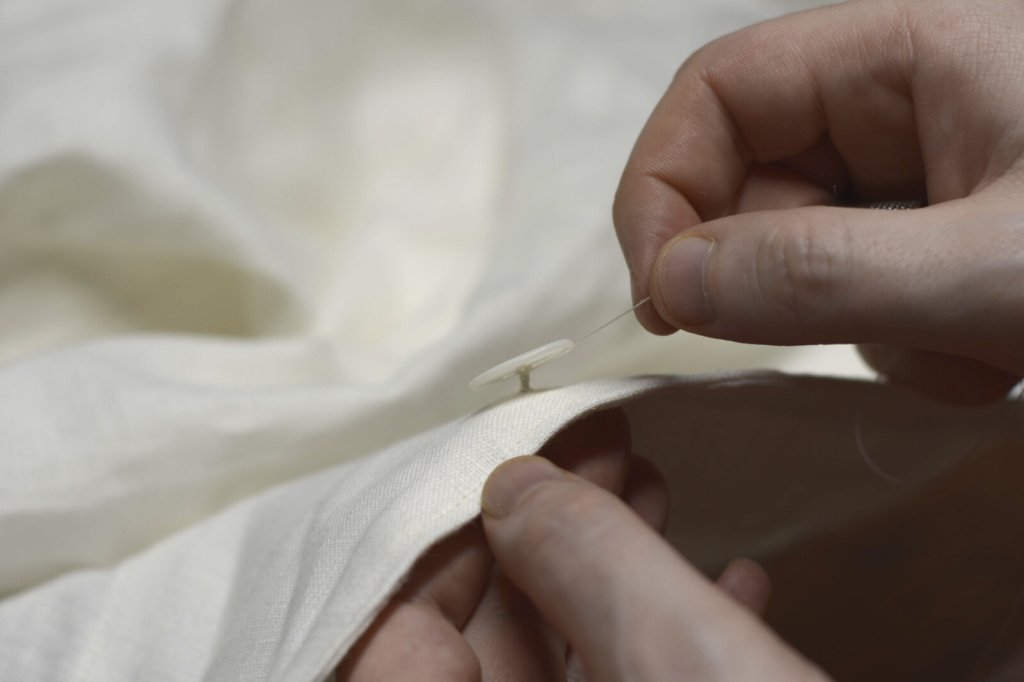
Arrange this first stitch so that the button will be positioned appropriately.
Making the first stitch.
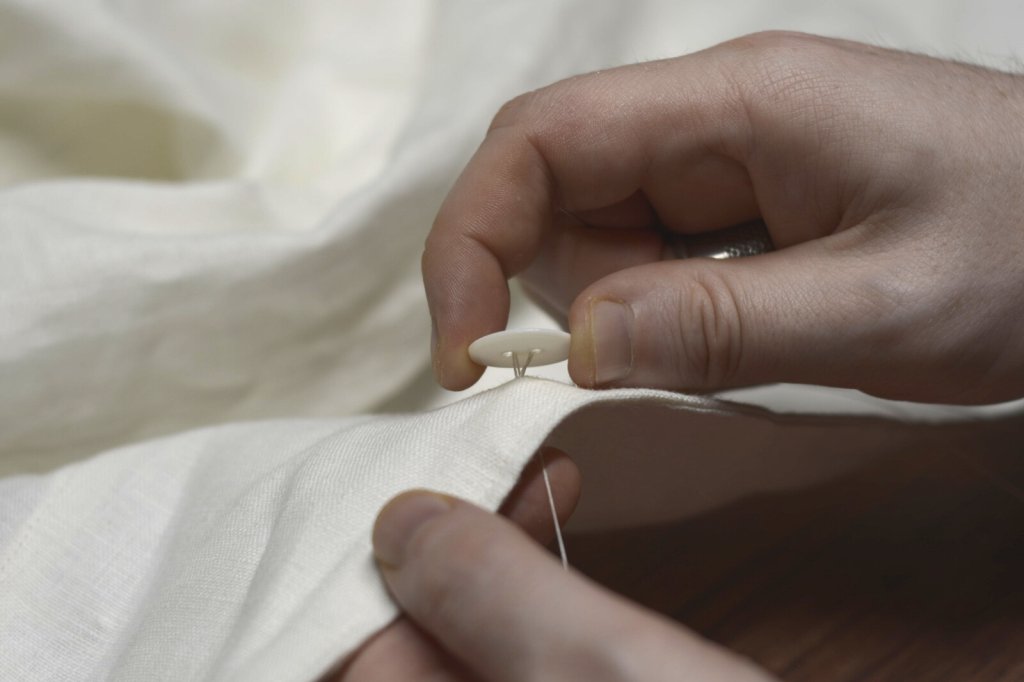
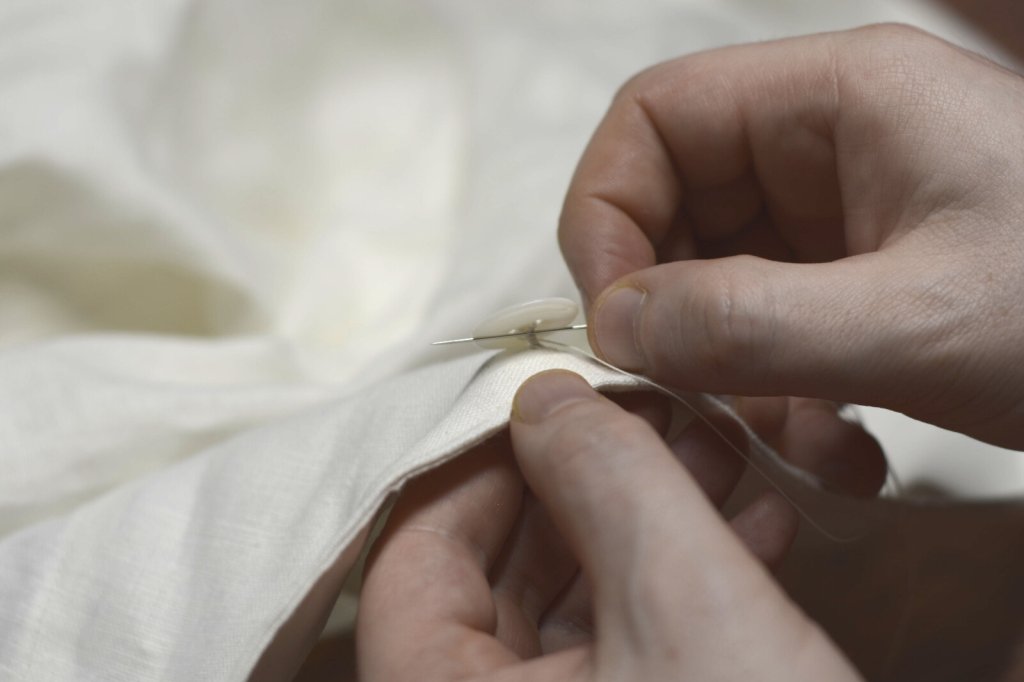
Make your first complete stitch, reentering the fabric about 1/8″ from the first half of the stitch. I like to keep track of the number of stitches by counting ‘one’ on the up stitch and ‘and’ on the downstitch.
Completing the first stitch.
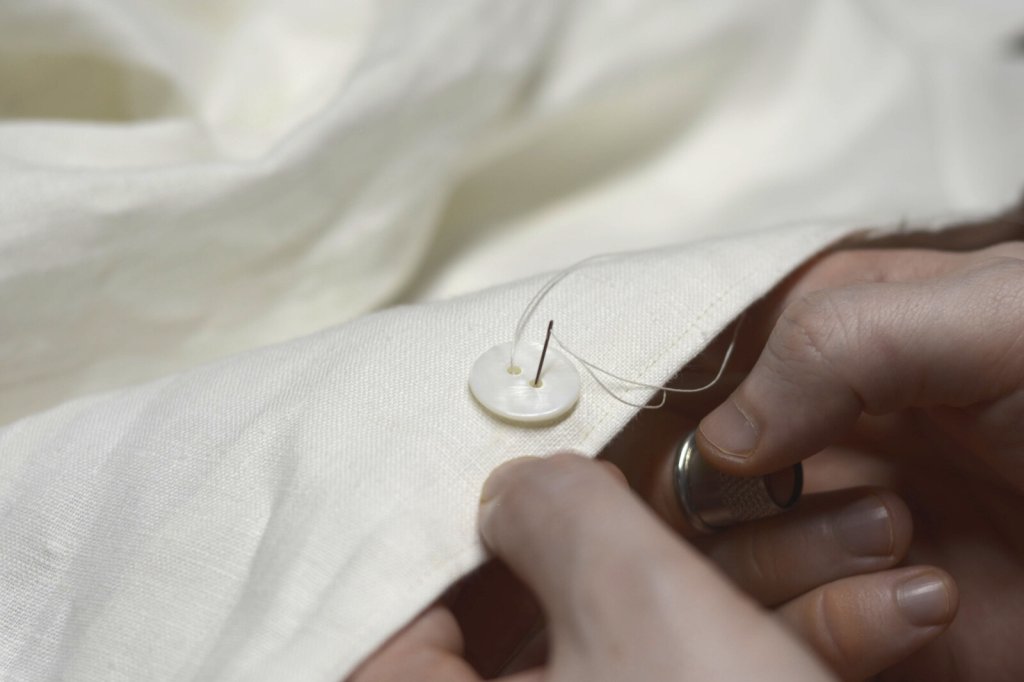
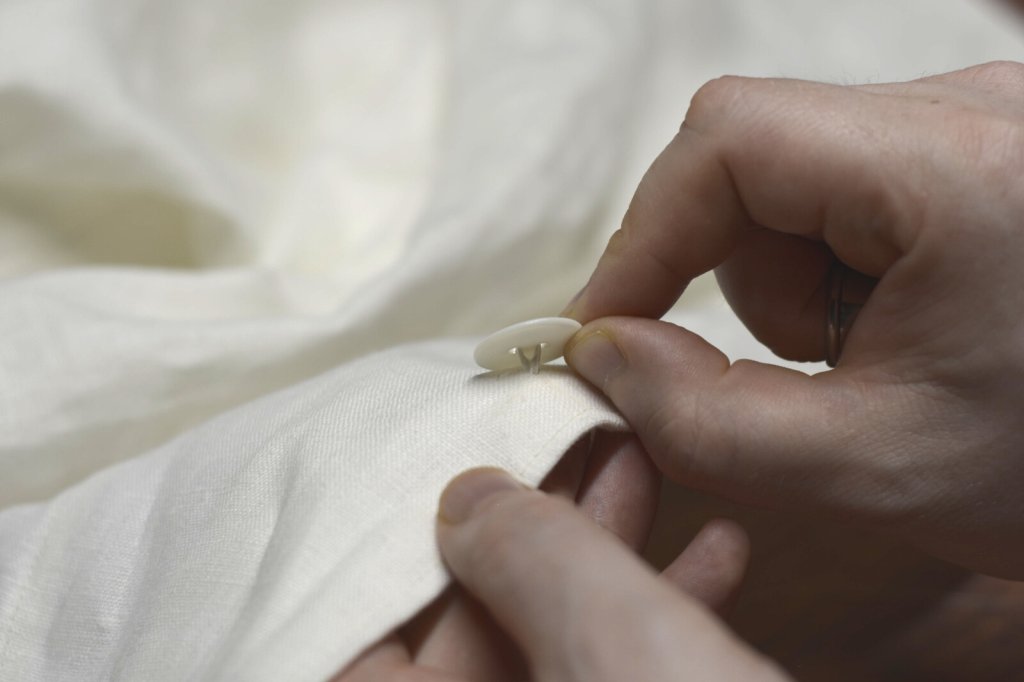
After this first stitch, keep the button rather loose on the coat, with anywhere from 1/4″ to 1/2″ of ease on the threads.
Leave a bit of ease in the threads.
Now make your second complete stitch in the same manner. This is the point at which you can adjust precisely how far away from the coat you want the button to stand and should be based on how thick the front of your coat is plus a little ease. By holding the button with one hand and gently pulling on the loose end of the thread with the other while also holding the coat, you can precisely adjust the height of the button. Here I made mine just under 1/4″.
Draw in the ease to the desired amount.
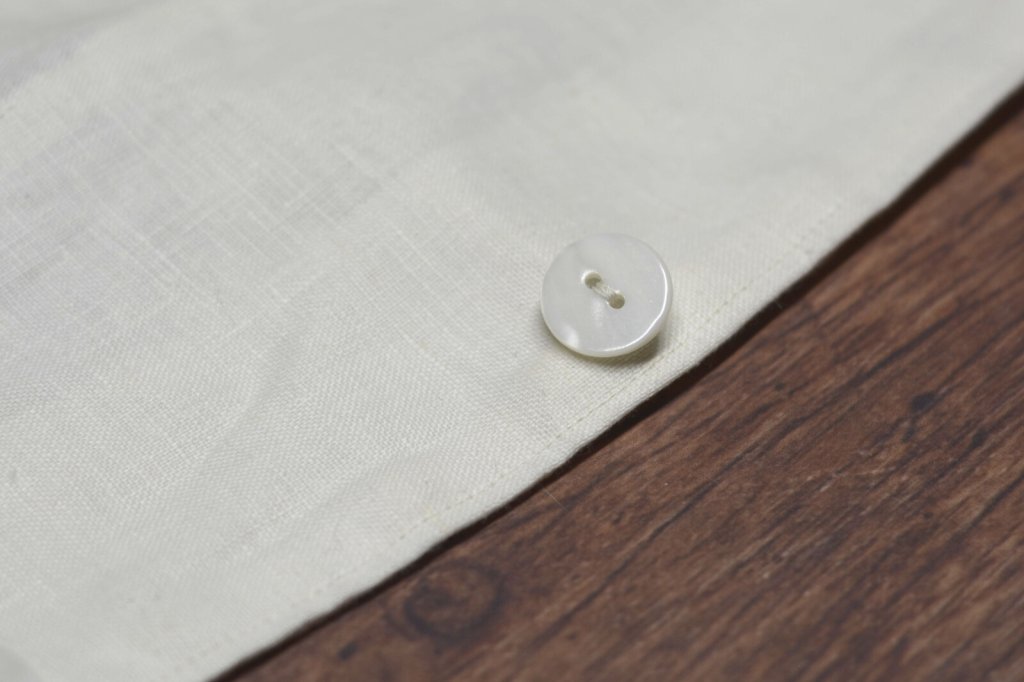
Here’s my button after adjusting the height.
The button is at the desired height.
As soon as you make a complete third stitch, that will lock the height of the button in place. Just be sure to hold the button away from the coat as you pull each stitch taught, so it doesn’t get pulled into the coat. I make six stitches total, though you could do more if necessary.
If you are using a button with four holes, make three stitches in one direction and three across, forming a cross pattern.
The stitches are complete.
With the stitching complete, form the shank by wrapping the thread around the threads 4 to 8 times, depending on the button height. Pull snug, but not too tight, or it will be difficult to finish off the button. These wraps around the threads will keep the button attached much longer.
Wrap the thread around the button shank.
Finishing up the last wrap here and pulling everything snug.
Pull the wraps of thread tight.
Finally, secure the button by passing the needle and thread through the shank three times in differing directions. Trim off the excess thread.