Skip to content
Statamic Peak

Sewing with a Tailor's Thimble

We all must have that one friend, or perhaps it is our self that is guilty, who insists upon sewing without the use of any thimble. I will admit I was one of them when I first started sewing more seriously, and was so proud of the callous on the tip of my finger that could drive the needle through two or three layers with no problem. As one becomes more serious in his or her tailoring work, however, it becomes clear that a thimble is most necessary if you want to progress in your skills and proficiency. And more specifically, a tailor’s thimble will best help you develop and refine your hand sewing.

Why a Tailor’s Thimble?

You may be used to a normal metal thimble often used by seamstresses and home sewers, that has the closed top. A tailor’s thimble, however, has an open top, and coming from a home sewing technique, they can seem intimidating, and indeed, you may have to alter your entire sewing technique.

Tailor's thimbles.
Tailor's thimbles.

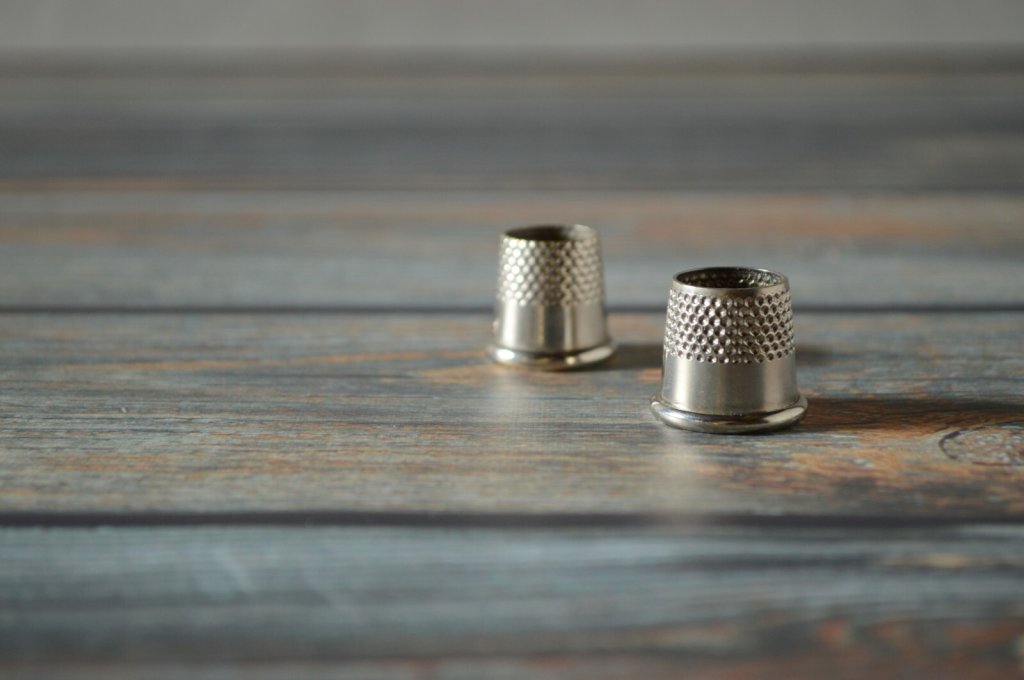
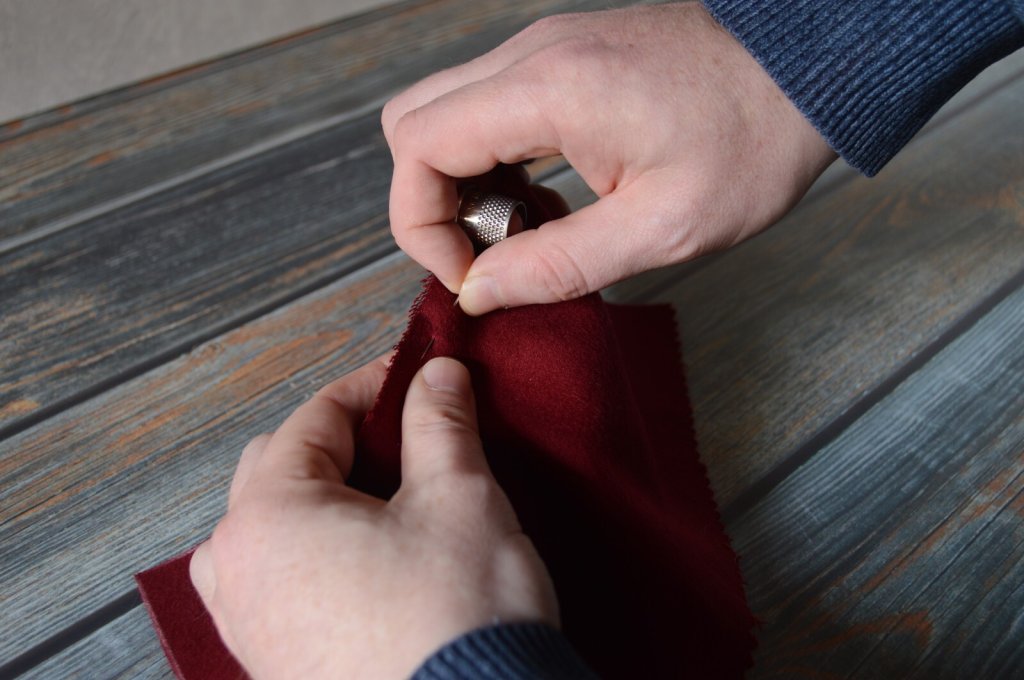
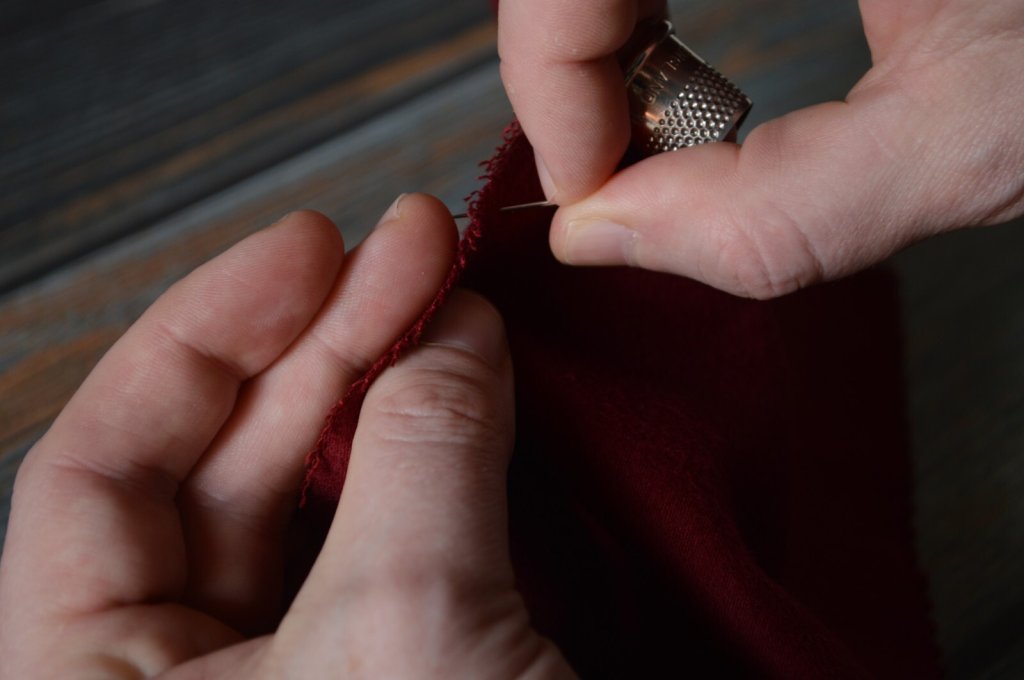
Tailor’s thimbles have an open top for two important reason. First, they allow the tailor to sew for long periods of time without condensation forming in the tip of the finger under the thimble. Second, and most importantly, the open top gives the dexterity and tactility necessary for a tailor. As one is sewing, the fabric is constantly manipulated with both hands, and having that open top allows you to use the tip of that covered finger to aid in this manipulation.

Choosing the Right Size

Choosing a thimble can be a bit of a challenge these days. Unless you have a higher end sewing store nearby that carries tailor’s thimbles, you’ll probably have to order them online and guess at the sizing. I found mine at B. Black and Sons, and since I have medium to large hands, I bought both a size 9 and 10. After some use, I found that the size 10 was a better fit for me, so you may have to order a couple different sizes and experiment for yourself.

The tailor's thimble is too small.

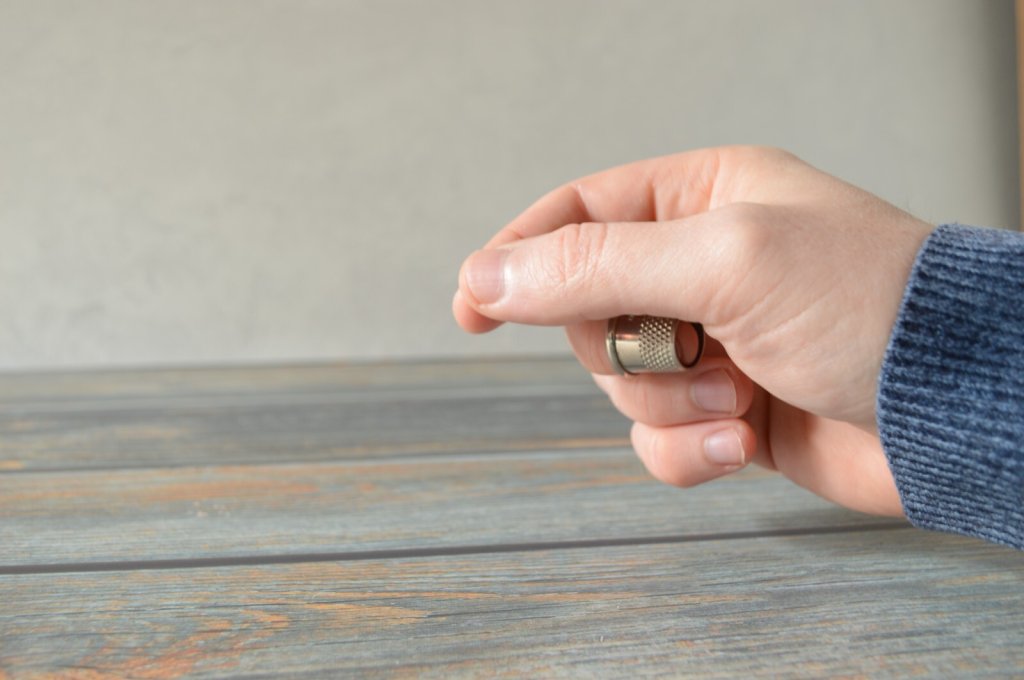
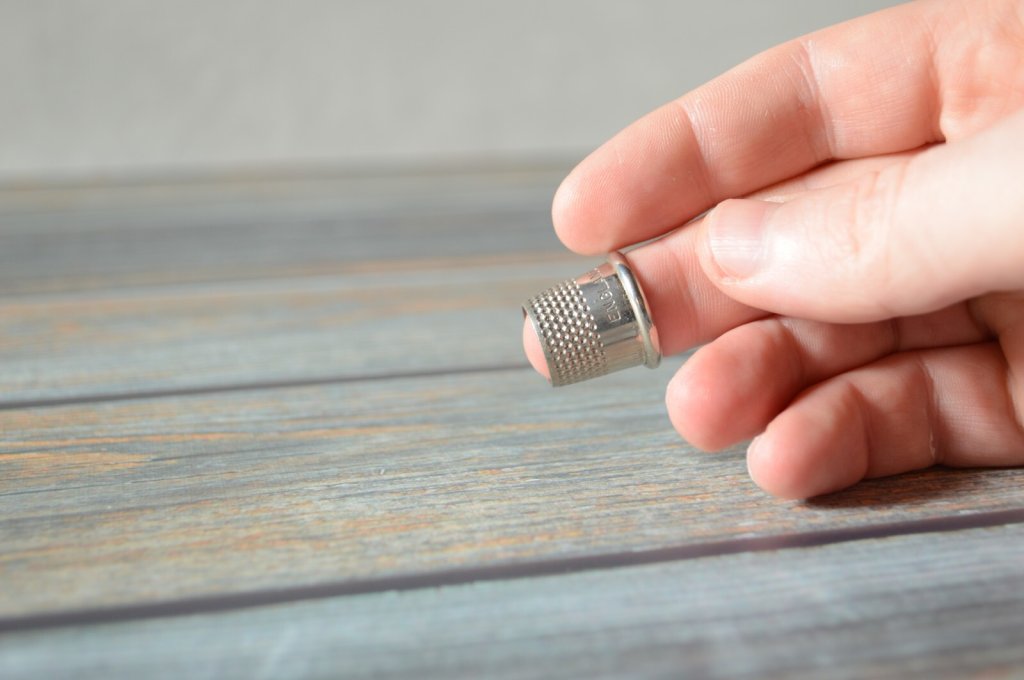
When determining a good fit, place the thimble on your middle finger of your dominant hand. The tip of your finger should extend past the top of the thimble by about 1/16 to 1/8 of an inch, allowing you to get a feel for the fabric as you are sewing. If the thimble is too small, your finger will not protrude enough and you’ll lose that sense of touch in that finger. Too big and the thimble will tend to slide around or even fall off.

A fitted tailor's thimble.

Another point to keep in mind is the material of the thimble. Most of the new thimbles for sale today are made out of some kind of nickle alloy and for certain people this can give a slight allergic reaction. The only solution I can think of is to hunt down an antique thimble made out of sterling silver or find that rare source for a new one. Be prepared to spend a lot more money, though.

How to Use the Thimble

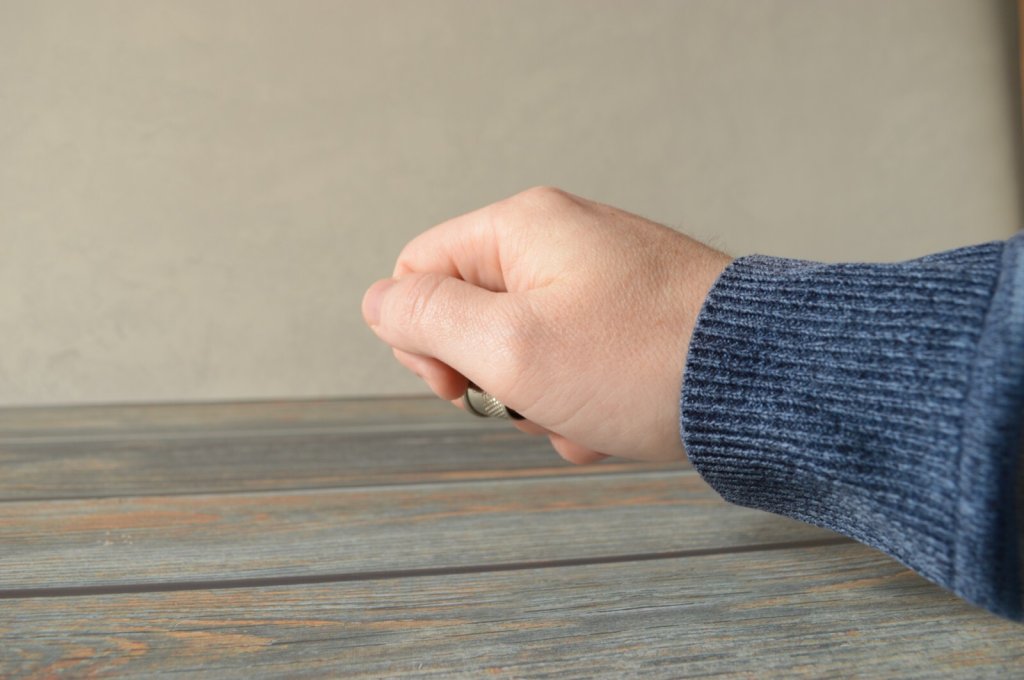
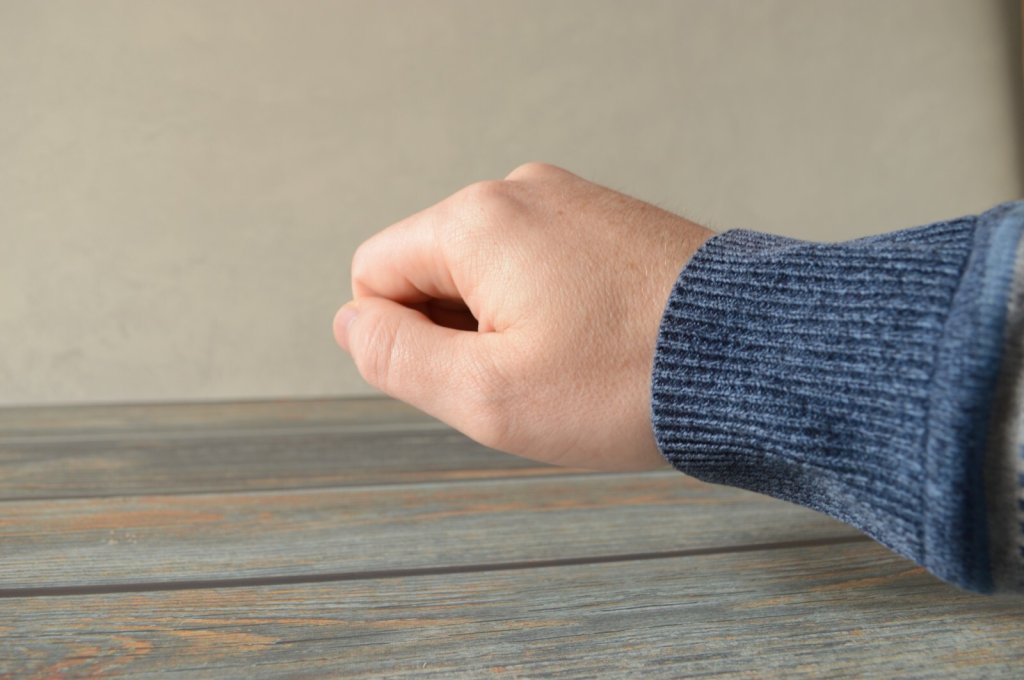
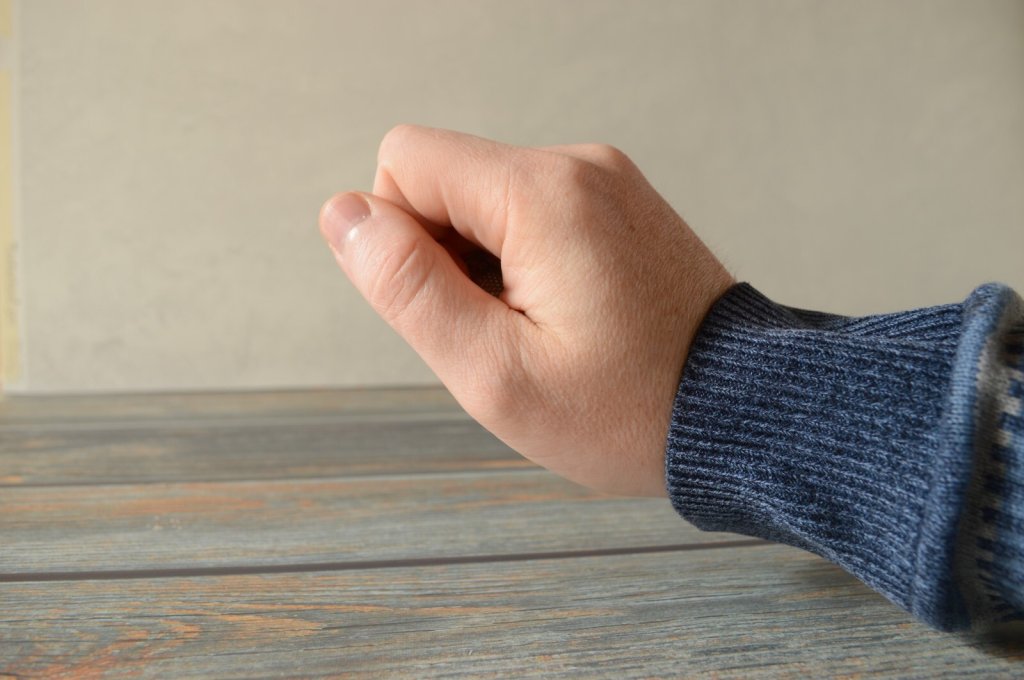
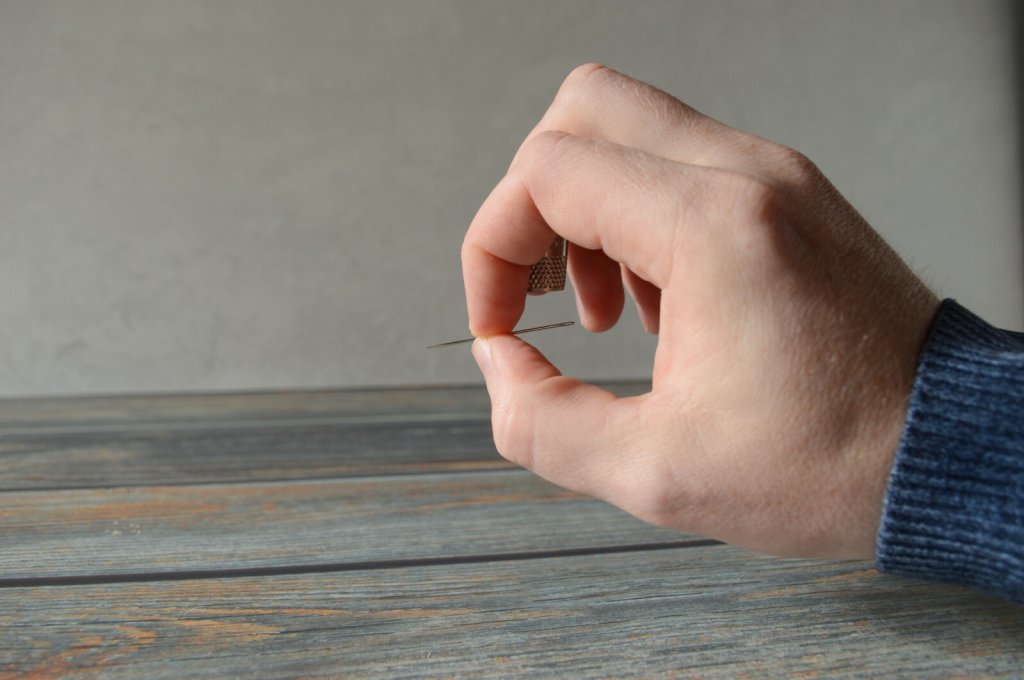
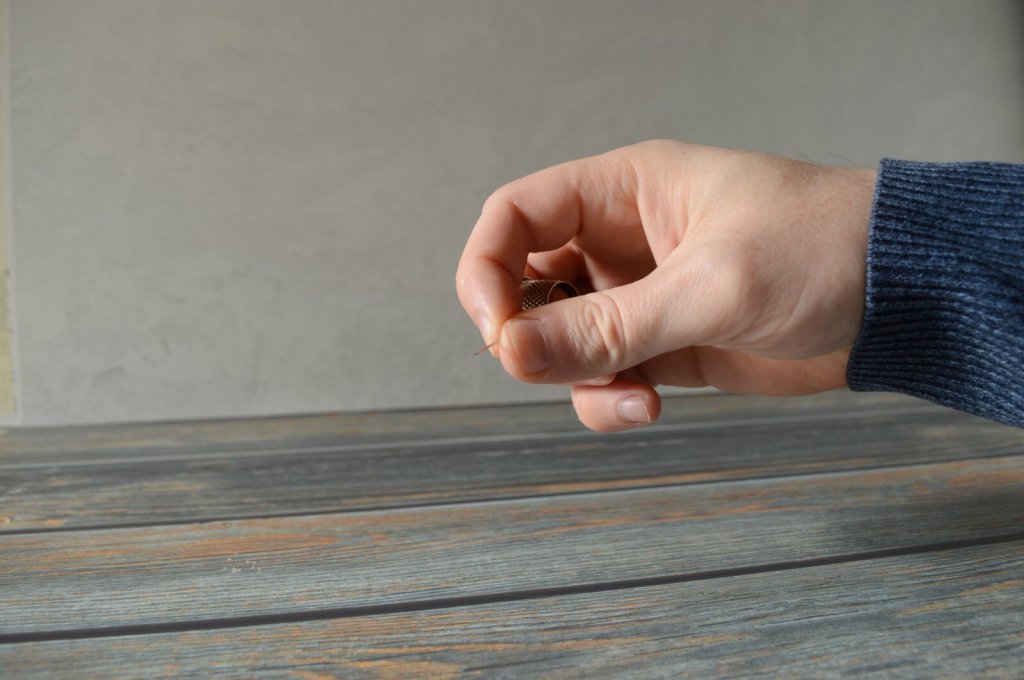
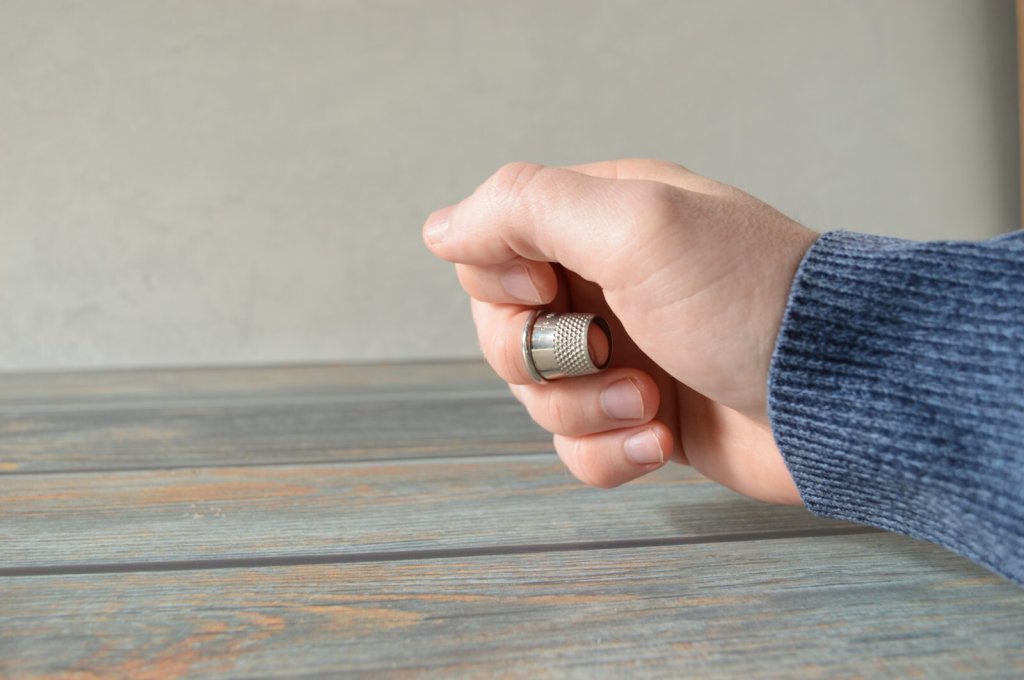
The first thing to remember when using a thimble is to always stay completely relaxed. The moment you start to tense up the muscles in your fingers, hand, wrist, or arm, you’ll begin losing a degree of control over your work and you will tire out more quickly.

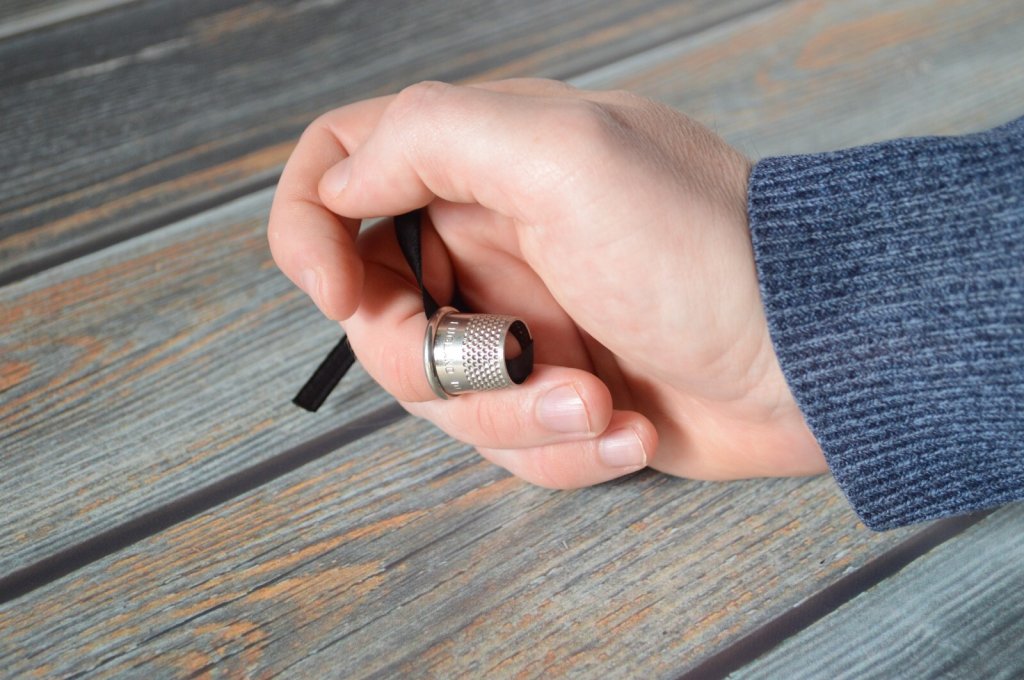
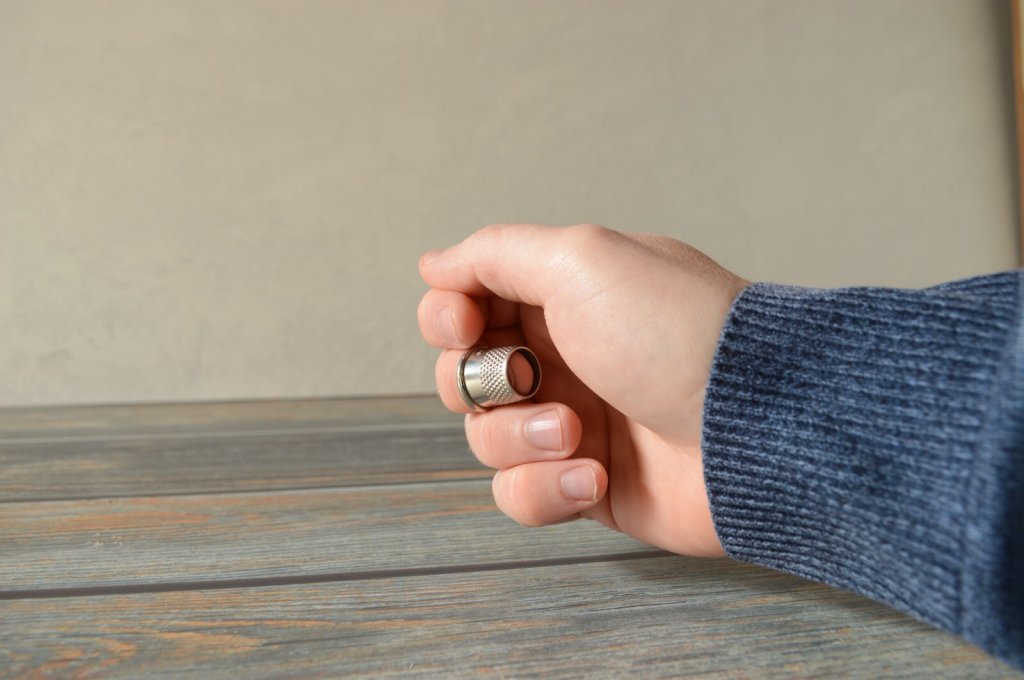
Hold the thimble on the middle finger on your dominant hand, and just let your fingers relax into a very loose fist, as pictured.

Allow your fingers to relax into a loose fist.

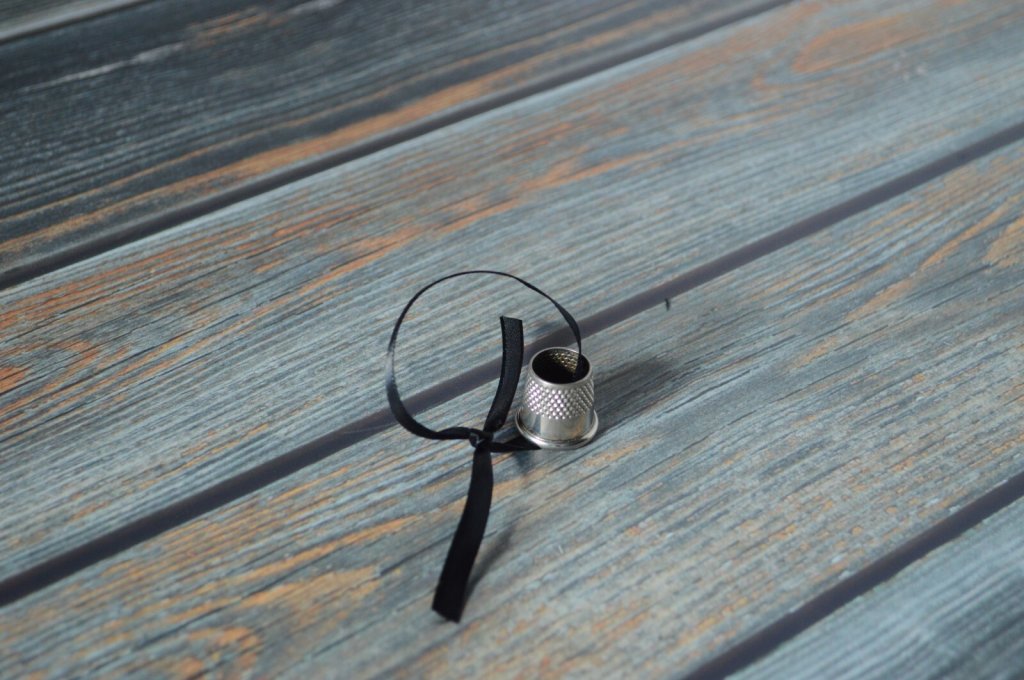
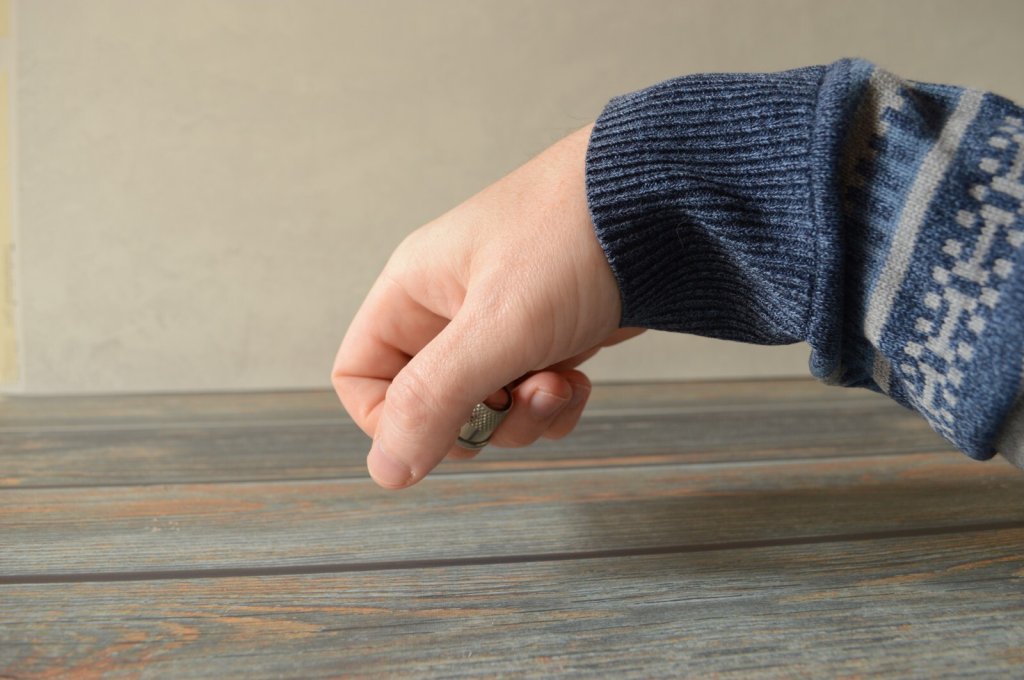
If necessary, you can try tying a piece of ribbon or string around the thimble and your finger in order to keep the thimble in the correct position. After a few days to a week you should be able to do without it. Remember to stay relaxed!

Tie a ribbon through the thimble to keep your hand in the correct position.

Rotate your hand, forearm, elbow and even your shoulder all as one unit, keeping your fingers in the same position. The fingers actually move very little while sewing. The larger muscles of your arms will propel the needle through the fabric, while your fingers will subtly manipulate the needle to position it perfectly for the next stitch.

Practice rotating your hand with the wrist and forearm.

Practice this rotational movement for a bit. You can work on it each day for about two to five minutes, just like any other exercise. When you are comfortable with the motions, start to pretend you are holding the needle between your thumb and index finger and continue doing these movements.

Practice rotating your wrist with the thimble as if you are holding a needle.

One very important thing to avoid is bending your wrist either up or down, or two the side. You need to keep it aligned with your forearm in order to prevent such things as tendinitis and carpal tunnel syndrome.

Avoid letting the wrist get out of alignment.

Finally, you are ready to try using the thimble with a needle. Start by placing the middle of the needle between your thumb and index finger. The eye end of the needle is placed on the thimble at a point above your finger nail. This is contrary to what a lot of home sewers and quilters do, so it may take getting used to. With that rotational movement, push the needle firmly through the fabric and up again all in one stroke.

Practice using your needle with the tailor's thimble.

You’ll find that the movement does not need to be as exaggerated as in the exercises you worked on, but the rotation is definitely still there. Remember to remain relaxed at all times!

Using a tailor's thimble and needle.
Using the tailor's thimble with a needle.

Another subtle point to keep in mind is that as the needle passes to the bottom side of the fabric, it should actually touch the index finger of your opposite hand in order to help you gauge the depth and length of your stitch. It should be just a light touch or prick, and you’ll quickly build up a callous on the tip of that finger. By doing this, you avoid having to look at the under side of your work with every stitch. It’s very exaggerated in the photo for clarity, but in reality it’s barely seen or felt.

The needle gently pricks the finger on the underside to help gauge the stitch depth.

After you are comfortable passing the needle through the fabric, you can start using your fingers more to control the point of the needle more precisely. The point between the thumb and index finger acts as a fulcrum point while the middle finger and thimble subtly move the needle as necessary.

Use the fingers as a fulcrum for fine control over the needle.

Here’s a video demonstrating all of the above points. As with anything, it takes a bit of time and practice to get used to using the tailor’s thimble. Another thing that might help you speed up the process is to wear the thimble around the house as you go about your day. You’ll find you can do just about anything while wearing it, even typing, which helps to build your dexterity.

Using a tailor's thimble.