Skip to content
Statamic Peak

Constructing Silk-Covered Buttons

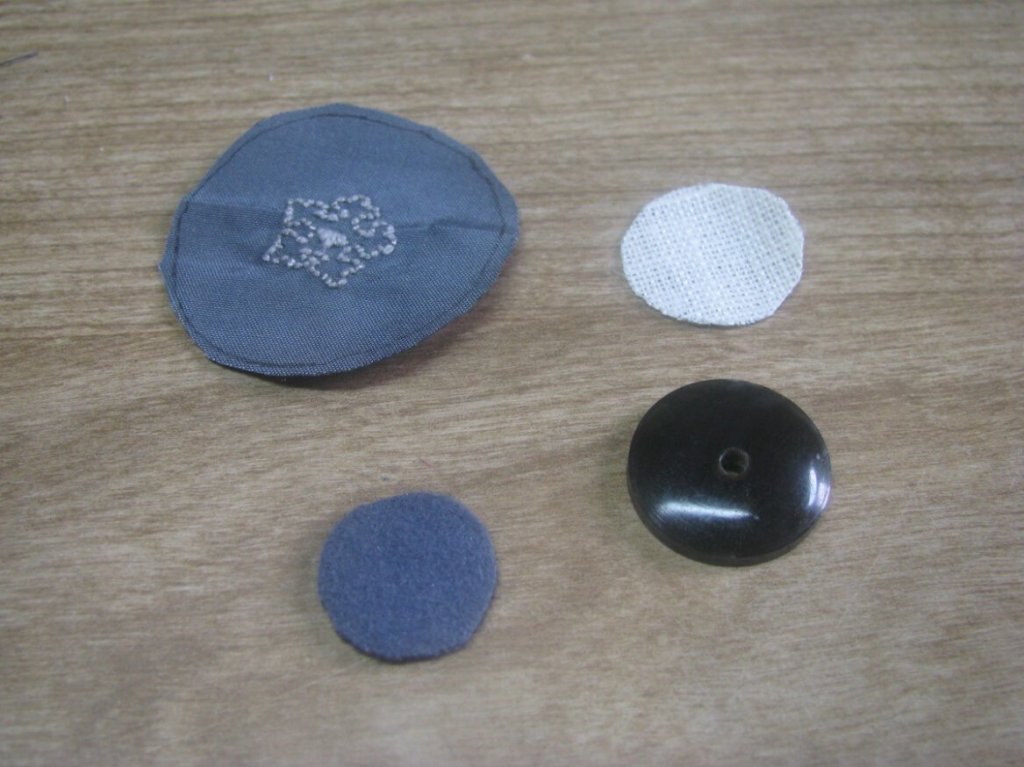
Constructing an accurate and quality frock coat is all about the details. One such detail is the buttons, often covered in fabric and which could take hours of work to complete. Cloth buttons were very commonly used on frock coats during the 1860s period. Of about one dozen original frock coats I have examined, all of them had cloth covered buttons, either in self fabric, or a matching silk.

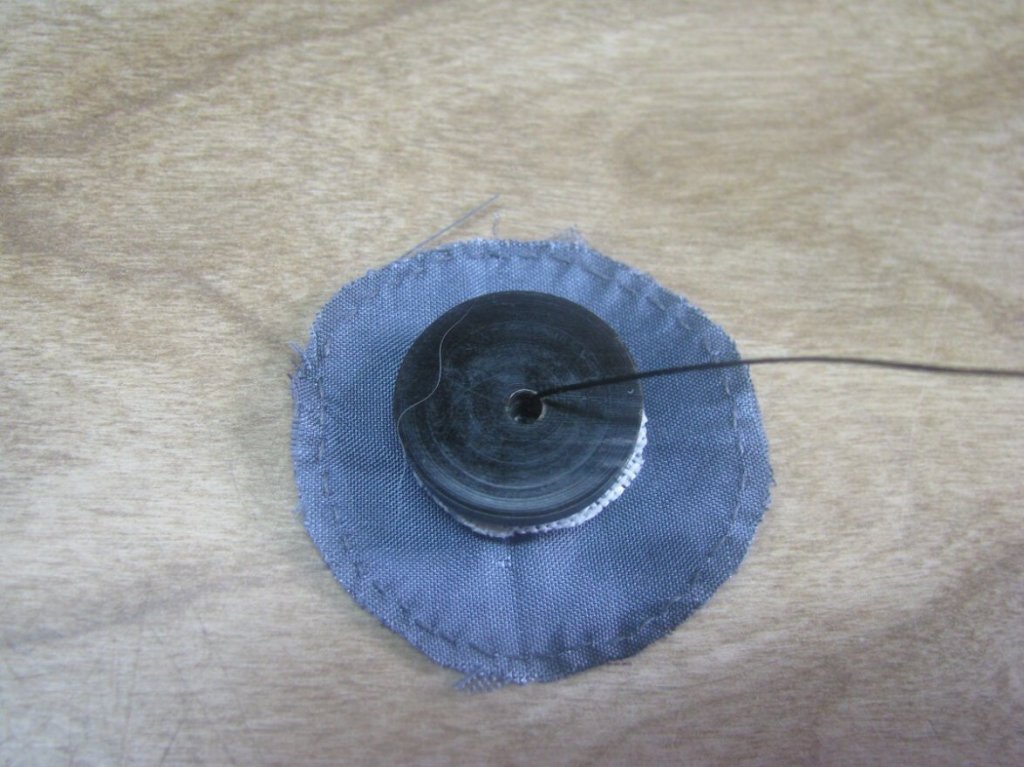
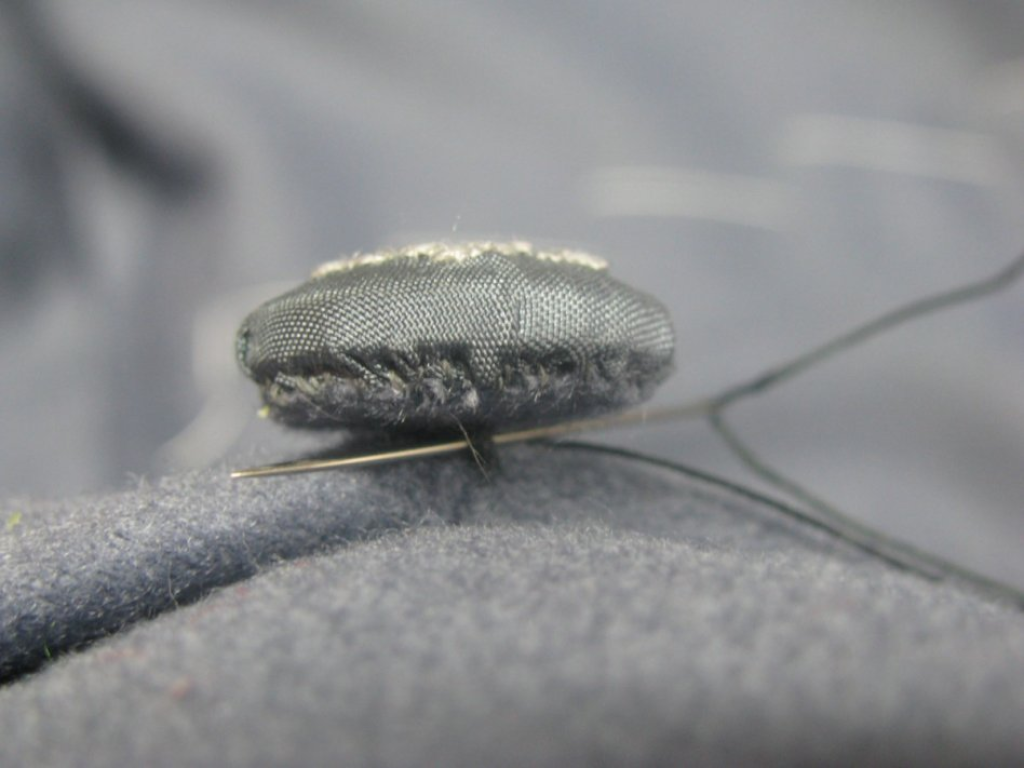
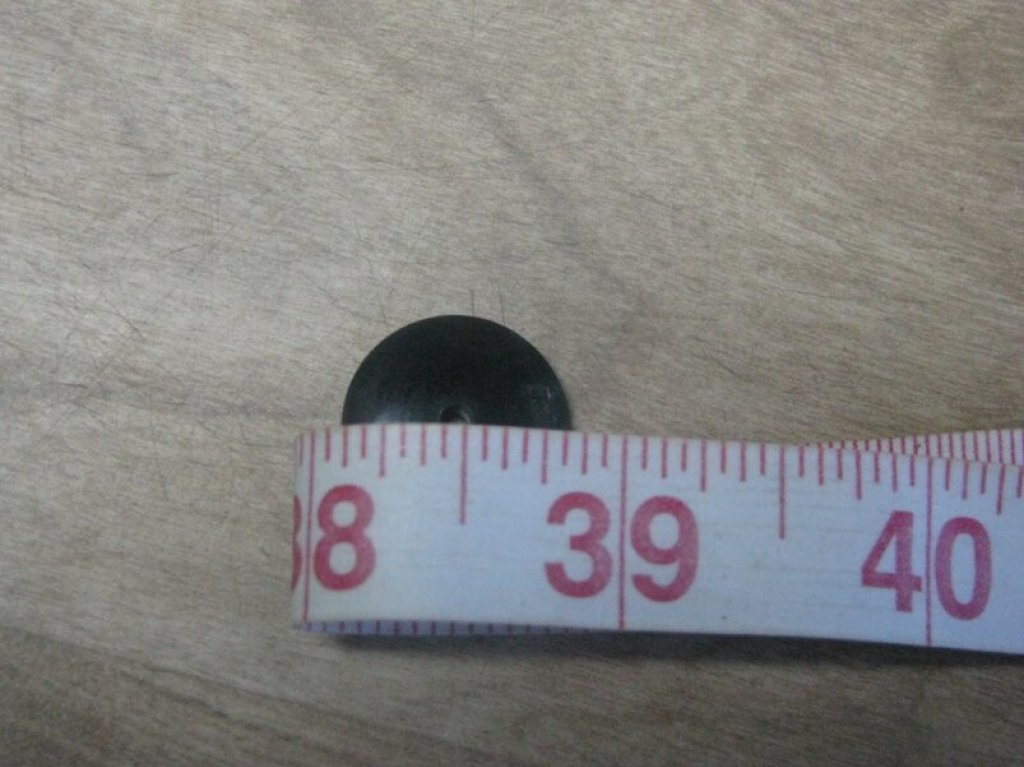
The first step is to determine the diameter of your button mold. Since they are curved on the top side, they therefore have more length there. Wrap your tape measure around the center of button mold, and divide the measurement in half. This gives you some additional room, since it accounts for the curvature of the mold.

Measure the width of the button.

Embroidery

An additional feature present on some buttons were custom embroidery. Keep in mind this step is completely optional, and plain buttons were the most commonly used. This embroidery could range from simple geometric patterns, to initials, to more elaborate designs. While the embroidery itself is outside the scope of this workshop, I will go through the process that I used, so that you may have a place to begin your own research from.

Now that you have the diameter, it’s time to locate an appropriately sized pattern. With today’s computer technology, it is easy to scale patterns to the correct size, but you should find something approximately the correct size. I found an embroidery pattern in a Godey’s Magazine issue from 1860. The pattern was originally for a pincushion, but I noticed the middle was the perfect size for a button.

1860s embroidery pattern.
Embroidery pattern from Godey's Magazine, 1860.
Embroidery pattern for buttons, 1860.
Embroidery pattern for the buttons.

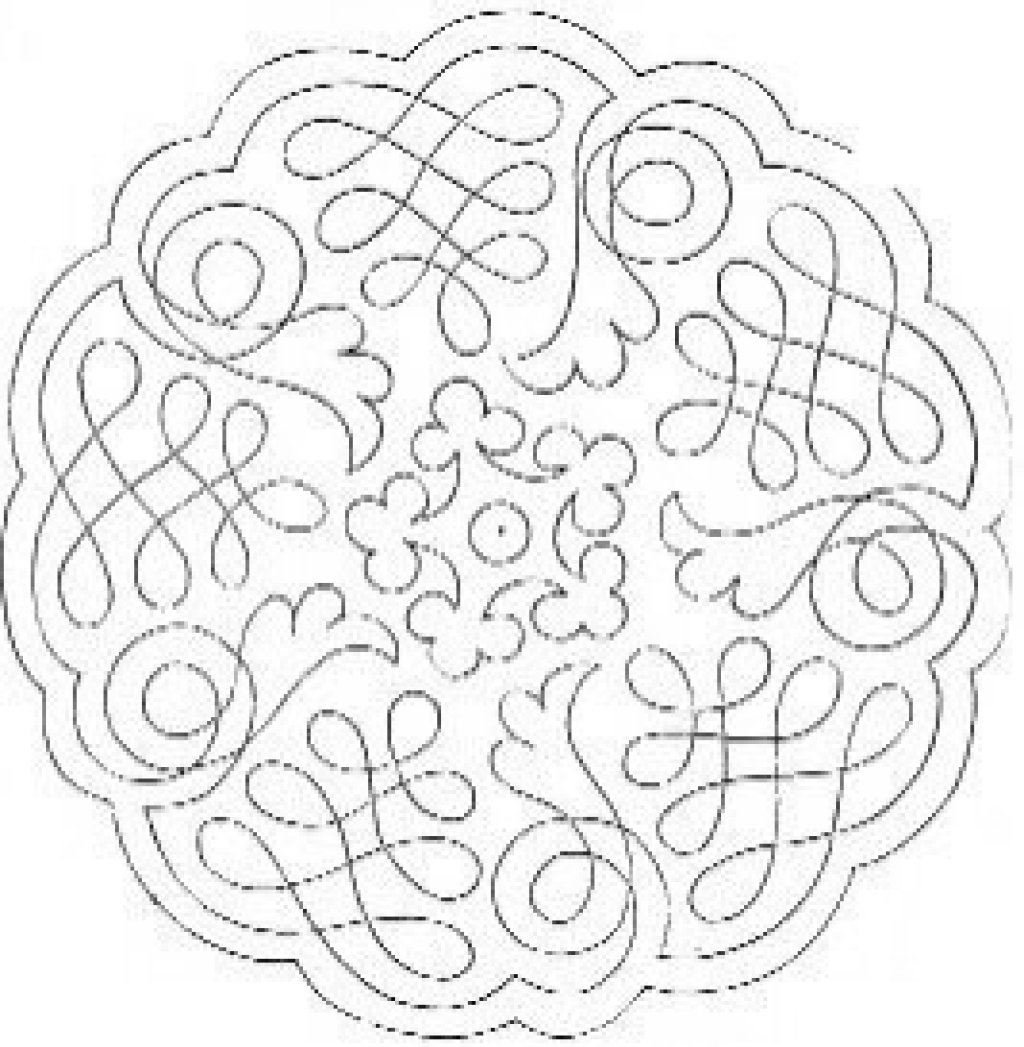
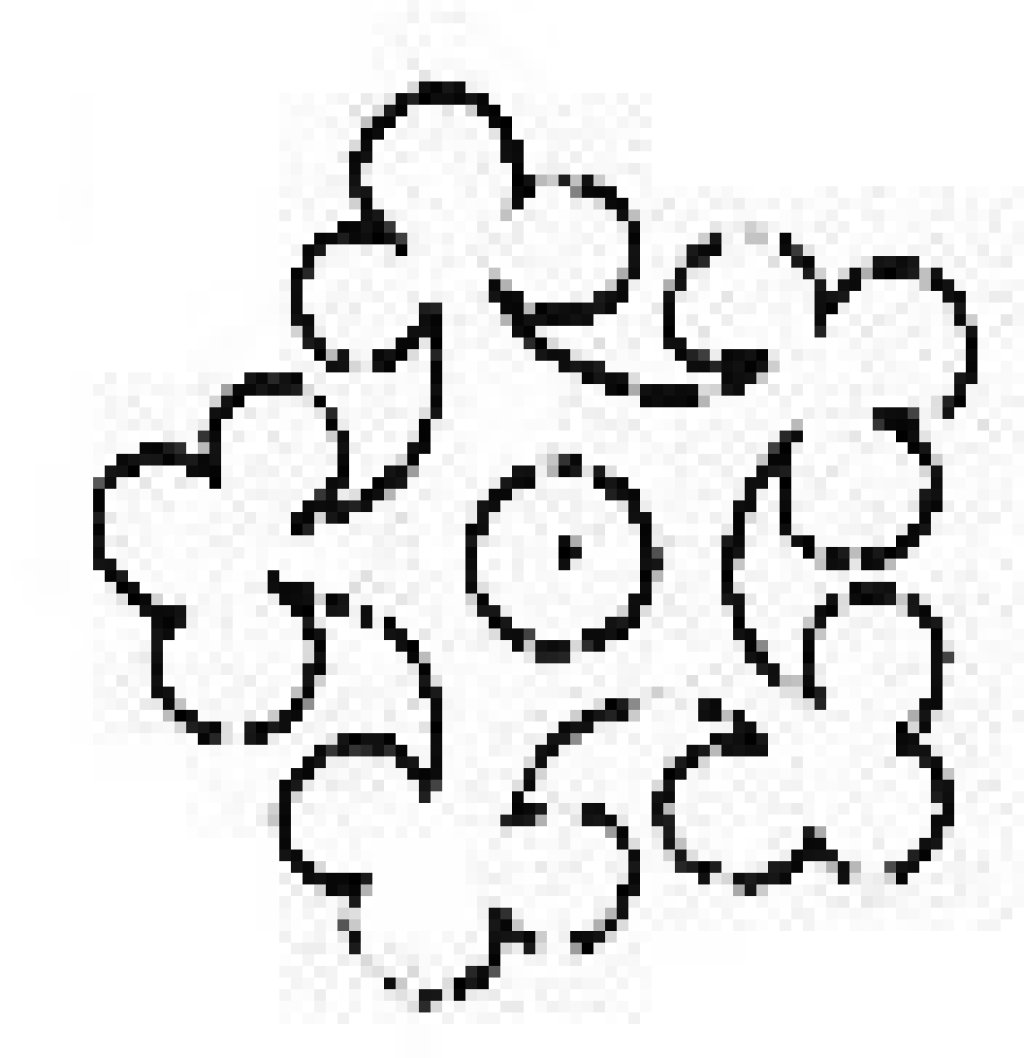
Taking that, I digitally cropped and attempted to clean up the pattern as best I could. Next, I placed it into an illustration program called Inkscape (free to download and use), and added the appropriate sized border around the pattern, using twice the diameter measurement. From there, the pattern was copied and spaced so that I could print it out to use as my pattern. Note that four were scaled down further, for the cuff buttons. I’ve included this pattern on the next page so that you’ll be able to see and follow the process in its entirety.

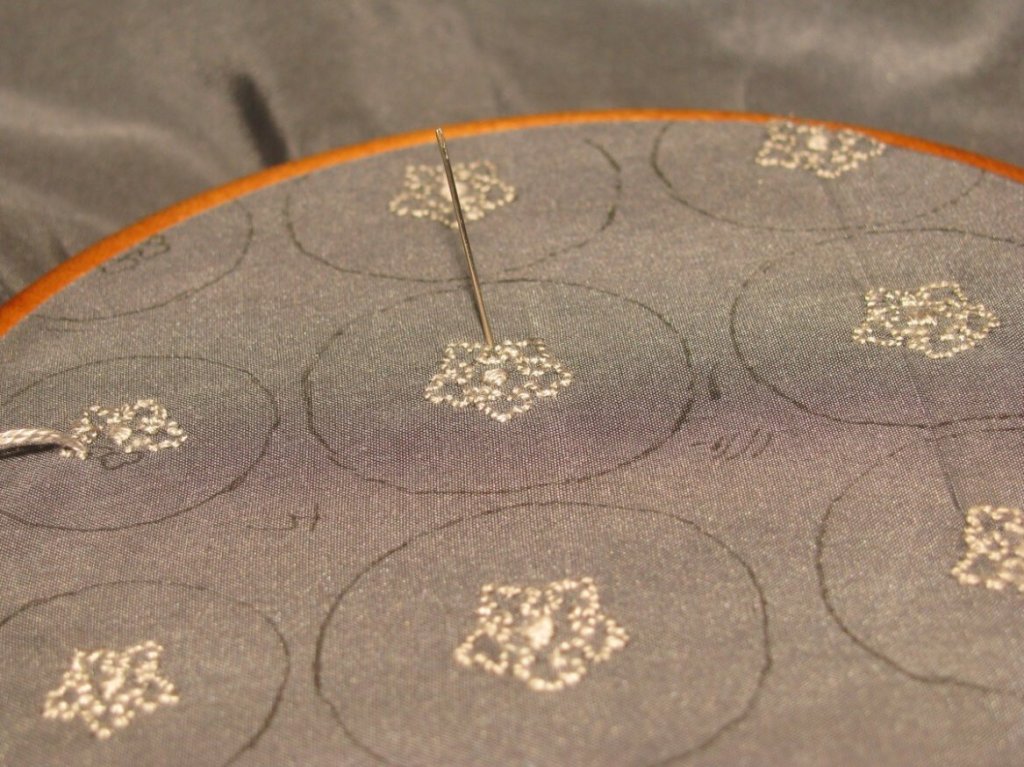
I placed this pattern under my silk taffeta, and outlined the pattern with a fabric safe pen over a light table. There are other ways to do this, such as special transfer paper that you can embroider over, tearing it away afterwards, and other methods, but this is what has worked for me. I encourage everyone to experiment on their own before committing to a method.

Finally, the buttons are ready for embroidery. This again is outside the scope of the course, but I’ve included the embroidery I had done by a friend as inspiration for you. The buttons are simply backstitched with silk embroidery floss, with a satin stitch in the middle.

Embroidering the silk covered buttons.
Embroidering the silk button patterns.

Constructing the Buttons

For each button, cut out the main silk piece. If desired, you can add a 1⁄4 inch seam allowance, to turn and press under, especially if your fabric frays easily. Cut a piece of linen the same diameter as the button. Finally, cut a piece of broadcloth slightly smaller than the button mold, used for a secure backing.

Covered button pieces.
The various pieces for a silk-covered button.

Wax and press a length of buttonhole twist – about 10 to 12 inches per button is good. Make a few back stitches in the center of the linen. These should not be on top of each other, but slightly spaced out in order to reduce bulk.

Tie the silk buttonhole twist to the linen.
Secure the silk buttonhole twist to the linen.

Make a small series of running stitches around the edge of the silk. Be sure to leave 5 or 6 inches of thread free at the ends. The smaller the stitches, the finer you can gather the silk around the button mold. If you have left a seam allowance, this should have been pressed under, with the running stitches going through both layers. The stitches should be 1/8” to 3/16” away from the edge, depending on how much the material frays.

Stitch around the outside of the silk.

Baste the linen to the wrong side of the silk cover, making sure that they are centered upon each other. Use stitches of a large enough size that they can be removed easily after completion, but secure enough that there is no movement. I’d use a thinner thread for basting, as the larger normal basting thread can leave holes in the delicate silk.

Place the button mold on top of the linen, rounded side face down, and thread the buttonhole twist through the hole in the mold.

Place the layers together and pass the thread through the button form.

Carefully pull both ends of the gathering thread, wrapping the silk along the back of the button mold. Be careful not to pull too strongly, or you’ll pull the stitches out through the edges. Instead, work slowly with light pressure, gathering little by little.

Draw in the thread around the buttonhole.

Pass the buttonhole twist through the circle of broadcloth, at the center.

Pass the thread through the circular wool piece.

Now, carefully fell along the edge of the broadcloth, catching the silk underneath. I like to make two passes around the circle. On the first pass, just concentrate on getting everything neat and tidy, and catching all of the silk. Don’t pull too hard, or the opposite side of the circle will be pulled towards your stitching, making your button off-center.

Fell the wool to the button.

On the second pass of the felling, you can be a little firmer, making sure those stitches will stay permanently.

At this point, the button is complete. You should have about 8 to 10 inches of buttonhole twist left on the button, to be used to attach to the coat later on.

I like to construct the buttons one at a time throughout the process of making a coat, to alleviate tedious or somewhat boring steps in the process.

Silk-covered button.
The completed button.