
Have you ever been plagued with knots or fraying threads while doing some hand sewing work? It can be a most frustrating event to be in the middle of a line of stitching and suddenly have the thread break off. For many years now I’ve been not only waxing, but pressing my sewing thread as well, with great results. It may seem crazy at first, but it’s completely worth the effort.
Start by cutting several strands of thread about 20 to 24 inches in length. By keeping the threads on the shorter side, you further decrease the likelihood of the thread fraying because you use up the thread before that can happen.
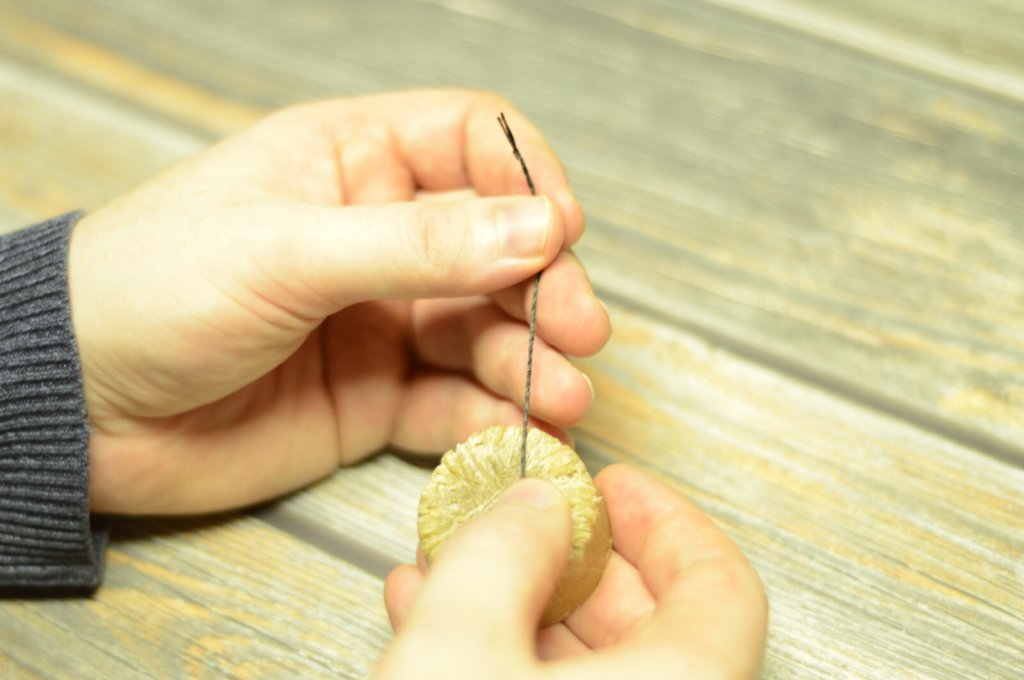
Next, rub the threads one at a time over a cake of beeswax. I’ve even used beeswax candles if I can’t find my little cake for some reason. I like to coat each strand twice in the beeswax to ensure even coverage. While you’re doing this, plug in your iron and let it heat up.
After all of the threads are coated, iron each piece, ensuring all of the wax melts into the thread. You can use a piece of paper to keep your ironing board wax free, or perhaps use a spare or old sleeve board like I do that you don’t mind getting dirty with wax and pigment / fiber buildup.