Skip to content
Statamic Peak

Drafting a Nightcap

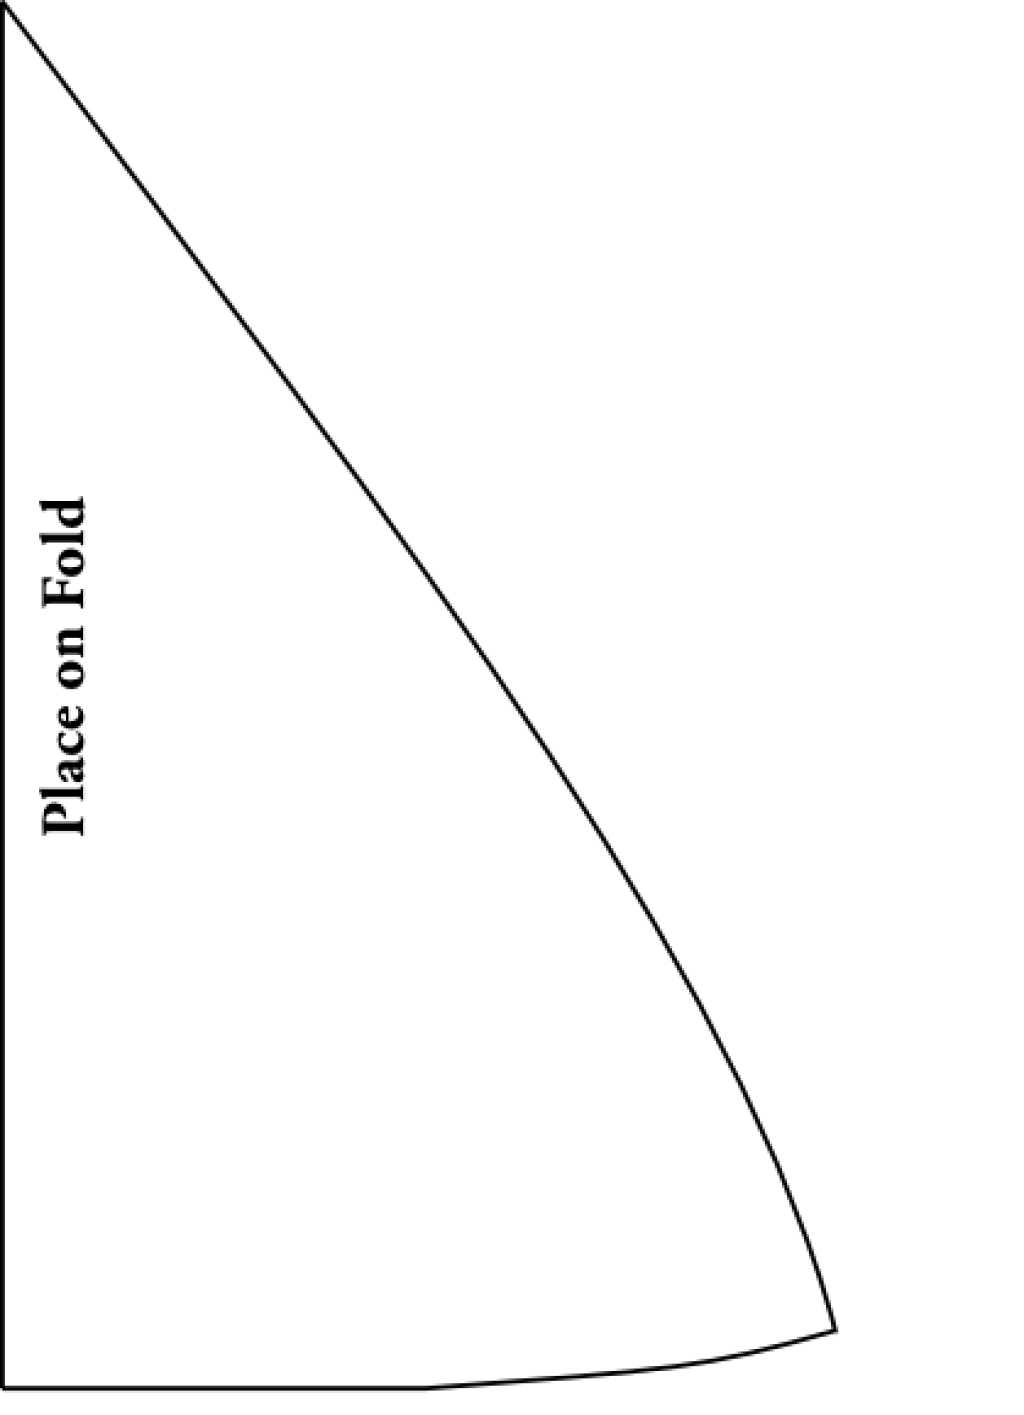
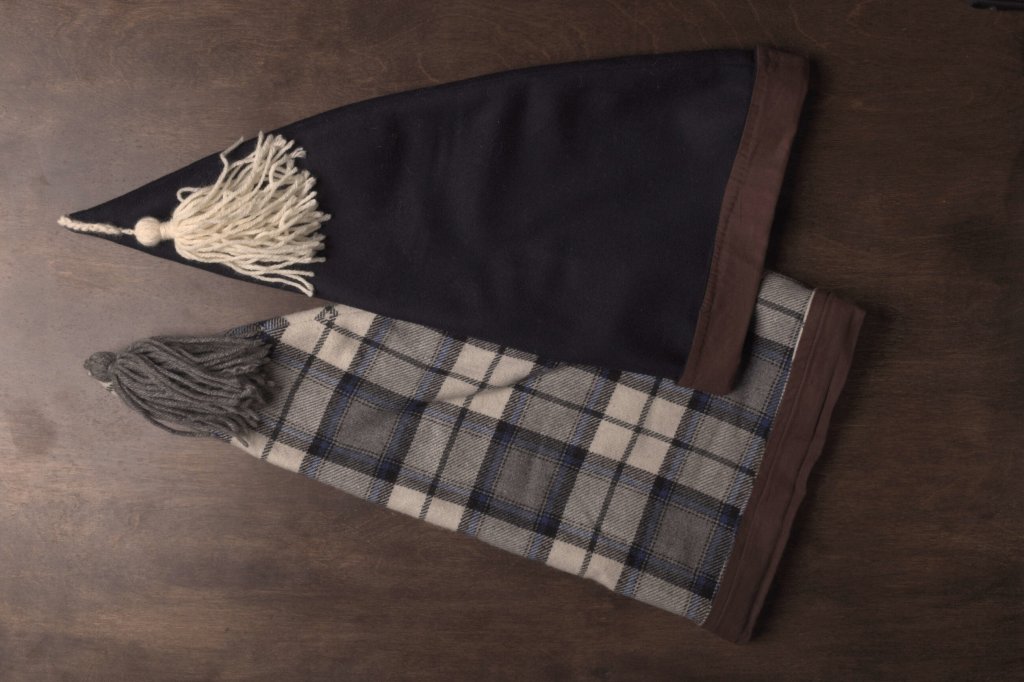
For a slight change of pace, we will learn how to draft a gentleman’s nightcap today. I was in need of one a few months ago, and whipped the whole thing up in about in hour – drafting and sewing included. This draft will give you the basic shape of the nightcap, from which you can alter it as the style requires.

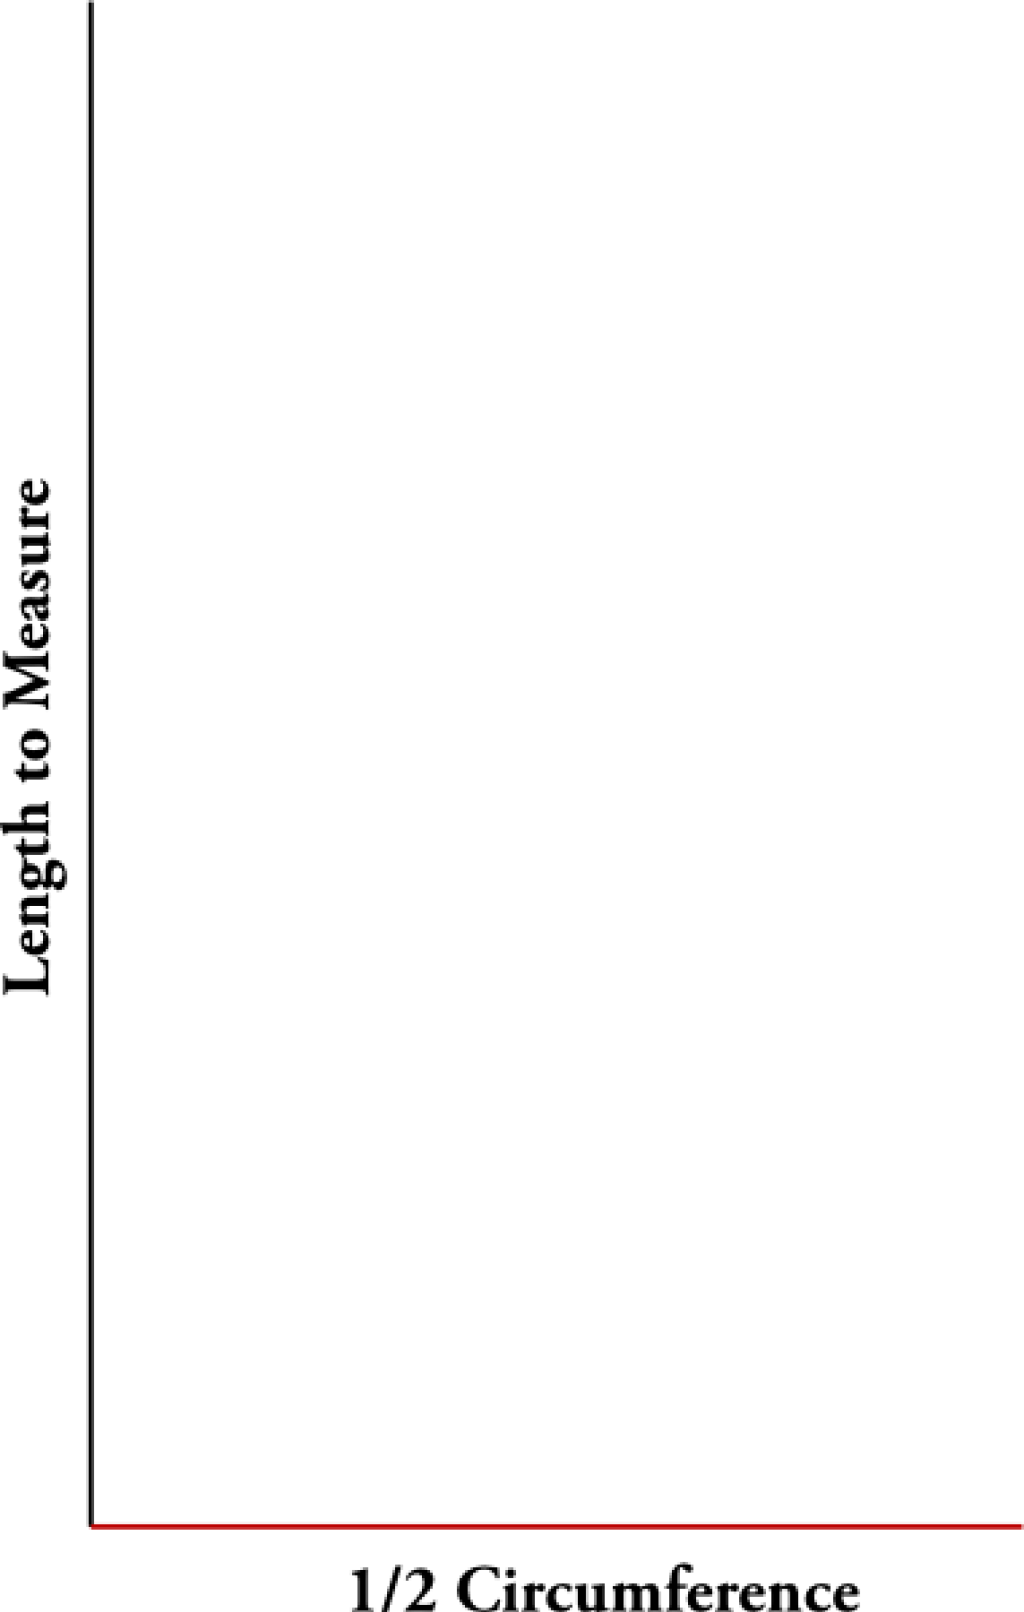
To begin with, draw a vertical line equal to the total height you want the cap to be. I used 19″ in this example, but it is up to you.

Length to measure.
Length to measure.

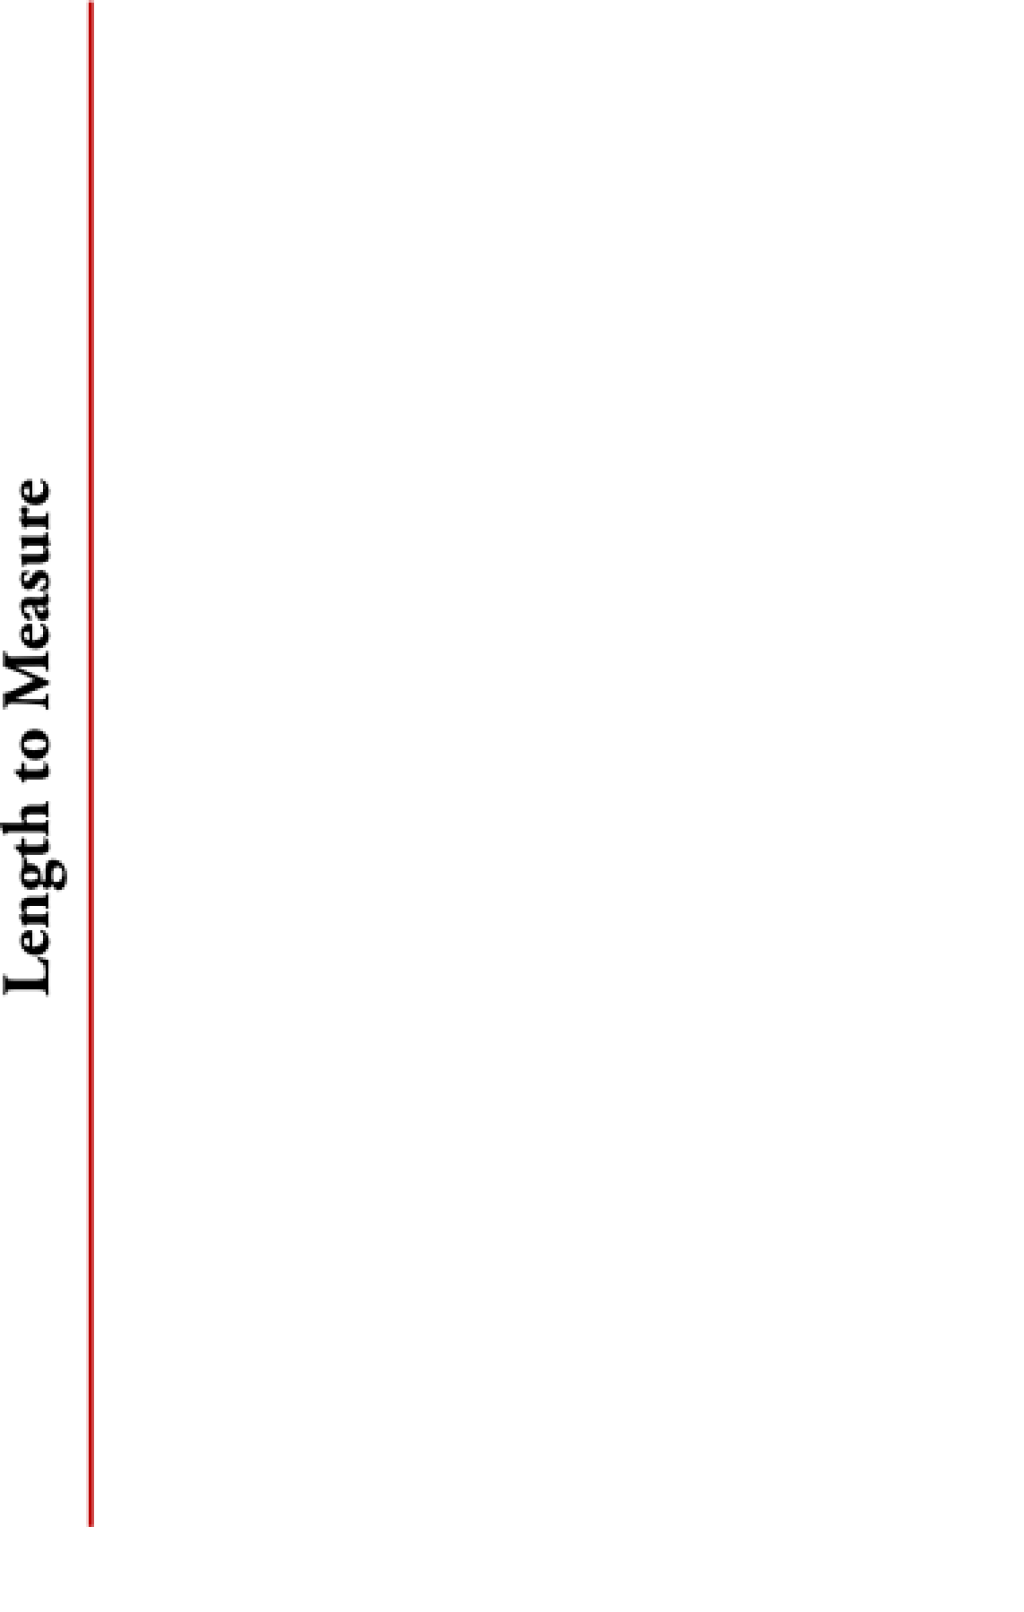
Next, measure the circumference of your head, at the location you want the bottom of the cap to fall. Take half this measurement, in my case, 11 inches, and draw a line of that length square from the bottom of the first construction line.

Square out half the circumference.

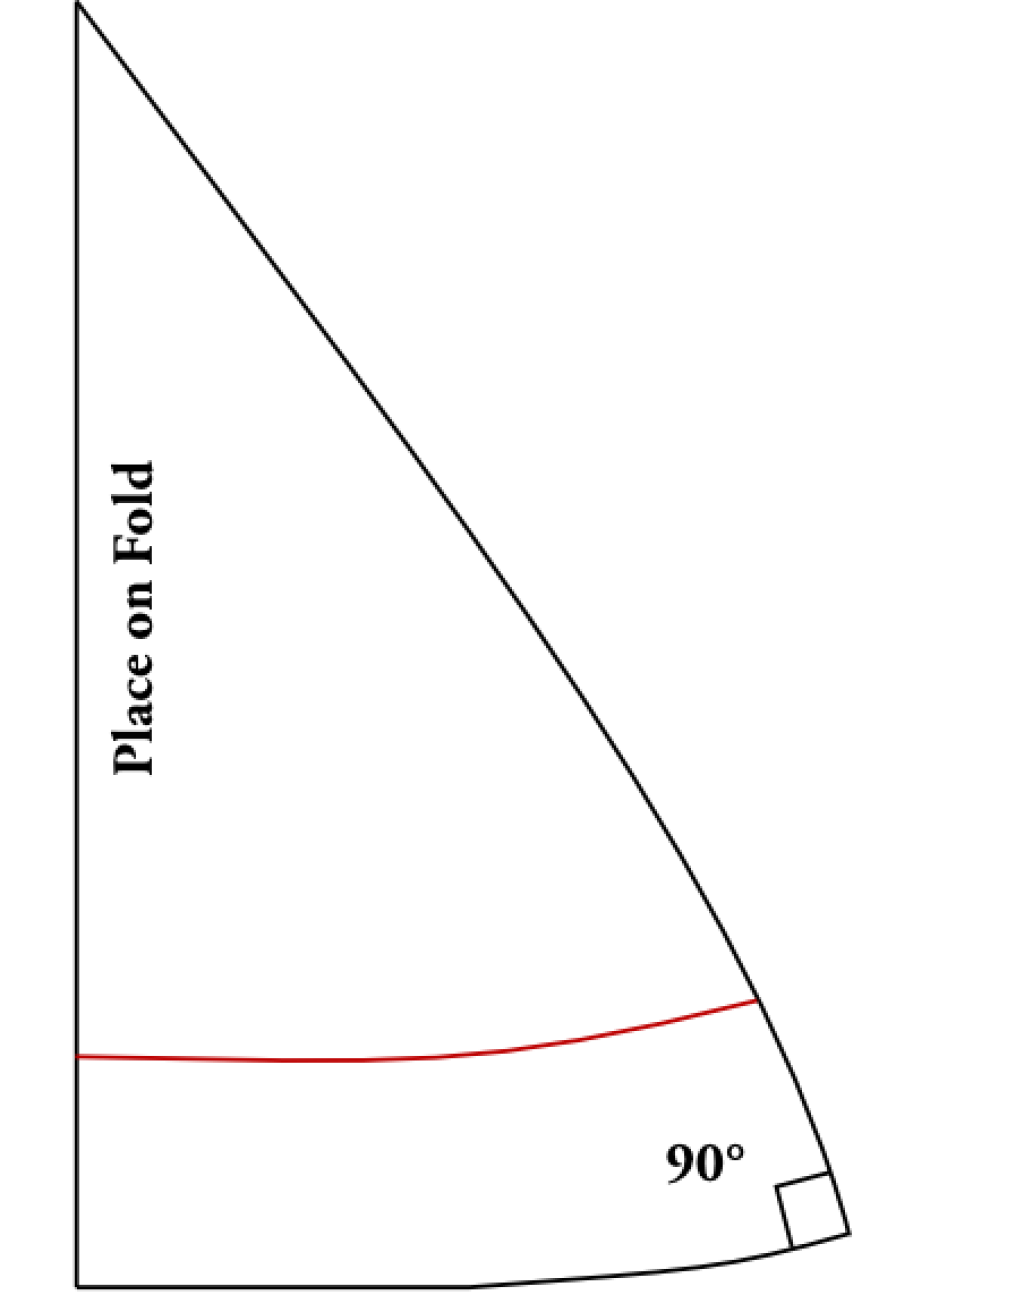
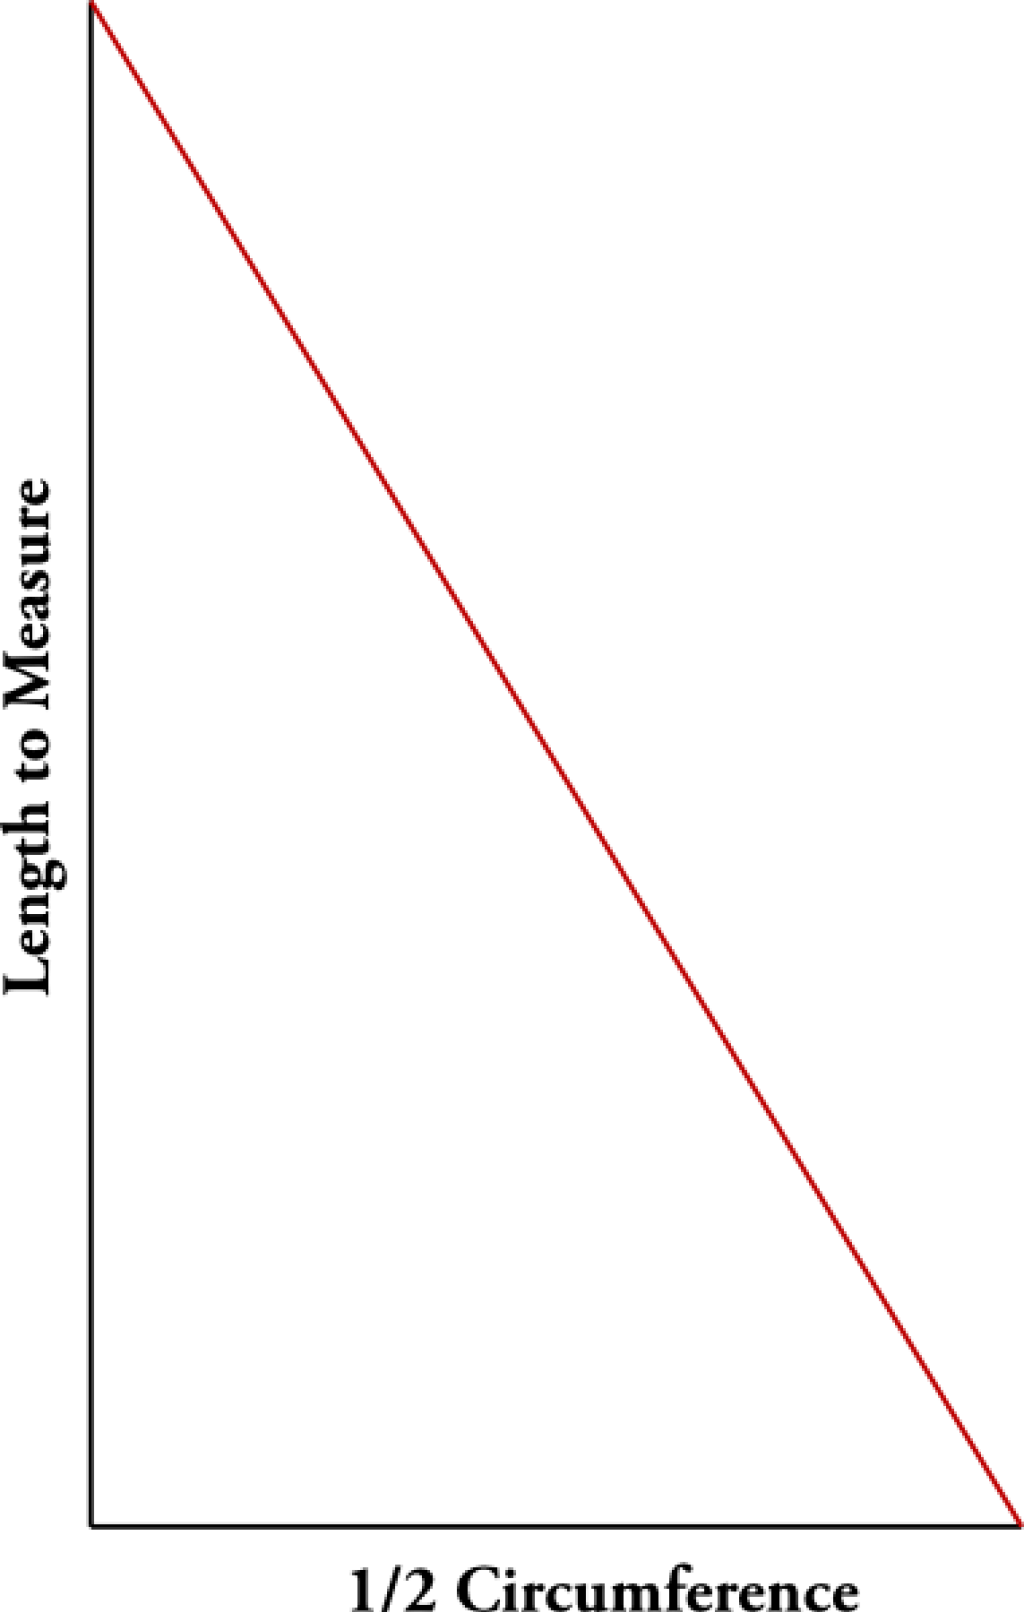
To get the back seam drawn accurately, it’s helpful to draw a construction line, forming a triangle, as shown.

Connect the two end points.

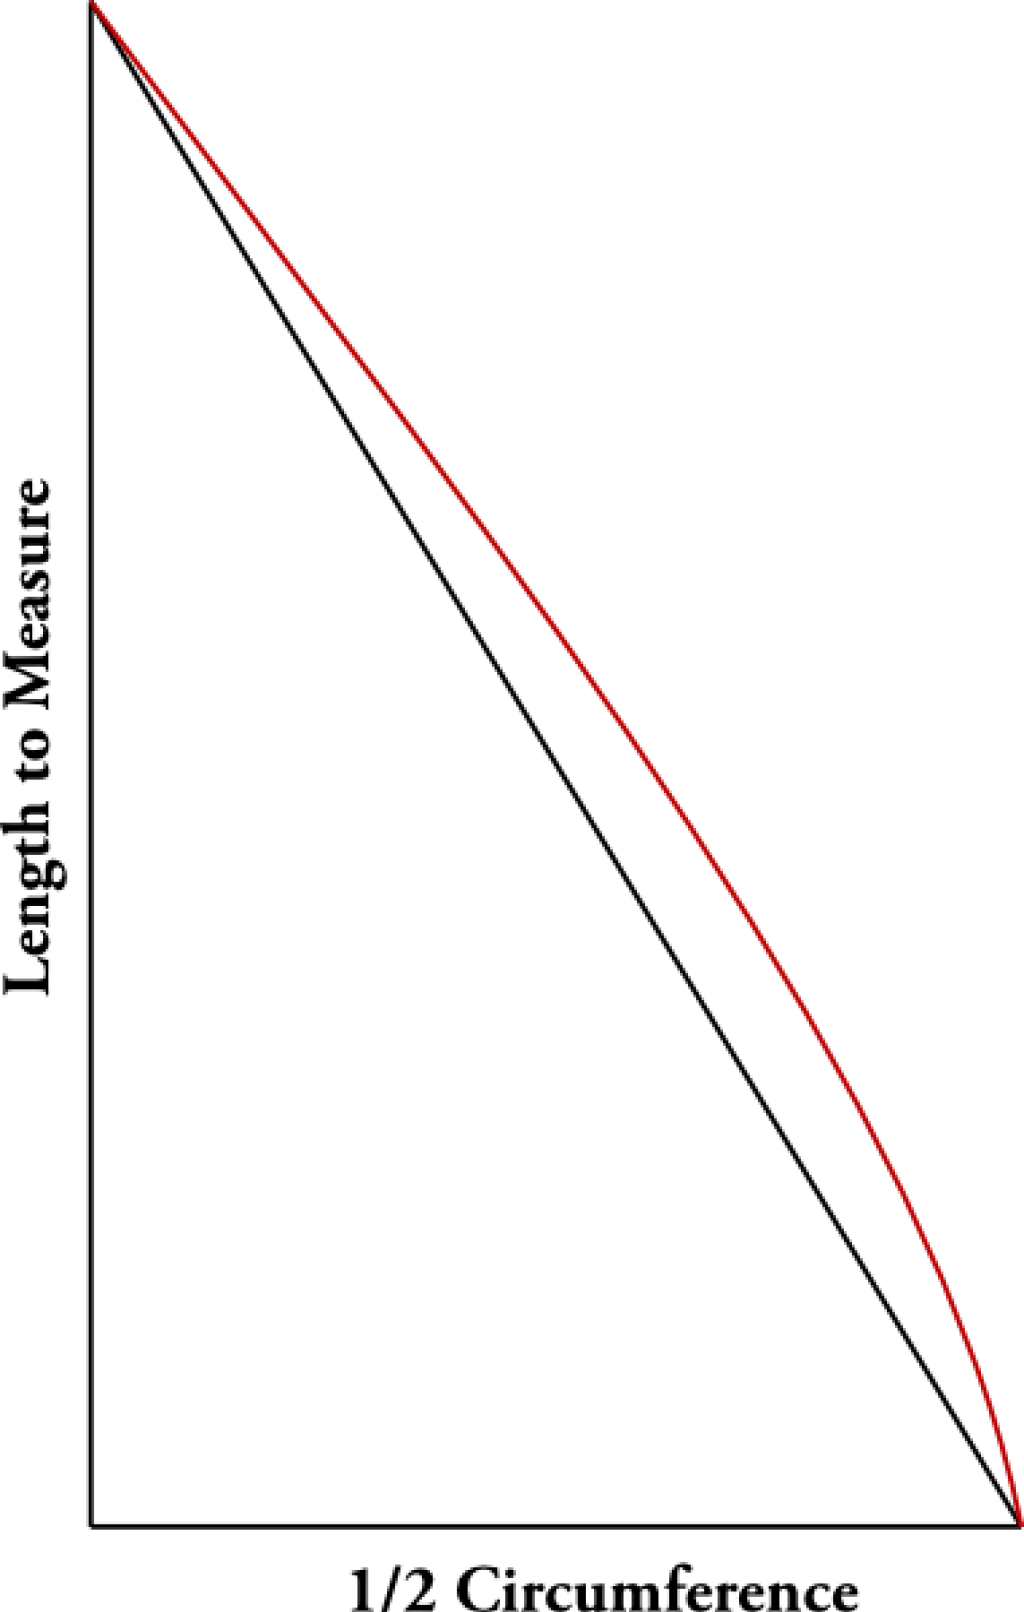
Now you’ll want to draw the curve for the back seam. This is entirely dependent upon the hat you are copying, or the look you are going for. I’ve drawn a curve that pleases my eye – your preferences may vary slightly.

Draw in a shallow curve.

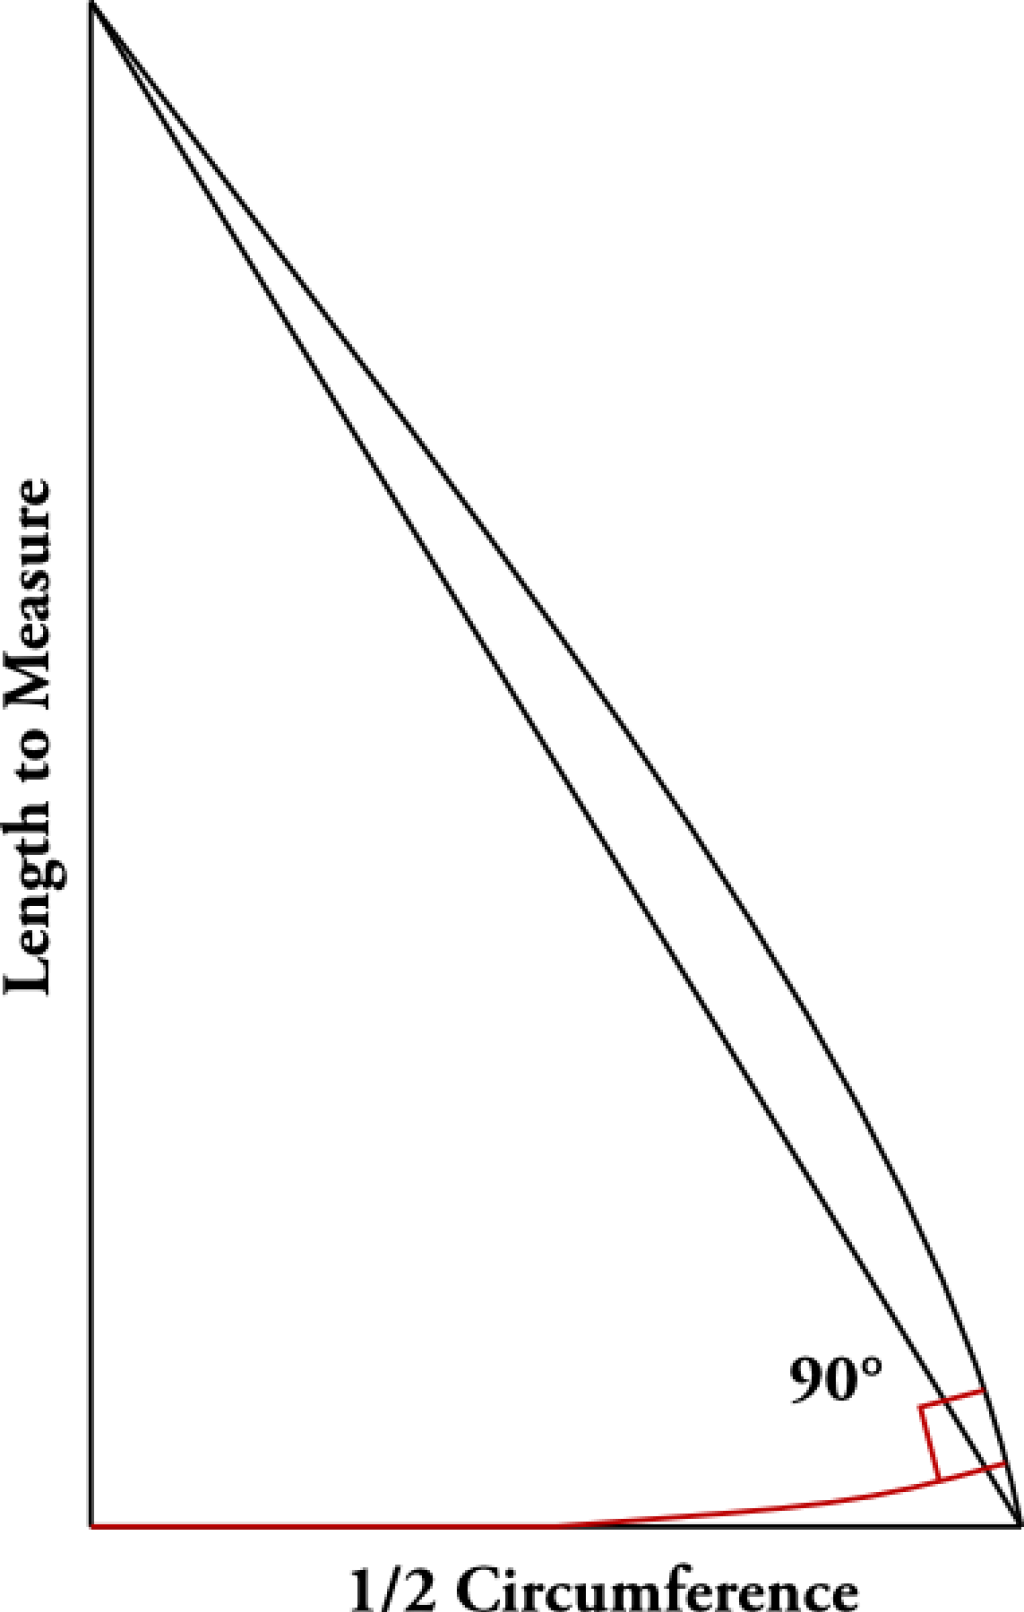
Due to the way the bottom of the curve meets the bottom seam, a point will be formed. To avoid this, the bottom seam must be curved upwards slightly, so that it meets the rear seam at a 90 degree angle.

Square the bottom edge.

At this point, the draft is done and ready to go. The original vertical line is placed on the folded edge of fabric.

Place the long edge on the fold.

I prefer to not add seam allowances, as the slight curve of the bottom tends to stretch, giving a nice snug fit. If you are lining the night cap, I would recommend adding 1/4 inch seam allowances to the bottom and rear seams. The lining should have have an extra 1/8 inch given to the pattern, to give some ease for the outer fabric. For a night cap that turns up at the bottom, simply continue the rear seam along the curve, and add about an inch to the bottom of the night cap.

An alternative is to just add a facing to the inside of the night cap, to help keep oils from the skin from staining the fabric. It’s simply a matter of drawing the facing, and using that as a pattern.

Add an optional facing on the inside.

To construct, it’s simply a matter of sewing up the back seam, and attaching the facing or inserting the lining. If you are putting in a tassel, it’s best to do so before sewing the back seam. I like to baste it in place to make things slightly easier.

Here is the night cap I made out of some scraps of wool. Perfect for those cold winter nights. Other fabric choices could include white cotton (probably the most common), linen, and wool flannel for the winter. For linings and facings, I’d recommend polished cotton.

Wool nightcaps.
The completed nightcaps in wool.