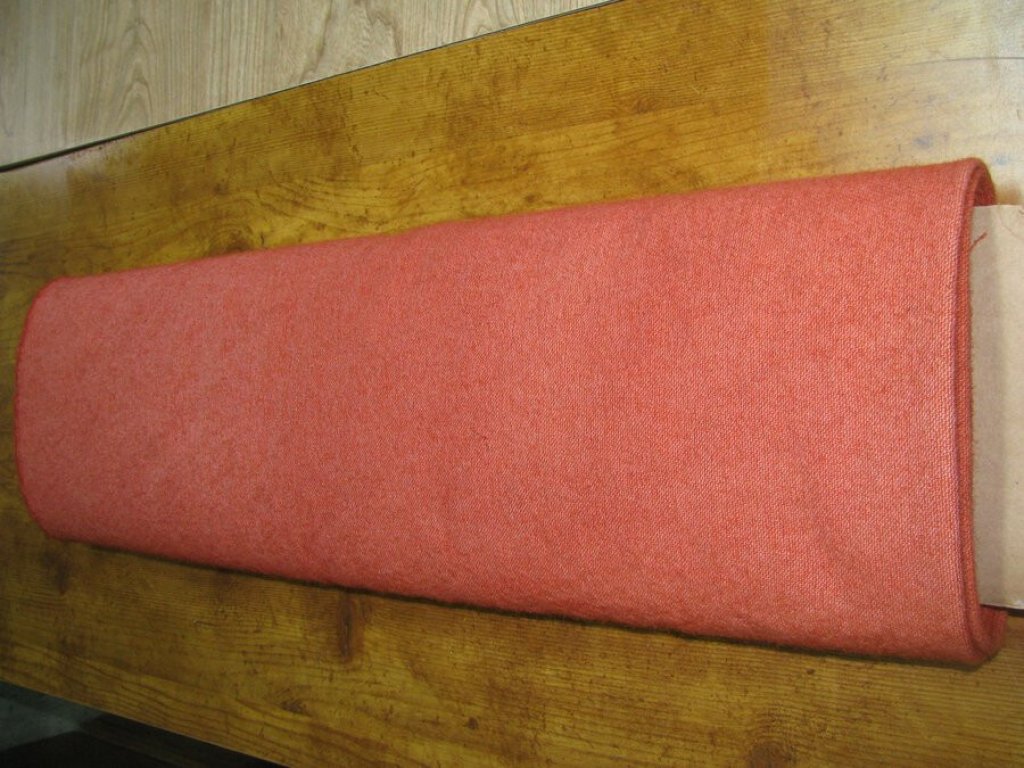
Prior to the creation of man made, synthetic dyes in the late 19th century, all dyeing was done with natural products. One such dye was extracted from the the roots of the Madder family or Rubia, a type of perennial scrambling shrubs and herbs. These Madder plants grow in many parts of the world, and were popular in Europe during the early 1800s, being introduced from the exotic lands of the Middle East, particularly Turkey. In this post, I will explain how to extract and dye fabric with the roots of the Madder plant. I will be dying a piece of jean cloth from Family Heirloom Weavers to use as interlining in my coats.
One major use for madder root dye was for dyeing the red coats used by the British Army. One can find period recipes from the period, ranging from recipes that sound like you’re making some type of food (adding wheat bran and Fenugreek), to the more grotesque recipes that added human urine. Although I’m one to strive toward’s being as accurate as possible, I am not ready to try that one yet.
Here is the recipe I based my experiments on, found on the First Foot Guards website:
“Take 3 pound of Allom, one pound and half of Tartar, boil the stuff in it an hour and half, then pour off the Water and put fresh water into the kettle, make a liquor of ten pounds of Madder, four oz of Potashes, and some urine, and boil it off when it hath dissolved one night.”
Since I had no prior experience with dyeing of any kind, I decided to use a similar modern recipe, one which gave more precise instructions. To start off, you need a fairly large pot, made either of stainless steel or enamel coated. Stainless steal is very expensive, so I opted to go with an enamel 50 quart stock pot. The reason for avoiding iron or aluminum pots is that they will affect the colours of the dye.
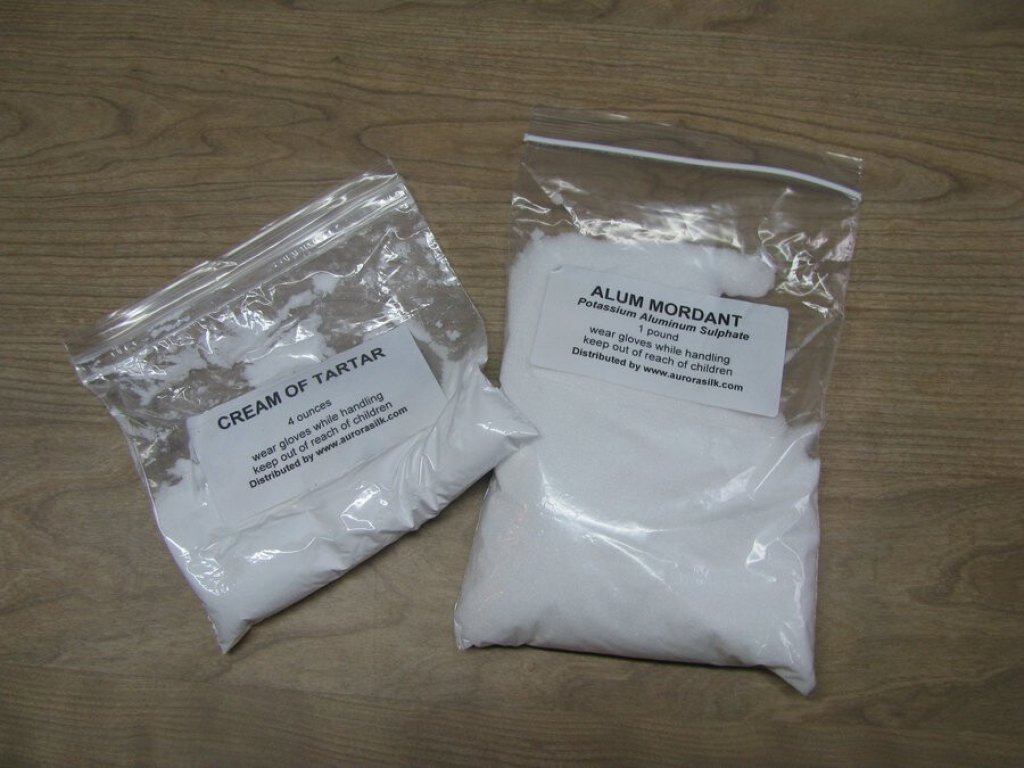
Mordanting
To start off with, you need to mordant the fabric. Pictured are Alum, and Cream of Tartar. The purpose of the mordant is to help the dye itself to adhere to the fabric. Different mordants can create different colours, as well. All chemicals must be added proportionately, as such:
Divide the weigth of the fabric by four
Measure out that amount of Alum
Use half as much Cream of Tartar
In my case, I was dyeing four yards of fabric, which came out to weigh exactly four pounds. Divided by four, meant I needed to use one pound of Alum mordant, and half a pound Cream of Tartar. Unfortunately, I didn’t have enough Cream of Tartar, but everything still turned out fine.
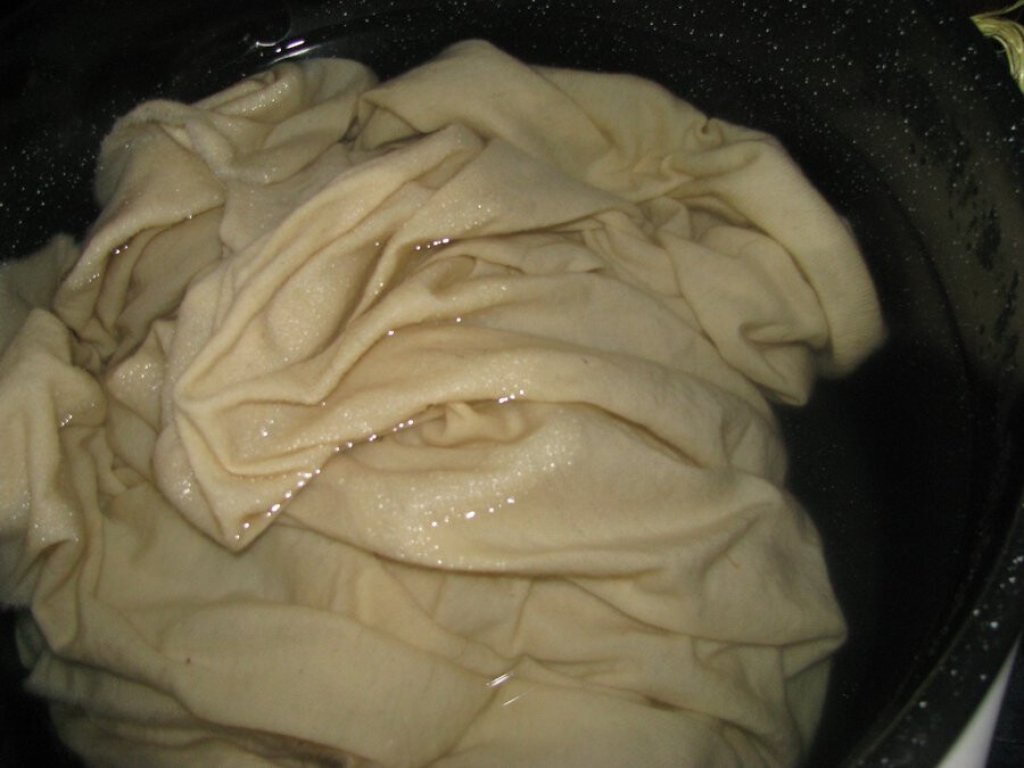
After measuring the out the mordents, fill your pot with enough hot tap water to cover the fabric by several inches. Then add the chemicals. The Alum didn’t do anything exciting, but when I added the Cream of Tartar, the whole pot of water immediately started bubbling. Very cool. Finally, add the fabric, and allow it to soak at least four or five days.
A quicker alternative is to heat the solution and fabric to 180 degrees, keeping it at that temperature, and allowing it to cool overnight.
Extracting the Dye
Meanwhile, it is time to extract the dye. The Madder Root I purchased from Aurora Silks came pre-ground. It had a brownish-orange colour to it, and it was hard to believe I’d get that deep orange red at the end of the process.
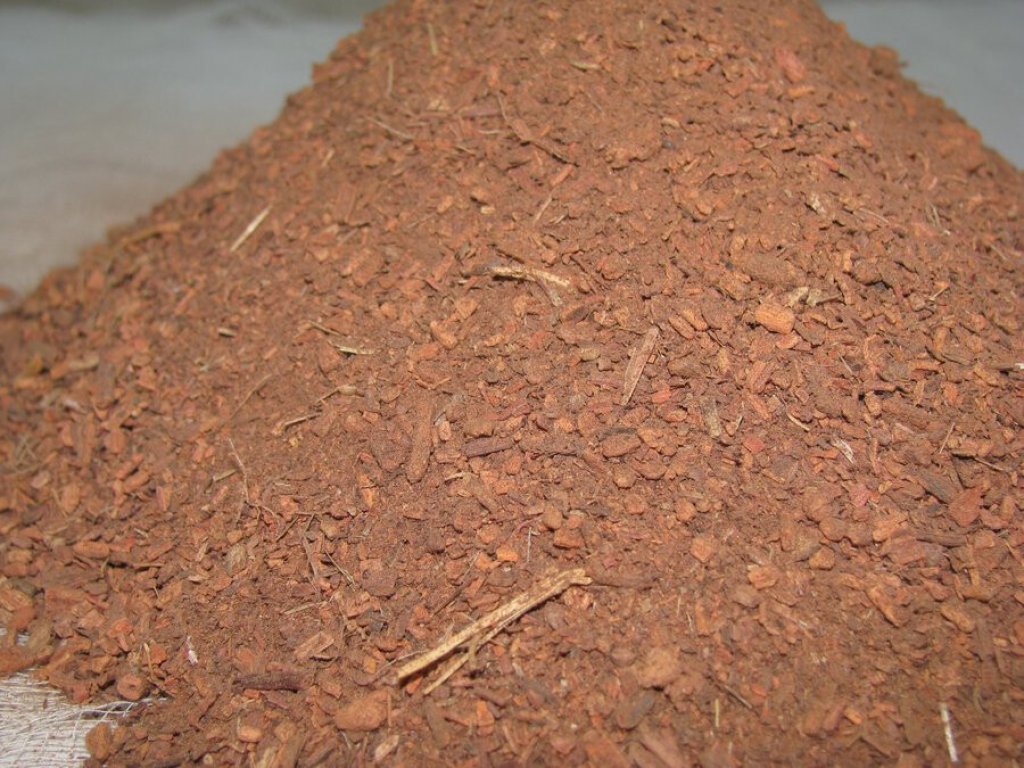
There is also the option to buy whole roots and grind them yourself, but I decided to wait until another time. I may also try growing the plants myself, although it takes three years before the roots are ready.

Tie the roots up in a cheese cloth, so that the pieces do not become stuck in the fabric.
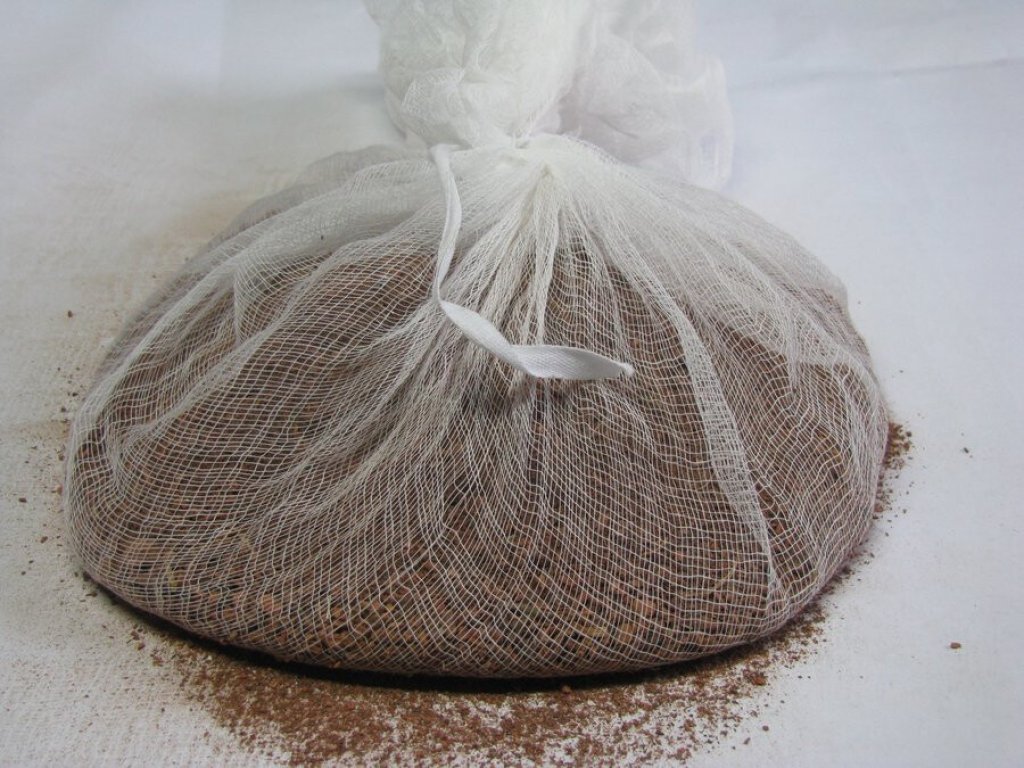
The roots are then put into a pot of hot tap water, and allowed to soak overnight. Next, slowly bring the dyestuff to 180 degrees for 30 minutes. It’s very important not to go above 180 degrees, or the dye will start to turn brown. After the 30 minutes, pour and strain the solution into the dye pot (the mordant solution and fabric have been removed at this point). Repeat this process until dye is no longer being extracted. I ended up doing this seven times, starting at 2pm and ending at 1am the next morning. It takes a long time!
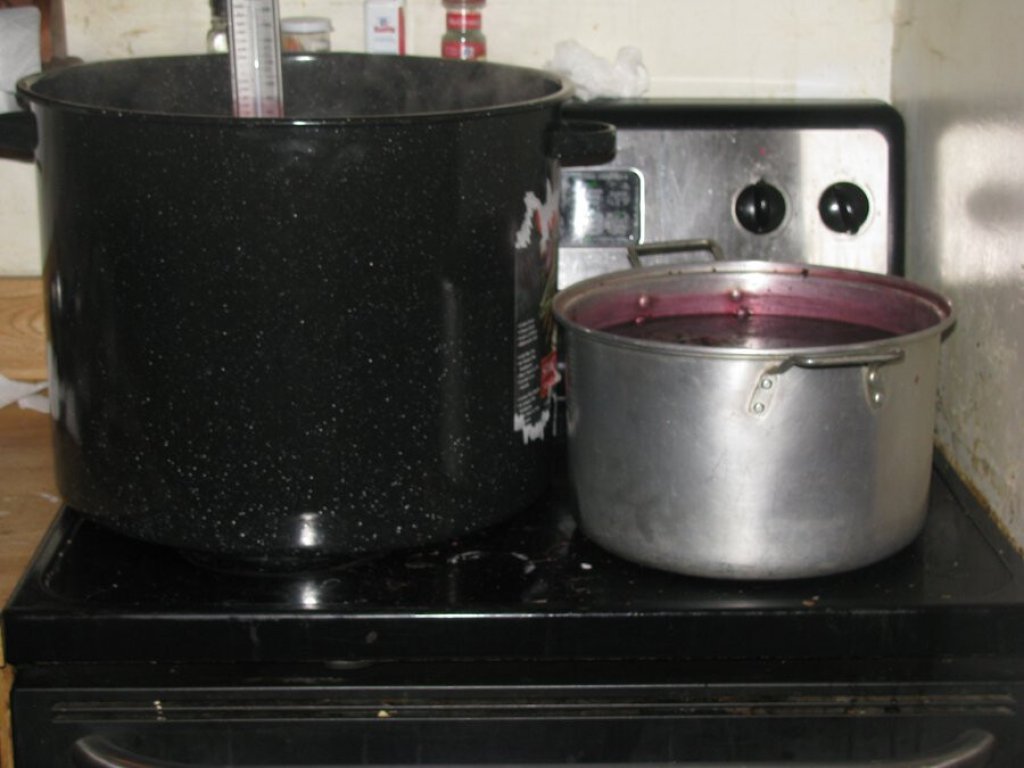
Here are the two pots I was using. The smaller pot on the right is being used to extract the dye, which is then poured into the big dye pot. That pot was huge!
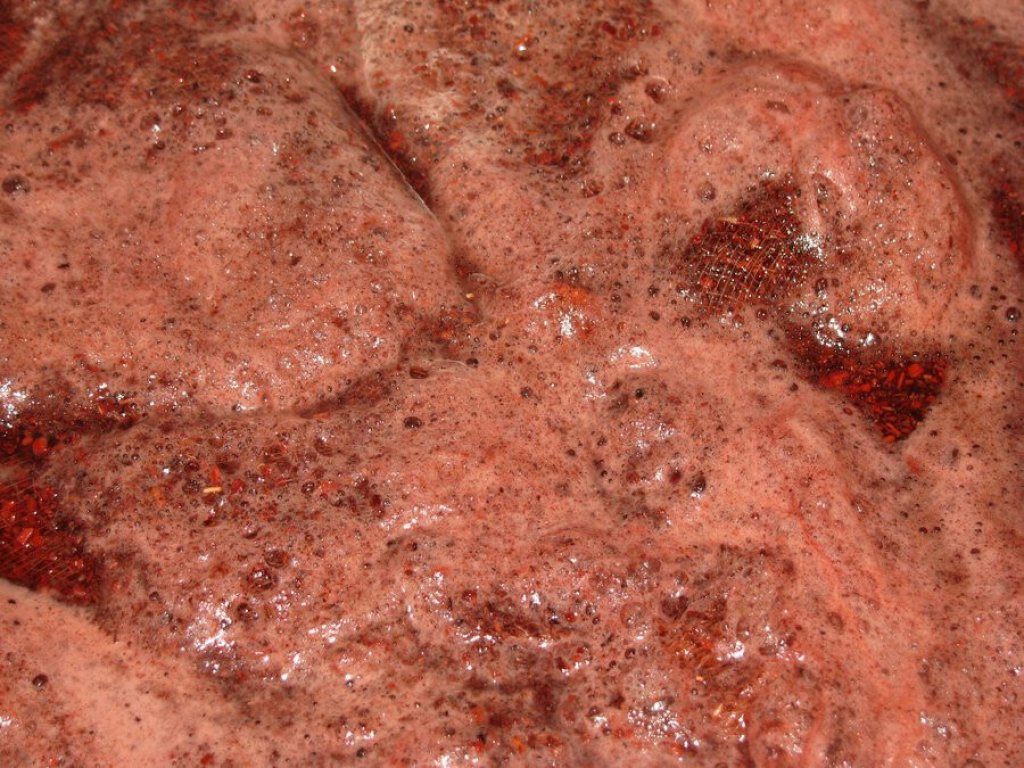
One thing I noticed while extracting the dye was that it looked like a very deep purple. Using some different mordants, you would be able to extract this purple, instead of the reddish orange.
Dyeing the Fabric
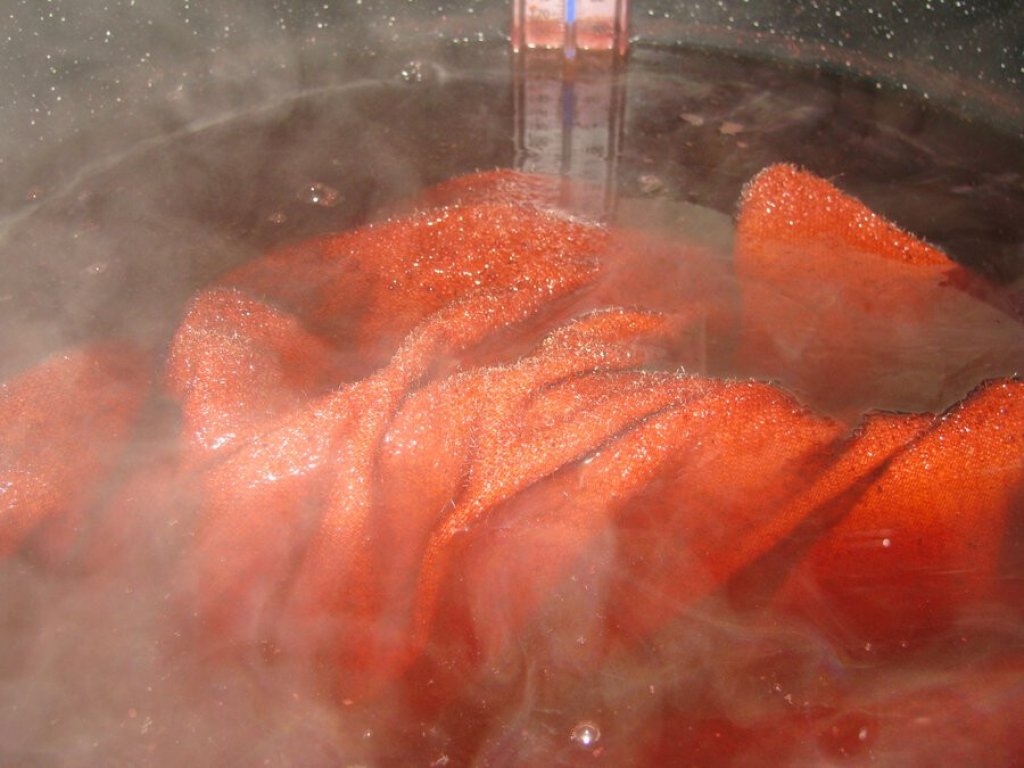
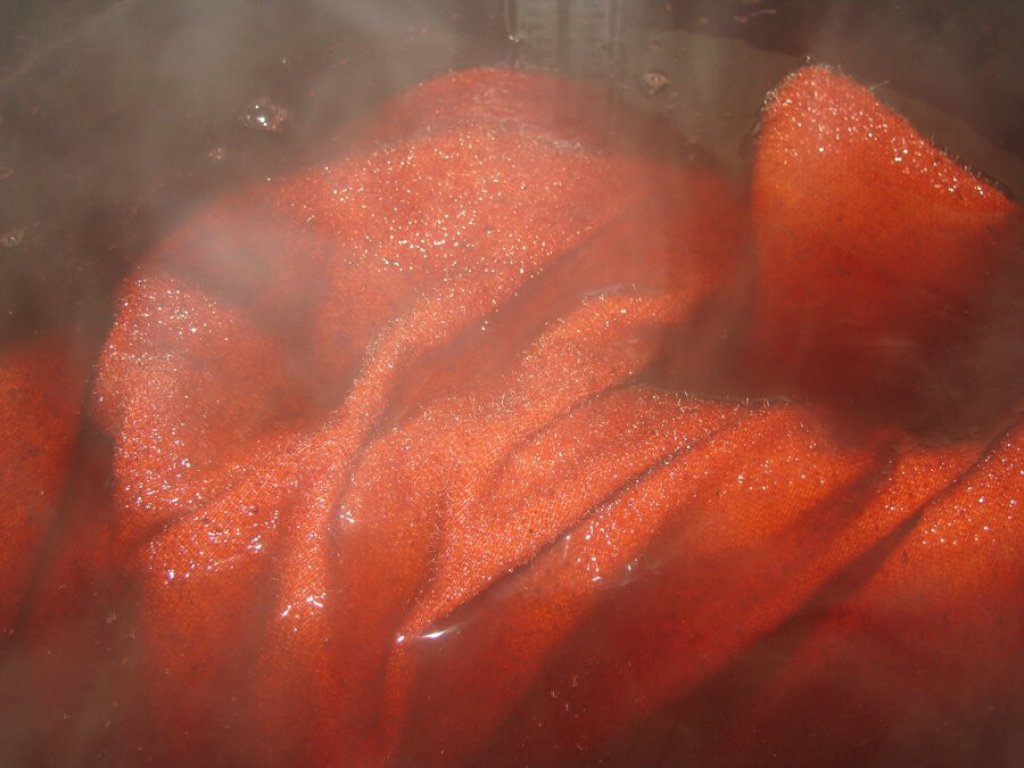
When you have extracted all the dye, it is time to add the mordented fabric (which should still be wet; do not allow it to dry out after the mordent process, keep it in that mordent bath). Carefully add the fabric, trying not to leave bunched up areas, or it will dye unevenly. Bring it slowly up to 180 degrees and heat for at least 1 hour or until you get the desired colour. Keep in mind that the colour will lighten after rinsing and drying. Allow the fabric and dye to cool at least overnight. 12 hours later, the dye was still warm to the touch, so I let it cool longer.
Following are a few shots of the fabric actually being dyed.